









StoneShot Learning > Email Marketing > Brand Manager
Brand Manager
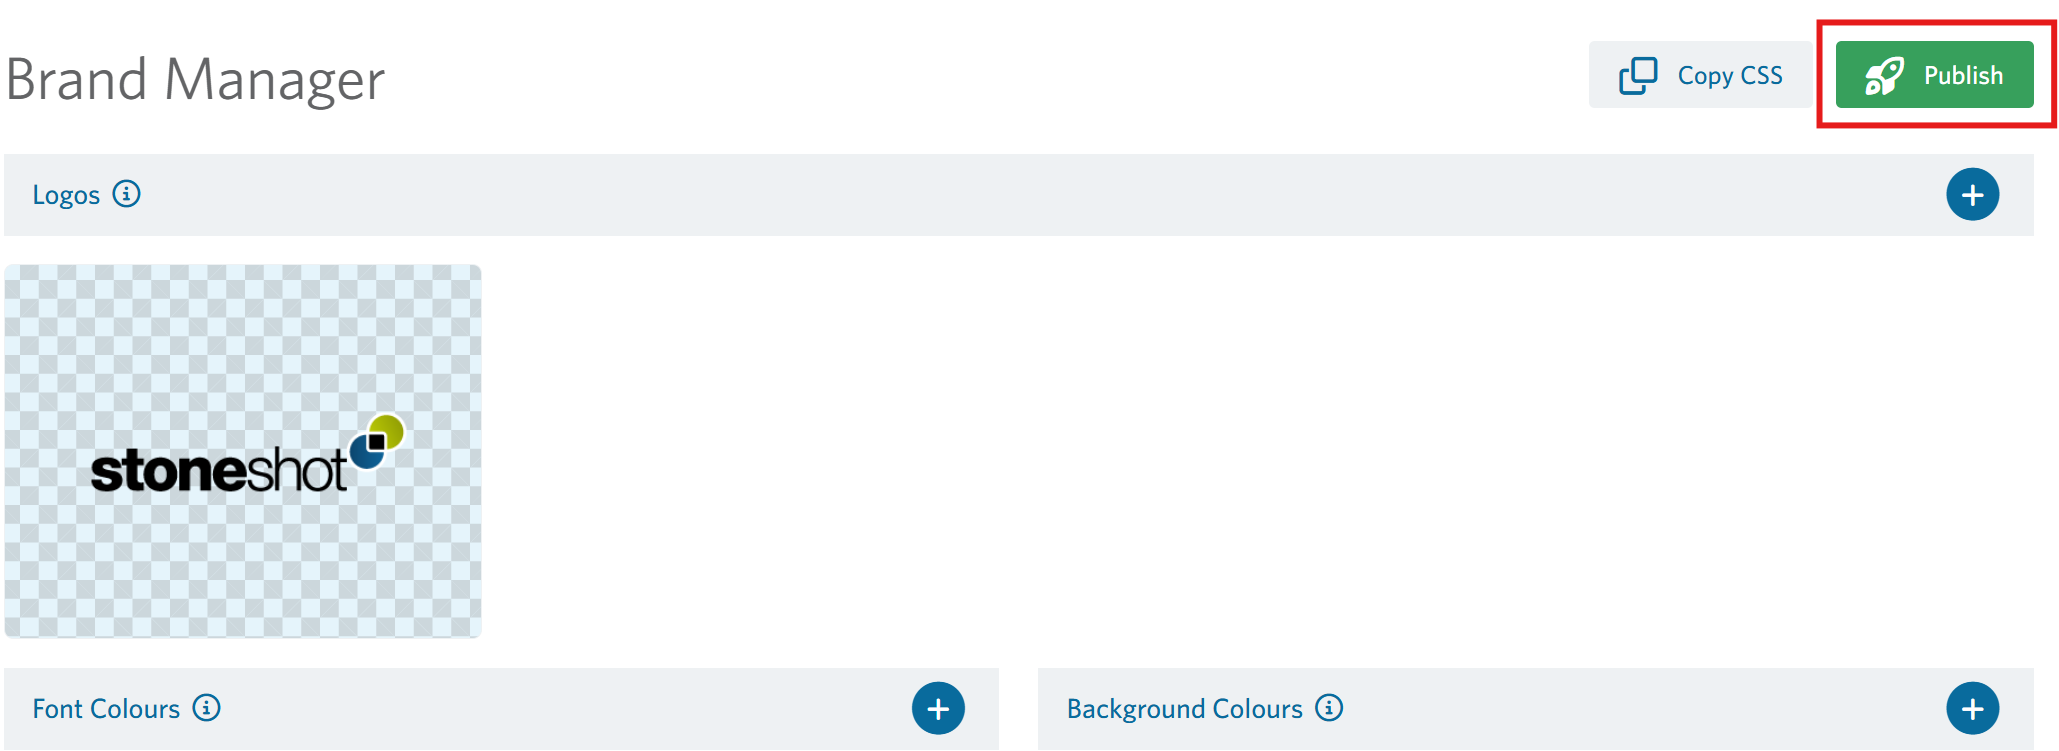
The Brand Manager provides a central place to manage your organisation’s brand assets and styling. From one location, you can configure logos, colour palettes, typography, buttons and disclaimers.
Once configured, these elements become available as predefined options within the Email Builder, making it easy for users to create consistent, on-brand emails.
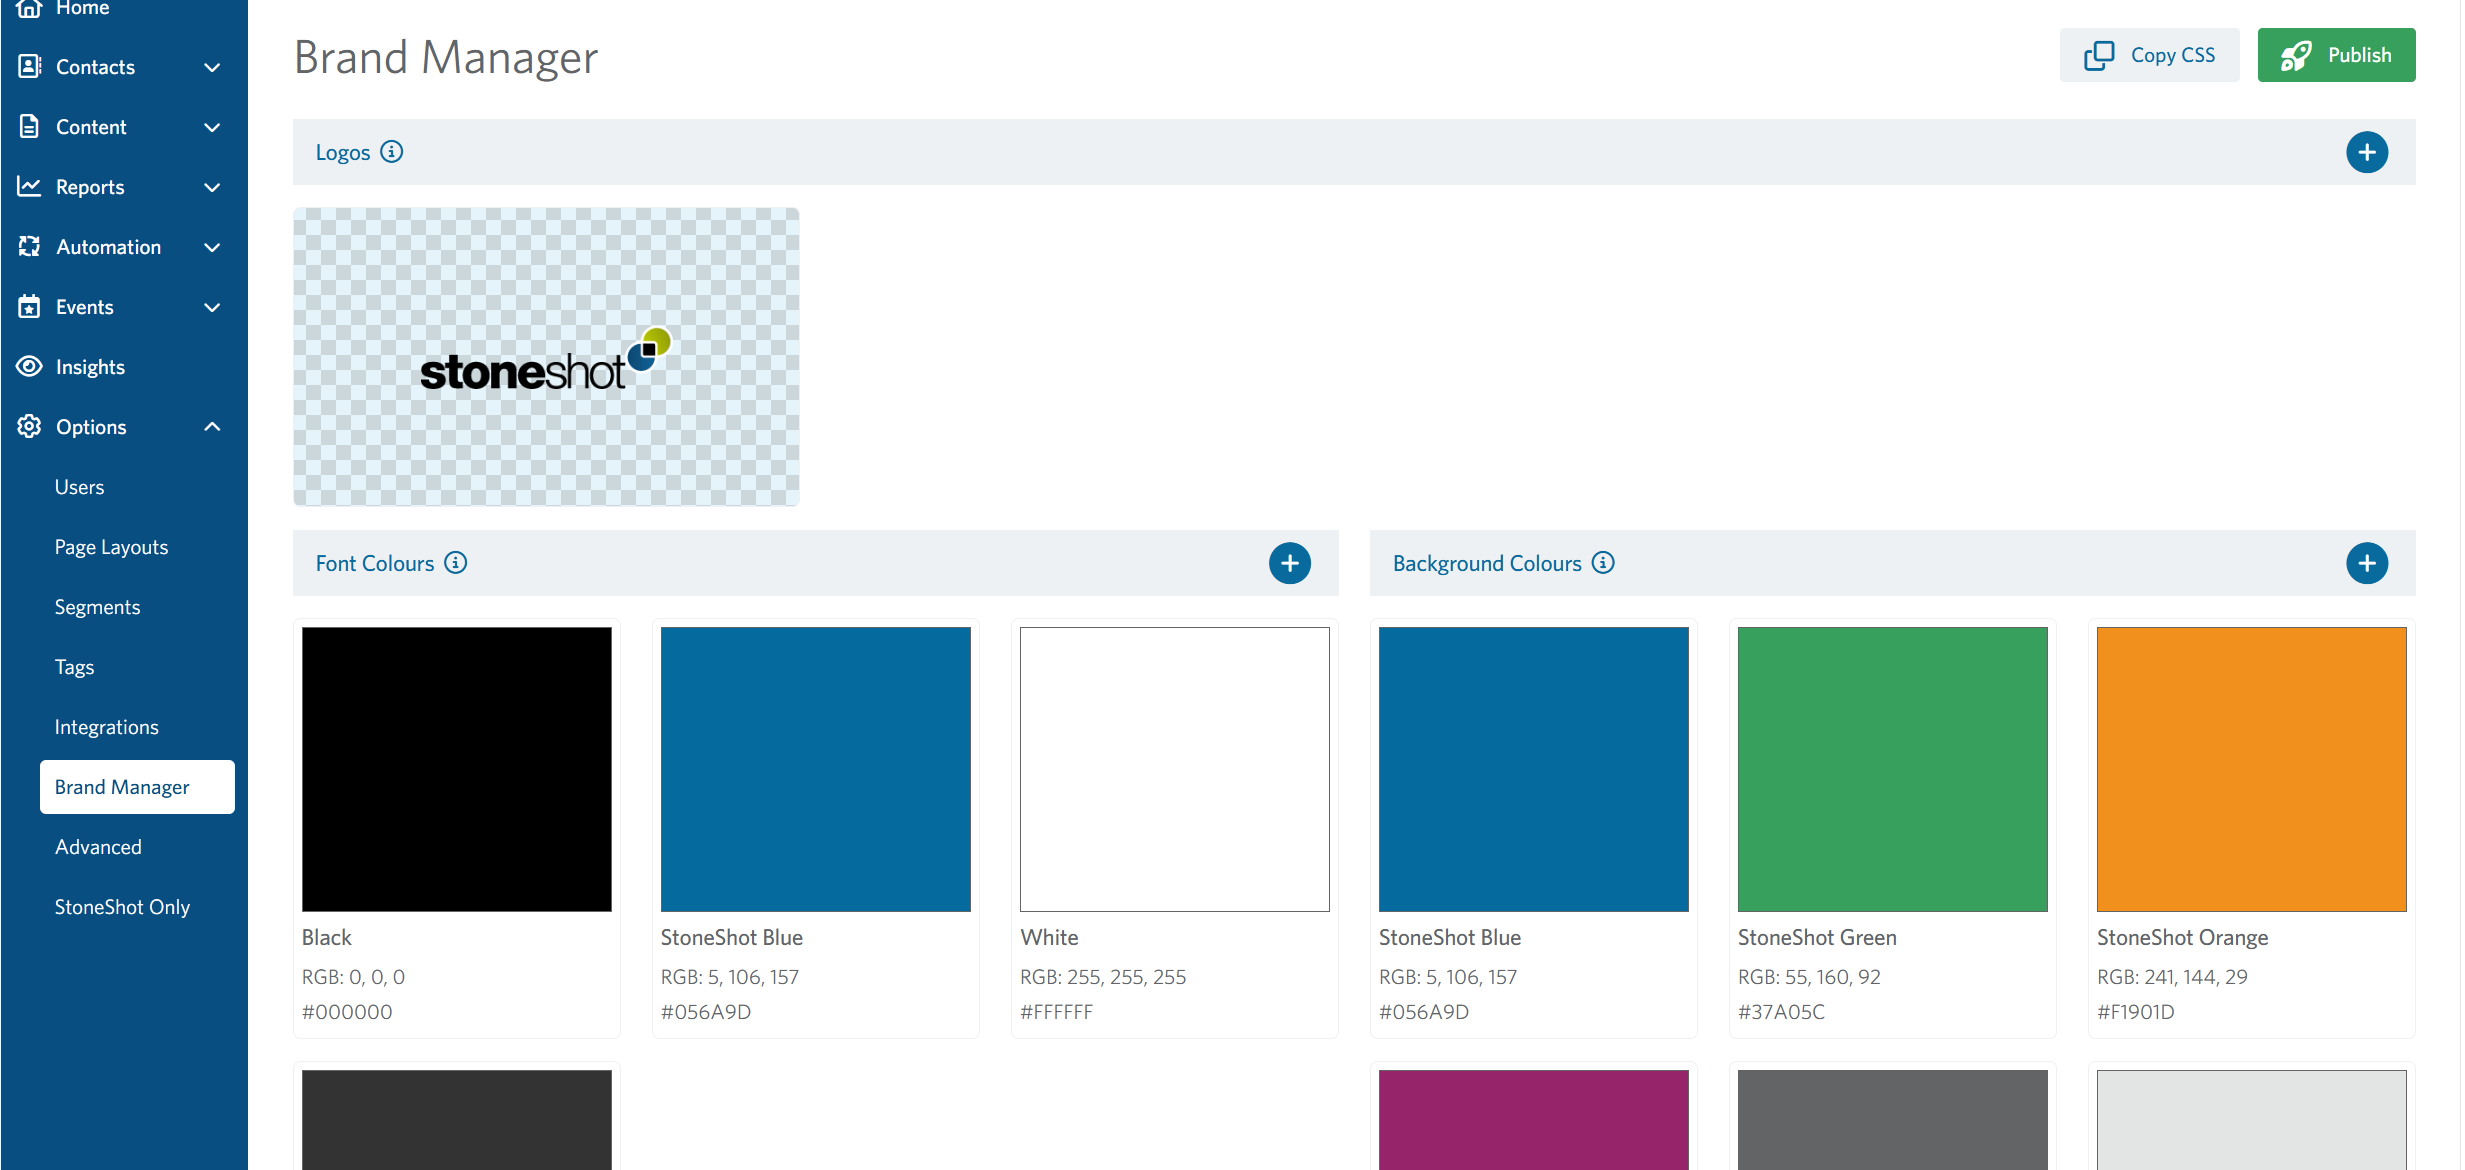
Note: After making any changes in the Brand Manager, click the green Publish button in the top-right corner to make the latest version available in your email templates.
Accessing the Brand Manager
The Brand Manager is available to Admin users only. To access it navigate to Options > Brand Manager.
The Brand Manager is divided into six sections:
- Logos
- Font Colours
- Background Colours
- Typography
- Buttons
- Disclaimers
Managing Brand Components
Most sections within the Brand Manager follow the same process for adding or editing items.
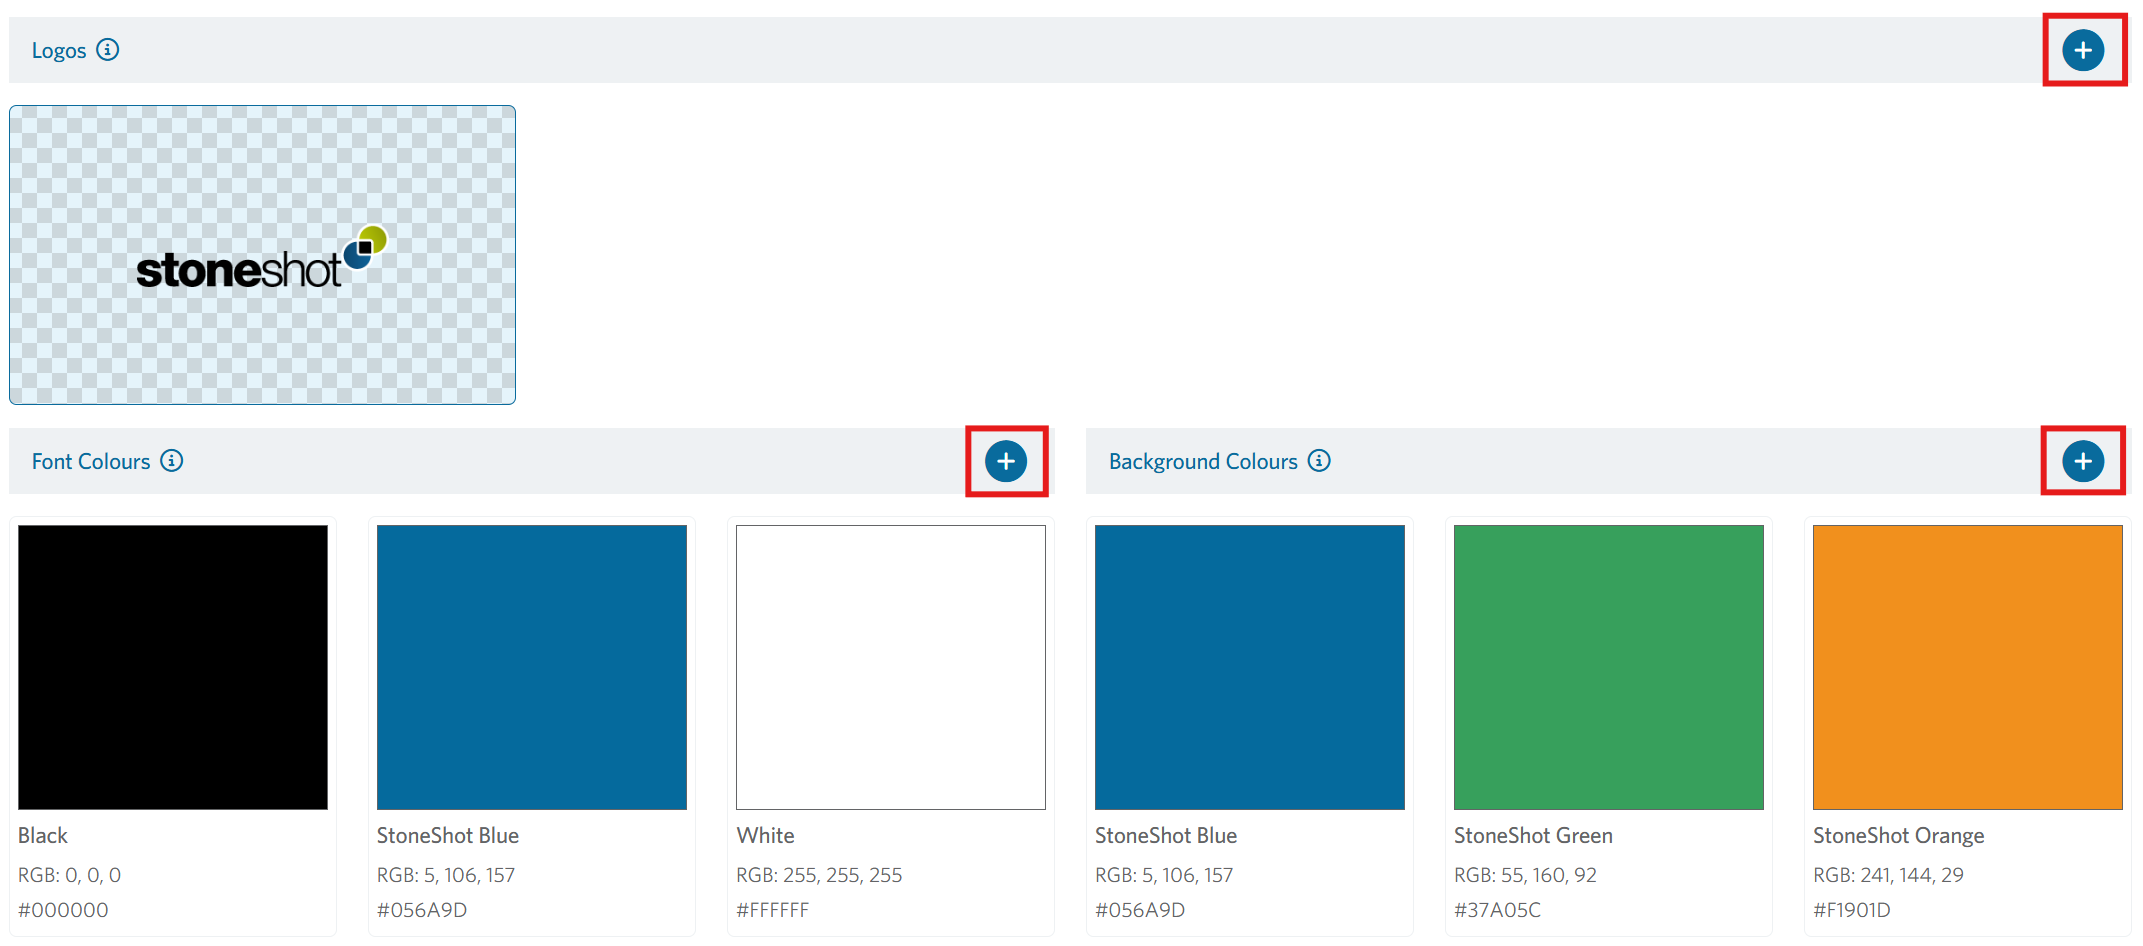
1. Add a new component
Click the + icon in the top-right corner of the relevant section. Complete the required fields and Save. Publish the changes to make these components available within the Email Builder.
2. Edit an existing component
Go to the component you want to update, click Edit (or simply click the component), make your changes, and Save. Finally, click the Publish button in the top right.

3. Delete a component
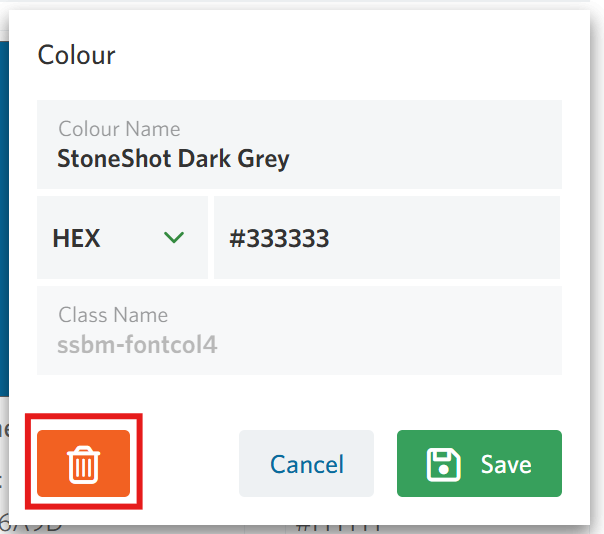
Select the component you want to remove, then click the orange Bin icon in the bottom-left corner.
Managing Logos
Once logos have been set up in the Brand Manager, you can easily switch them in and out of your email templates.
Each logo is configured with the correct spacing and exclusion zones based on your brand guidelines, helping to ensure your branding remains consistent and displays correctly across your email designs.
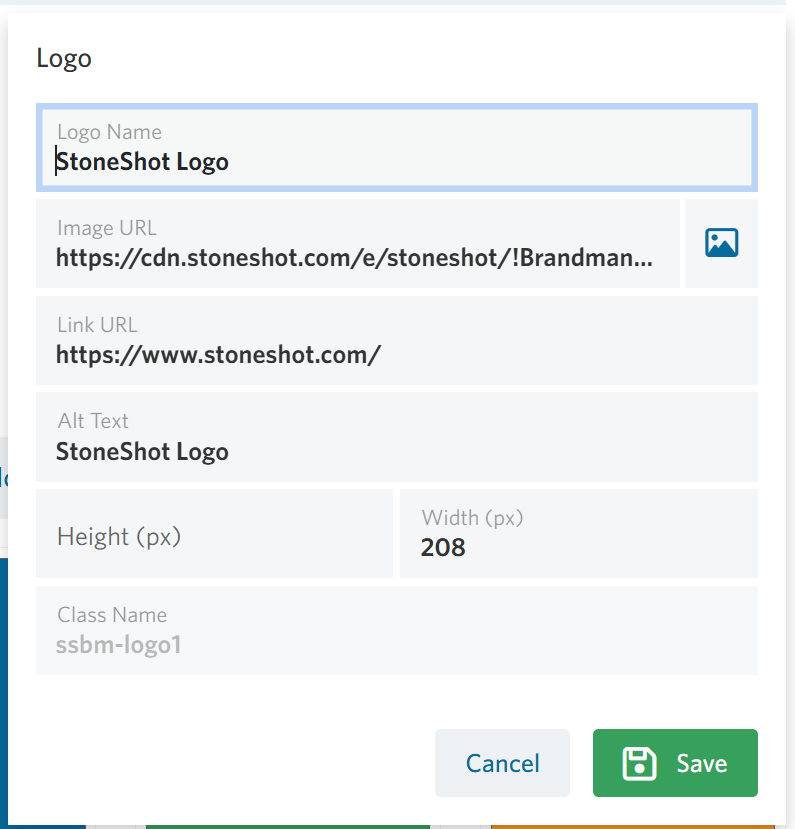
To add a new logo, click the + icon in the top-right corner of the Logos section. Enter a unique Logo Name, then upload and select your logo from the Image Manager in the Image URL field. Add the destination link for the logo in the Link URL field, set either the Width or Height to control the logo size, and add Alt Text to improve accessibility. Once complete, click Save.
Managing Font Colours and Background Colours
You can create reusable brand colours for use throughout your email templates.
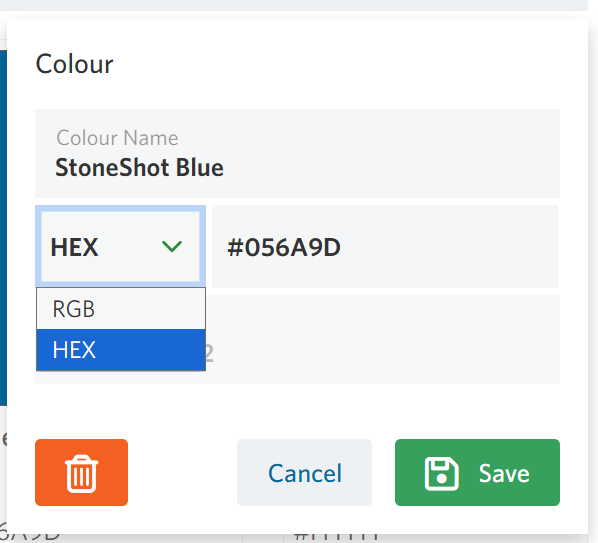
To add a new colour, click the + icon in either the Font Colours or Background Colours section, enter a unique Colour Name, specify either the HEX or RGB colour value, Save and Publish.
Managing Typography
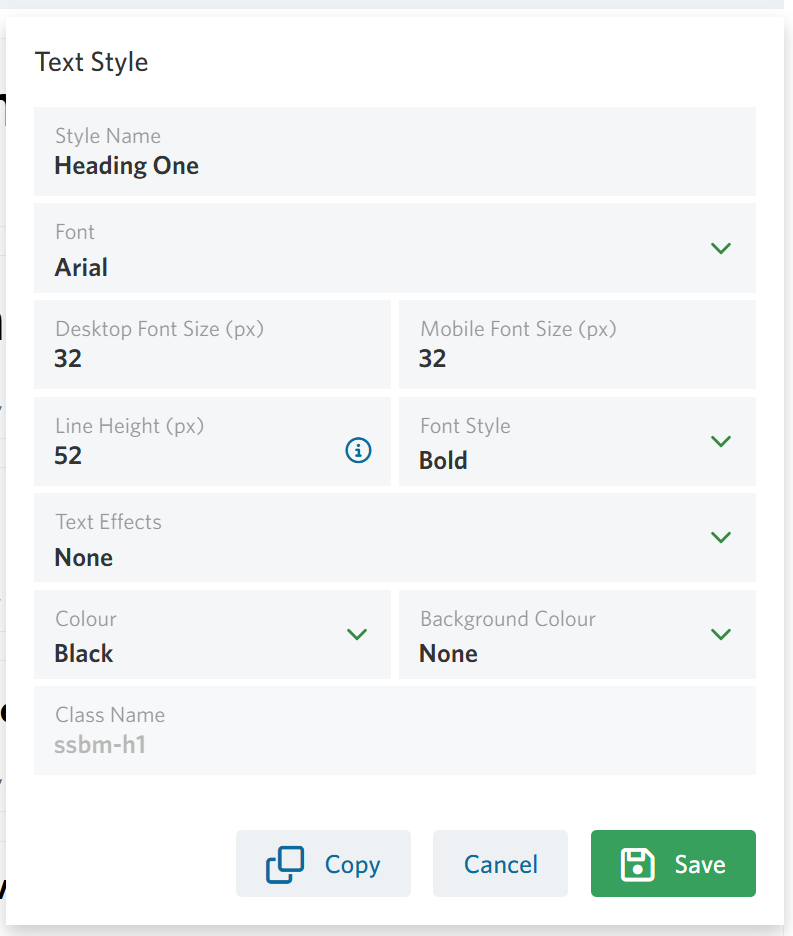
Typography allows you to define consistent text styles across your emails. You can define up to six styles for headings and as many custom text stylings as you’d like.
Click the + icon in the Typography section, select Add a custom style, fill in the fields and Save. Finally, Publish the changes.
Managing Buttons
To add a new button, click the + icon in the Buttons section. Enter a unique Button Name, then configure the button styling options, including the font, font size, font style, line height, text colour, background colour, border colour, border size, padding, and corner radius.
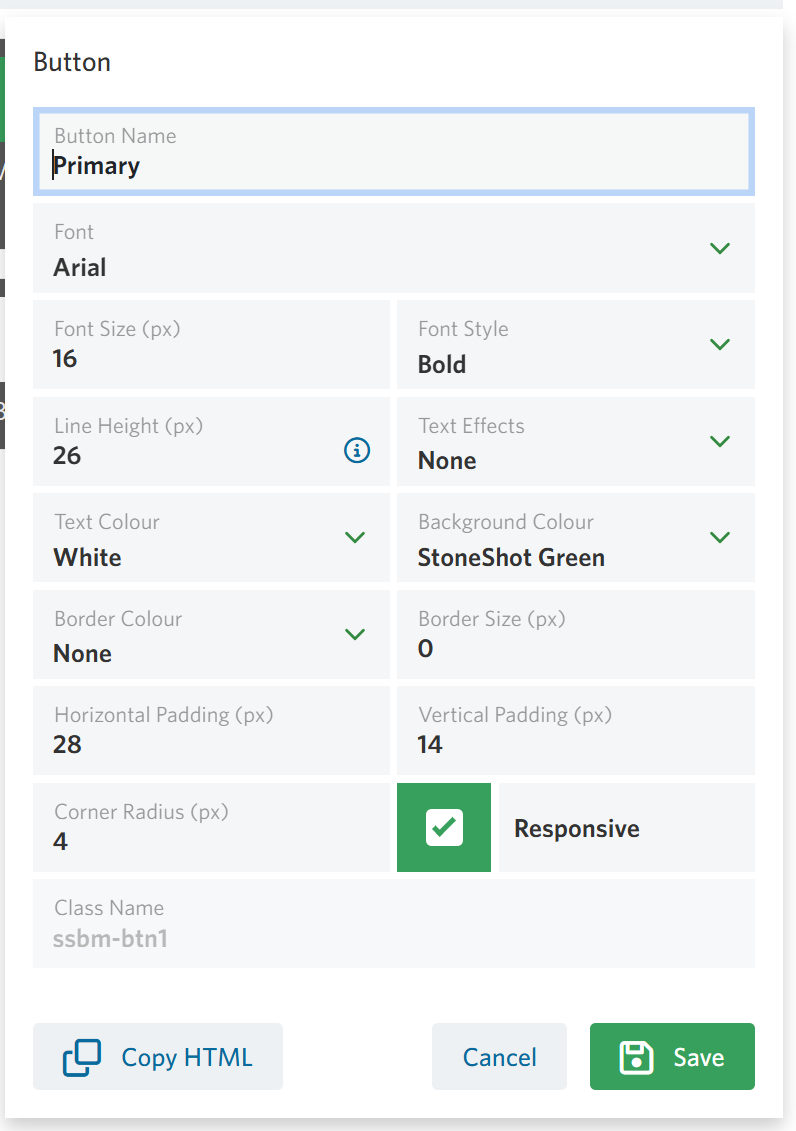
Once you have configured your button style, click Save. Remember to click Publish to make the button available as a predefined option within the Email Builder.
Managing Disclaimers
Disclaimers can be created once and reused across your email templates.
To add a new disclaimer, click the + icon in the Disclaimers section, enter a unique Disclaimer Name, and add the disclaimer text.
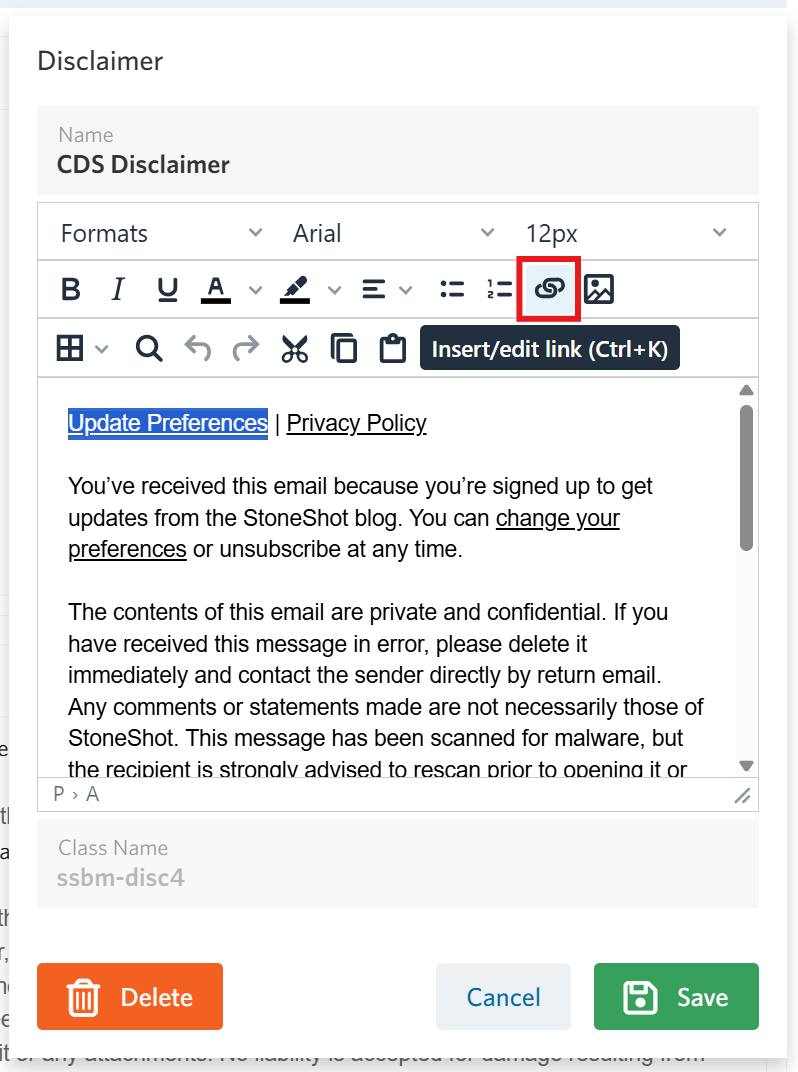
To add a hyperlink, highlight the relevant text, click the Insert/Edit Link icon, and enter the URL or hosted document link.
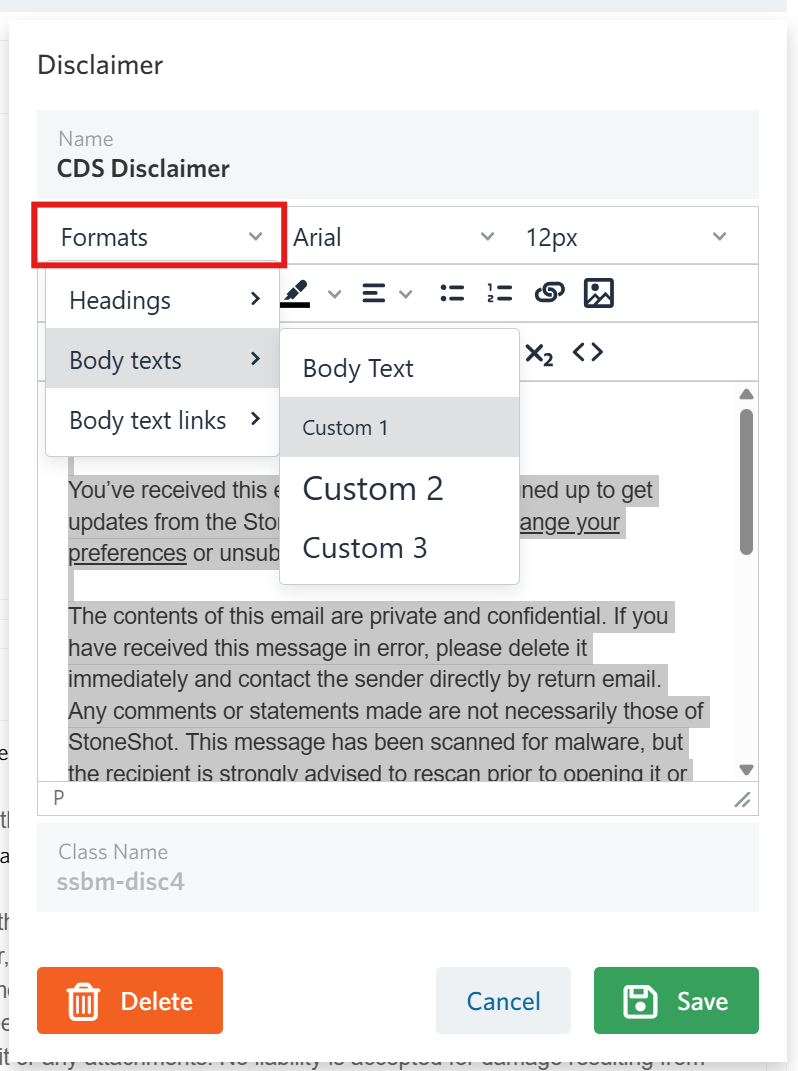
To apply one of the predefined Typography styles you’ve configured in the Brand Manager, use the Style dropdown. You can also use the formatting toolbar to adjust the font, font size, or apply a colour from your brand palette.
When you’ve finished editing, click Save, then Publish to make the disclaimer available in the Email Builder.
FAQ
What is the recommended font size for an email?
For the best readability and accessibility, we recommend the following font sizes:
- Body text: 16px
- Headings: 24–32px, depending on the heading level
- Subheadings: 18–22px
- Small text (such as disclaimers or footer content): 14px minimum
Best practice: Using a body font size of 16px provides a comfortable reading experience across desktop and mobile devices and helps prevent unwanted zooming in some mobile email clients. Where possible, avoid using text smaller than 14px to ensure your emails remain accessible and easy to read.
Are rounded buttons supported across all email clients?
Rounded buttons are supported by most modern email clients. However, some older versions of Microsoft Outlook do not support rounded corners and will display the button with square corners instead. The button will still render correctly and be functional.
How do I increase the spacing between lines of text?
To increase the spacing between lines, adjust the Line Height setting for the relevant Typography style in the Brand Manager. Once you’ve saved your changes, click Publish to make the updated typography available in the Email Builder.
How can I add a custom font to the Brand Manager?
To add a custom font, click the + icon in the top-right corner of the Typography section and select Manage custom fonts.
Enter the Custom font name and choose a suitable Backup font. The backup font is important because not all email clients support custom fonts, and some recipients may not have the font installed on their device. In these cases, the email will automatically display using the selected fallback font to ensure the design remains consistent and readable.
Once you have completed the setup, click the ✓ icon to save your changes, then select Close.
Once added, the custom font will appear as a selectable option within your Text Style settings.
Note: Custom fonts are subject to email client support and cannot be guaranteed to display across all devices. For the most reliable results, always select a suitable backup font that closely matches the style and spacing of your custom font.
How can I update our regional disclaimers?
If your email template is pulling disclaimers from the Brand Manager, go to Options > Brand Manager and scroll down to the Disclaimer section. Update each disclaimer as required, then click Publish in the top-right corner to apply the changes. In your email, switch the disclaimer layout to a different option and then back to the required disclaimer to refresh and display the updates.
If the disclaimers are hardcoded as individual layouts within the master template, please contact the Support Team to request the changes. Once updated, you will need to remove and re-add the layout in your email to see the changes.
Can I delete outdated disclaimers from the Brand Manager?
Yes. If a disclaimer is currently being used in an email, it will no longer be displayed once it has been deleted. You will need to add an alternative disclaimer to the email template.