


StoneShot Learning > Contacts Lists > Importing
Importing
Importing using a CSV

Importing from Salesforce
Our Importer is a simple tool enabling you to push contact data into StoneShot.
Importing is a two-stage process. After selecting your contact list, the importer verifies the integrity of your data then offers a set of import options, and works work with the Comma Separated Value (CSV) format of data.
Preparing your list for Import
Before you import your contact list to StoneShot, we recommend following the below steps to avoid any complications going forward.
- Open your list in Excel and through filters:
- Make sure you don’t have duplicate contacts
- All contacts have a valid email address
- Email addresses must always contain an @ and a .
- Email addresses must not begin or end with an @ or a .
- Email addresses must not contain any special characters like: ( ) , : ; < > [ \ ]
- The last column must be fully populated, with no empty cells. As every record requires either an email address or a CRM ID (if importing by CRM ID), we recommend keeping the Email or CRM ID column as the final column.
Once you are ready with the preparation, you can save the file to *.csv and import it in StoneShot.
How to import a list
Once you have your CSV file prepared, login to the StoneShot app and under Contacts select Import Manager > Import contacts as shown below.

Once you have clicked the Import Contacts button you will be able to see the import wizard as shown below. Simply go through the steps to get your list importer.
First, you’ll be asked to choose either your csv file by using the Browse function or, if you have CRM integration such as Salesforce, the Salesforce report you wish to import from.
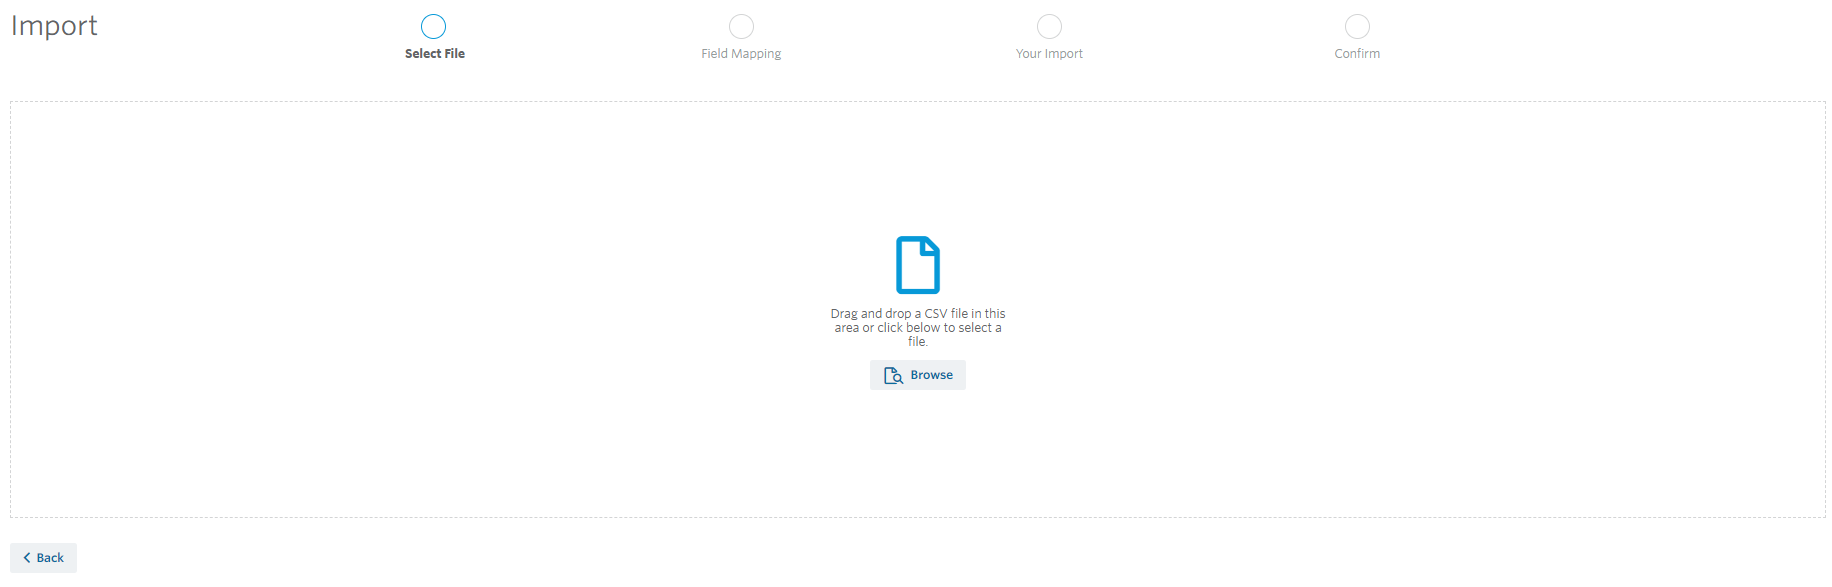
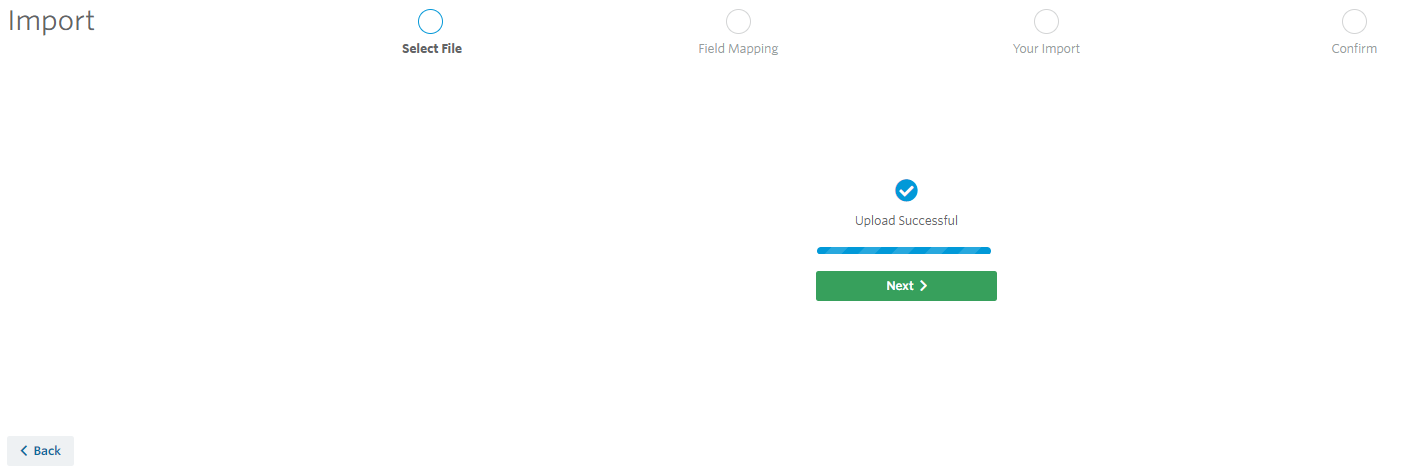
Select your file and click next once it has been successfully uploaded.
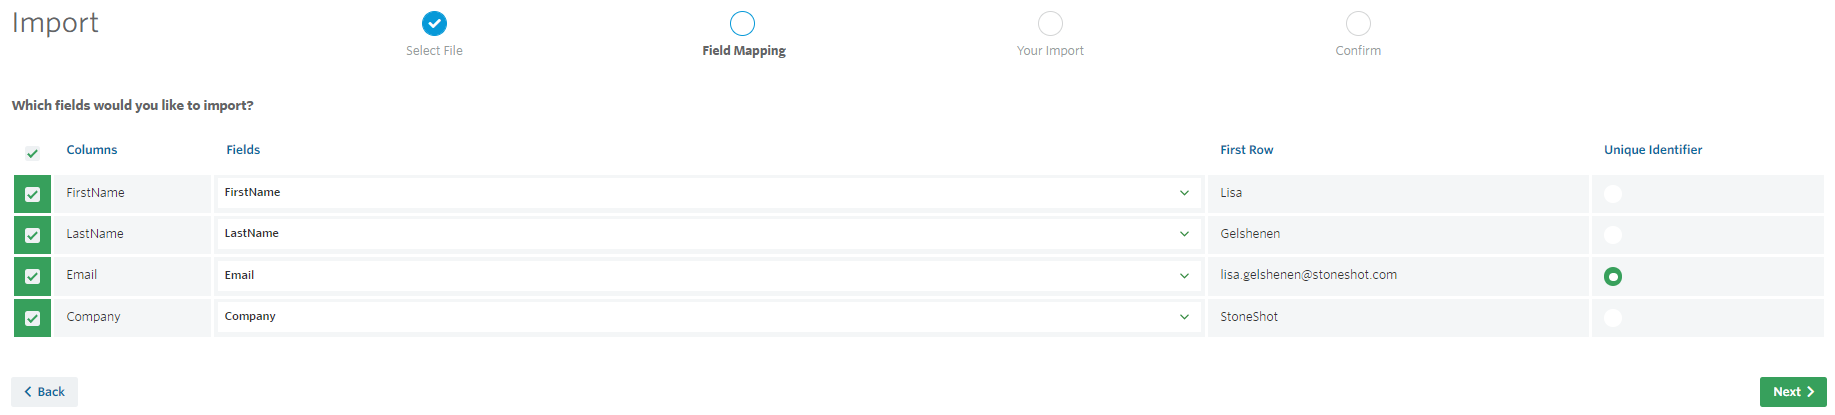
Now you’ll be able to choose which columns from your Excel file to include in the upload. Columns is the name in your file, Fields is the options you can choose to import your column into, First Row gives you an example of the data from your file, and Unique Identifier is telling you how the importer will distinguish between contacts. This will always be Email unless you have a CRM ID in which case that will be chosen.
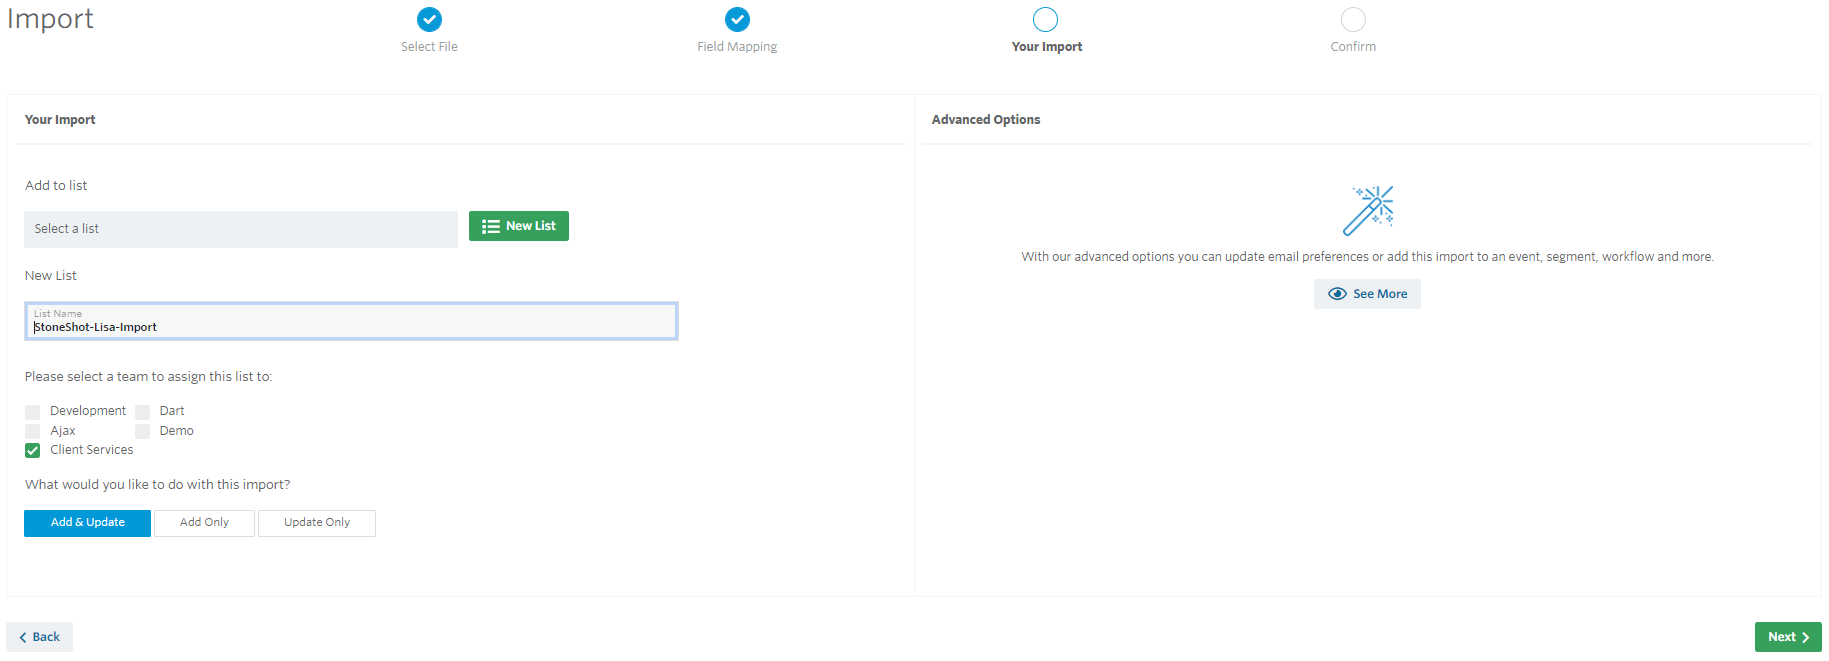
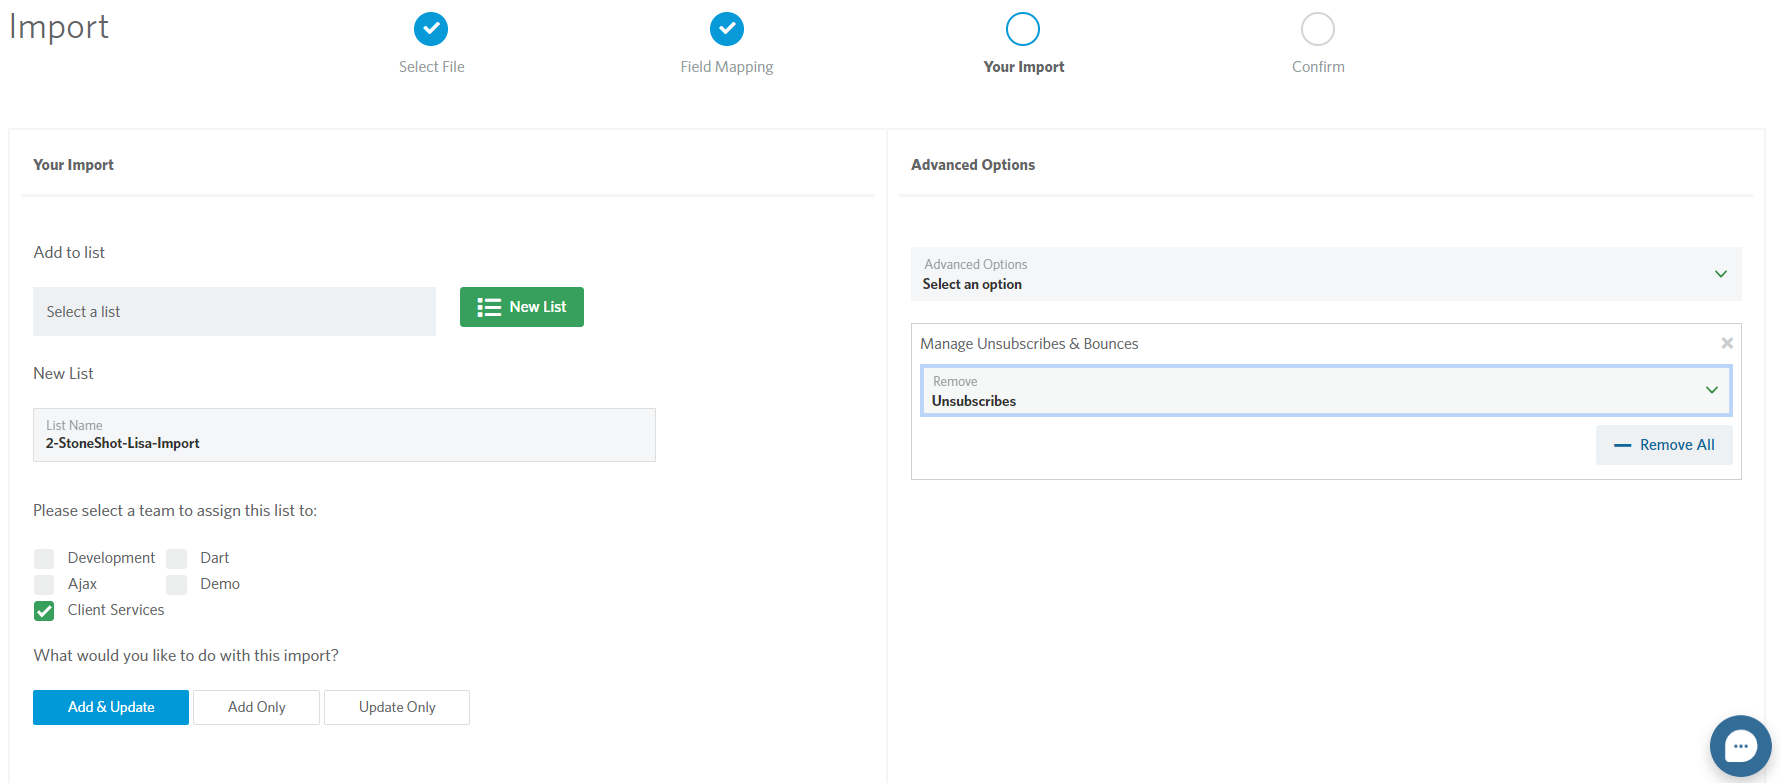
Once you’ve mapped your fields, you’re then going to decide what to do with your data.
First you can decide whether to add your data to an existing list, create a new list from your data, or not create a list simply updating the contact information from your file into your account.
Here you’ll also choose what happens to new and existing contacts on your list be picking one of the below options:
- Add & Update: adds new contacts and updates existing matching contacts
- Add Only: adds new contacts and skips those that already exist
- Update Only: skips any new contacts and updates matching ones
 Alternatively, you can use the import solely to add new contacts and/or update existing contact records without adding them to a list. In this case, simply leave both the Add to List and New List options blank.
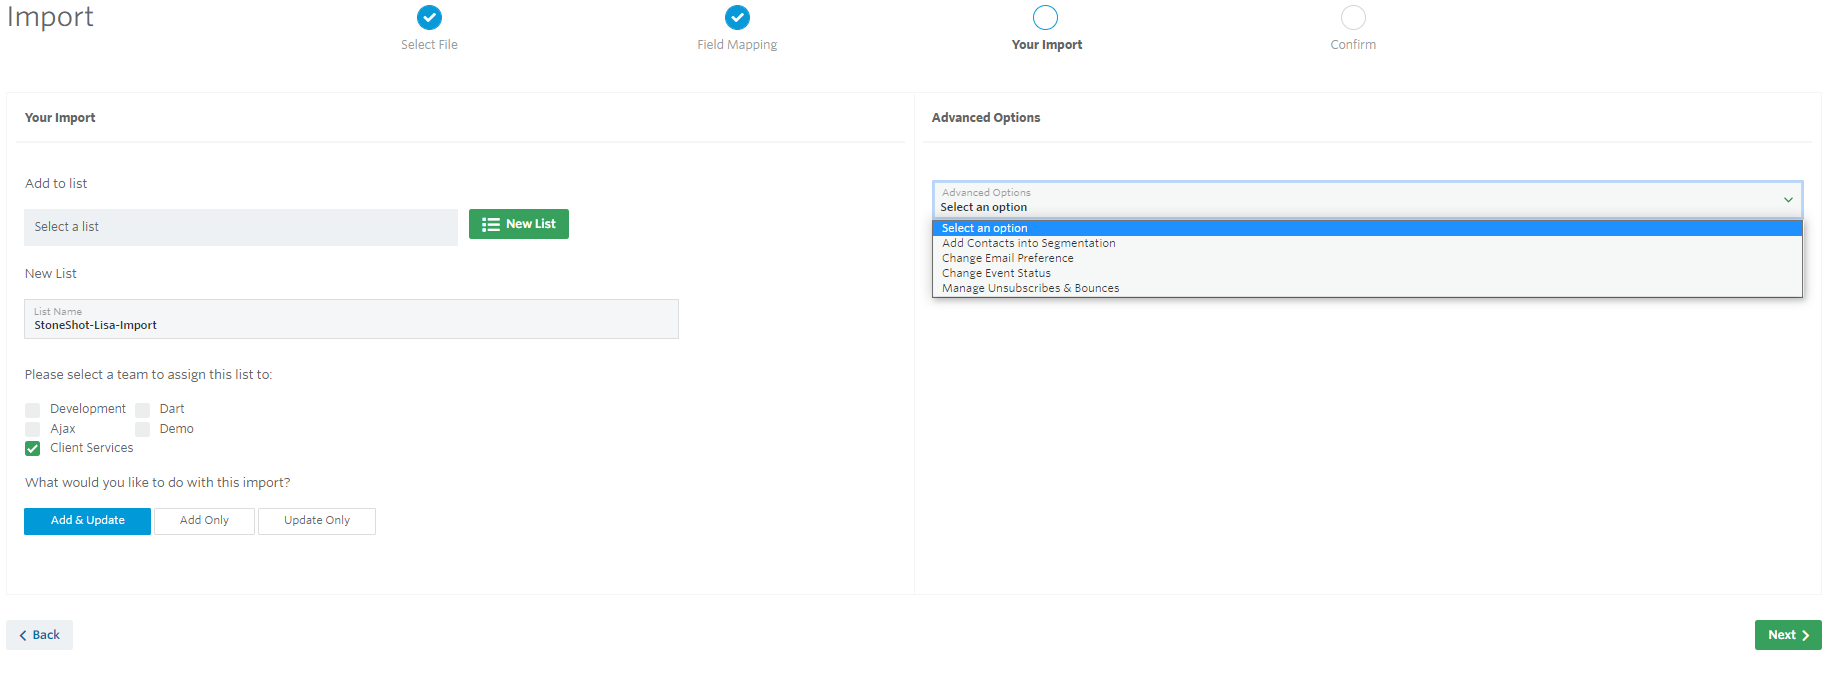
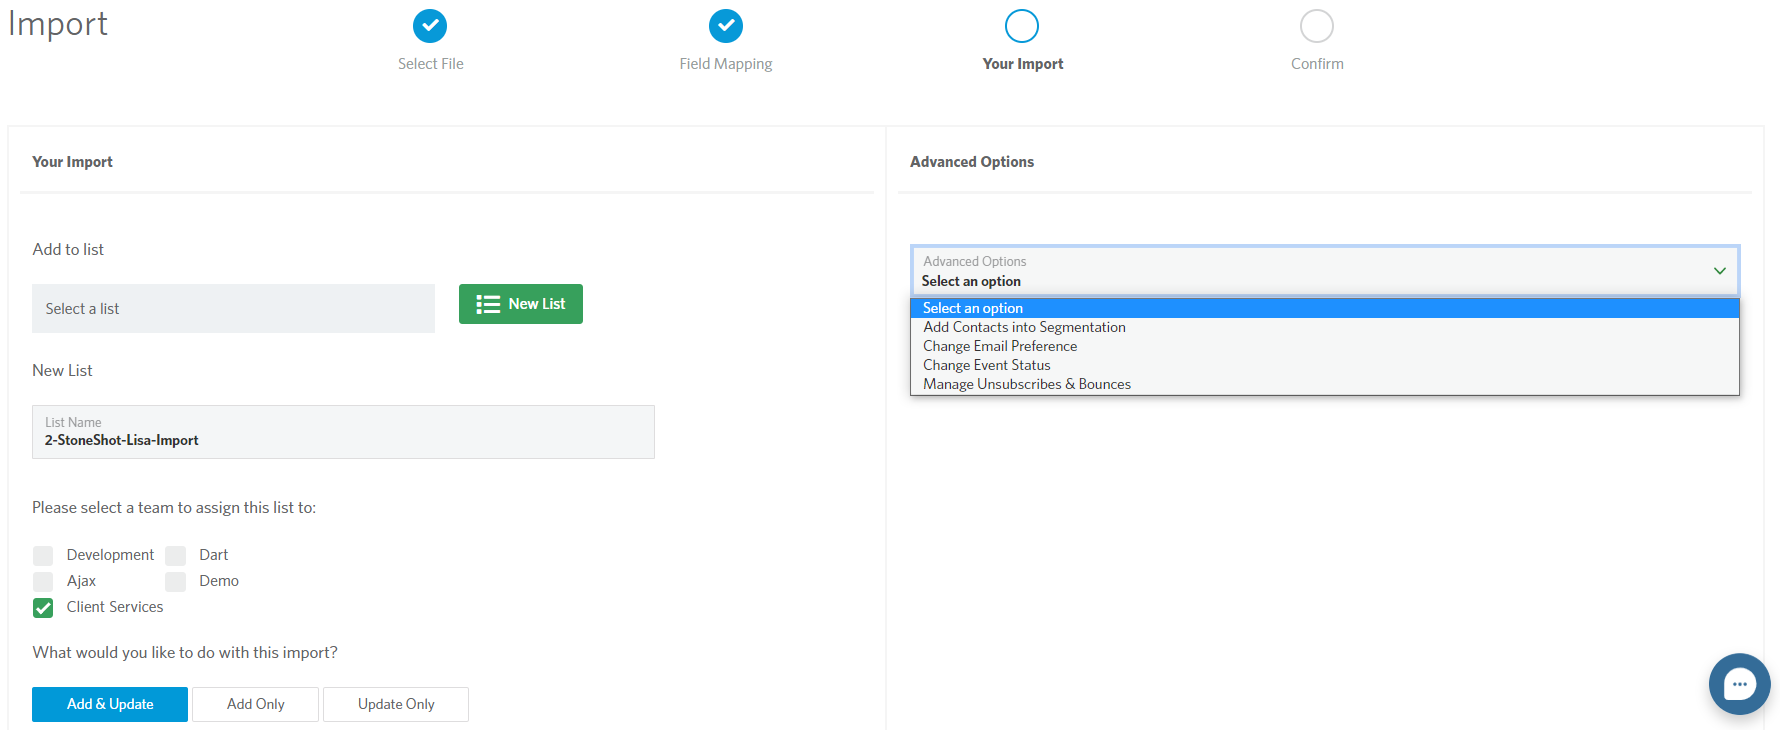
You can import your list now if you wish by clicking Next. However, you may wish to use the Advanced Options section on the right-hand side of the screen. This gives you four different options on how to manage your list:
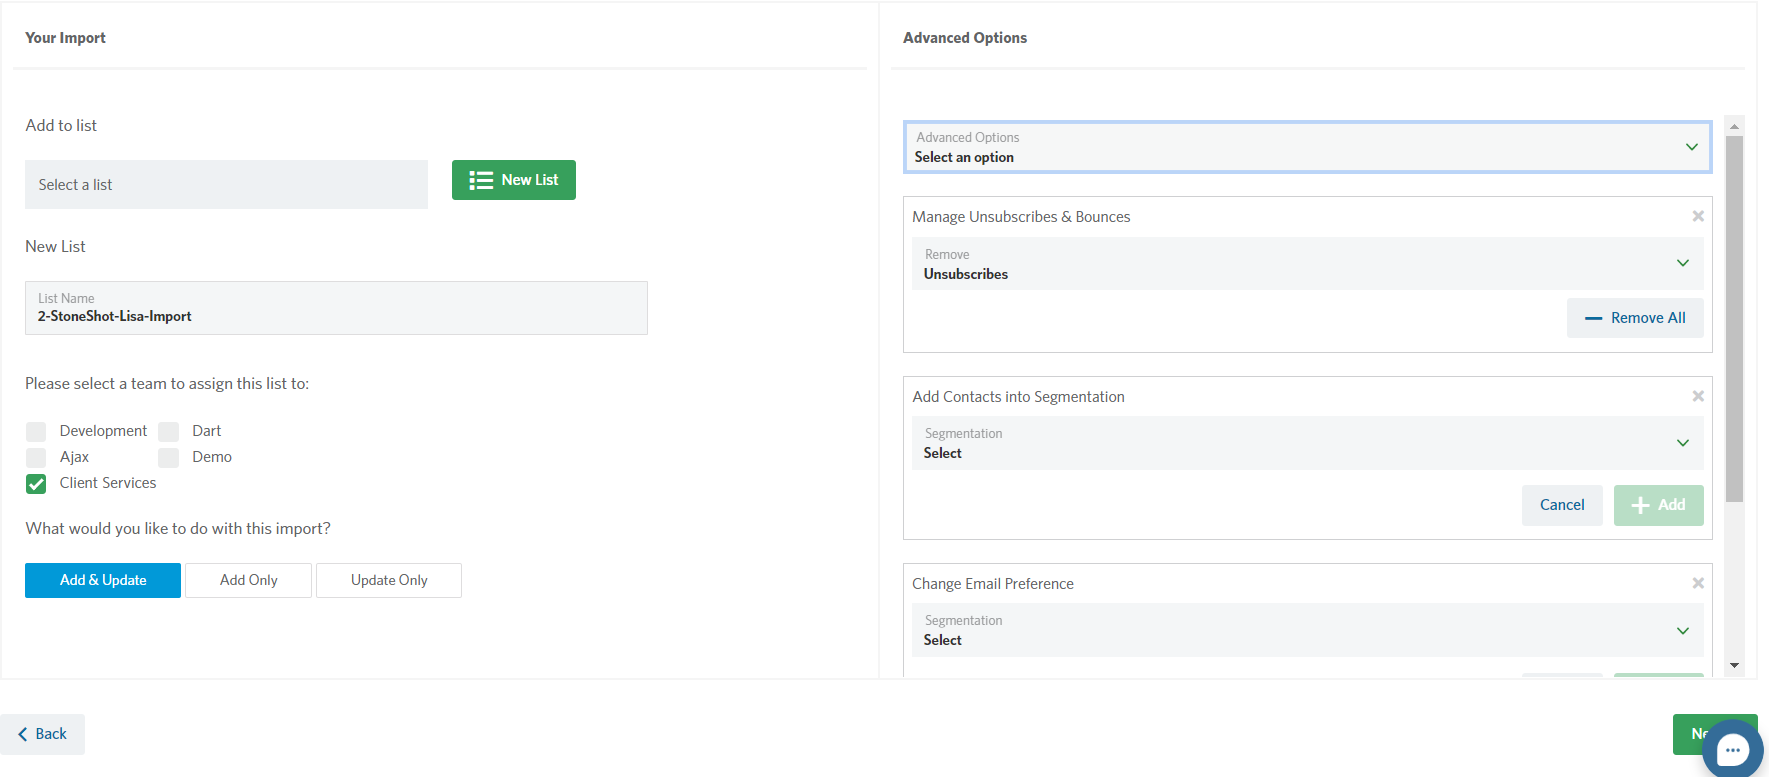
- Add Contacts into Segmentation – Get the importer to set all of the contacts in your list to a certain StoneShot Segment. (e.g. Set all contacts to ‘Region = UK’, or ‘Sales Manager = Mr Jones’). All contacts in the list will be set to the Segment you select.
- Change Email Preference – Get the importer to set all of the contacts in your list to a certain StoneShot Email Preference. (e.g. Set all contacts to ‘Newsletter = Subscribe’, or ‘Webinars = Unsubscribe’). All contacts in the list will be set to the Email Preference you select.
- Change Event Status – Get the importer to set all of the contacts in your list to a certain StoneShot Event Status. (e.g. Set all contacts to ‘Christmas Party = Invited’, or ‘Financial Seminar = Registered’). All contacts in the list will be set to the Event Status you select.
- Manage Unsubscribes & Bounces – If you wish to keep your list clean, you can choose to not import anyone set to Unsubscribed or Bounced. They will still exist in your account of course, just not in your mailing list.
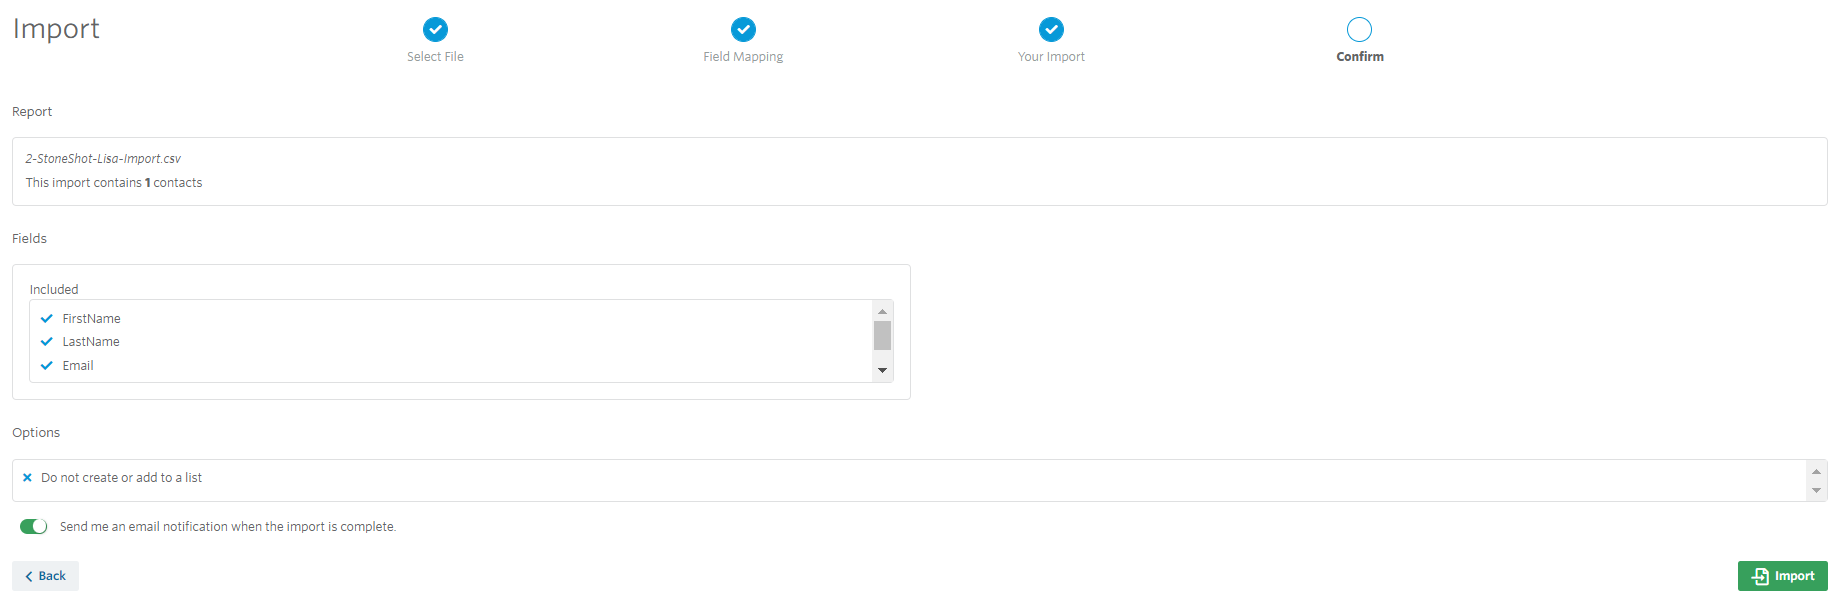
When you have selected all of your options, click on Next and you’ll be taken to a final summary screen. This will give you the details of what is about to happen to your import, what additional options you’ve selected, if it’s a new list etc.
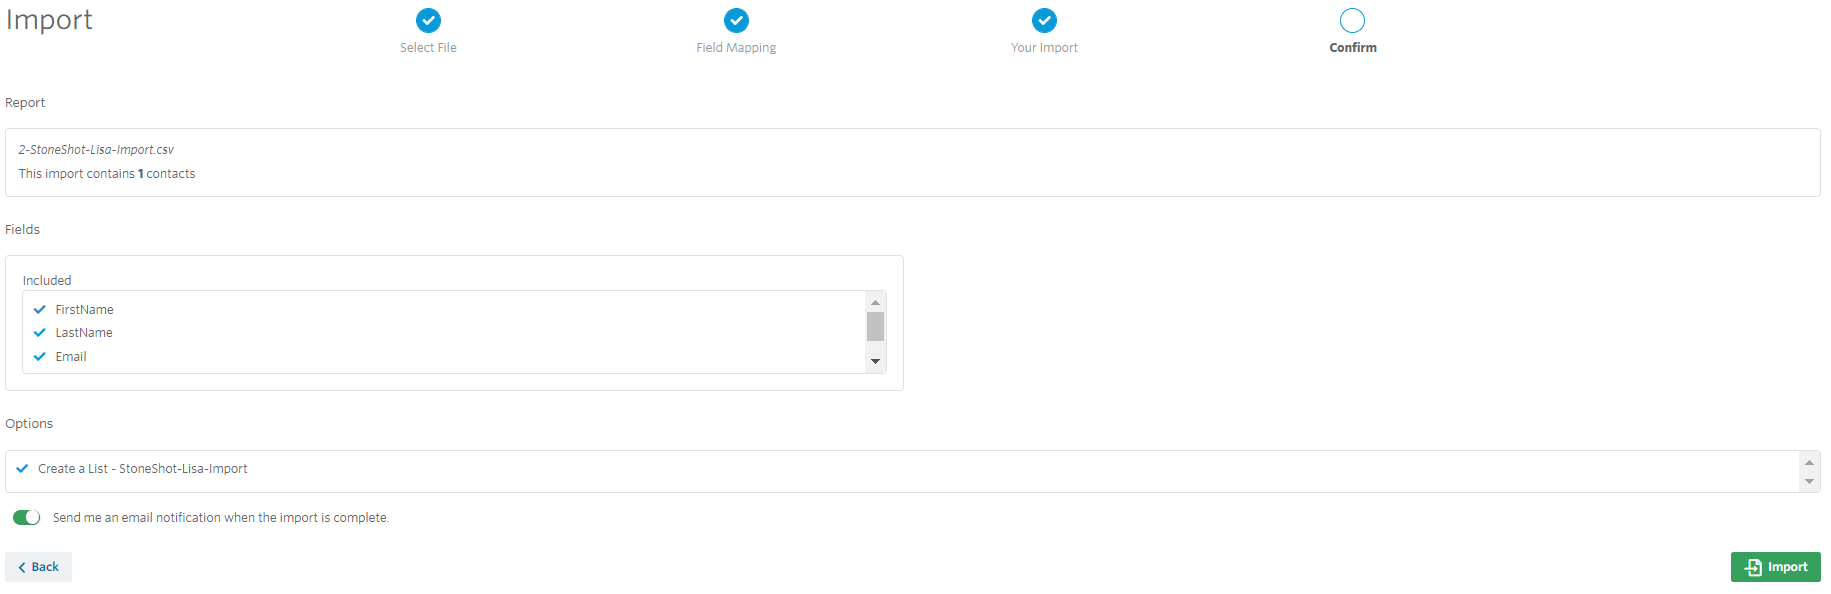
One final thing to decide is whether to receive an Import Report when your import has completed. This is set to on by default, and we’d recommend keeping it on so you are aware when your import has completed. If you don’t want to receive an email, simply turn the toggle off.
When you are ready click on Import. This will take a few minutes, depending on how long the list is.
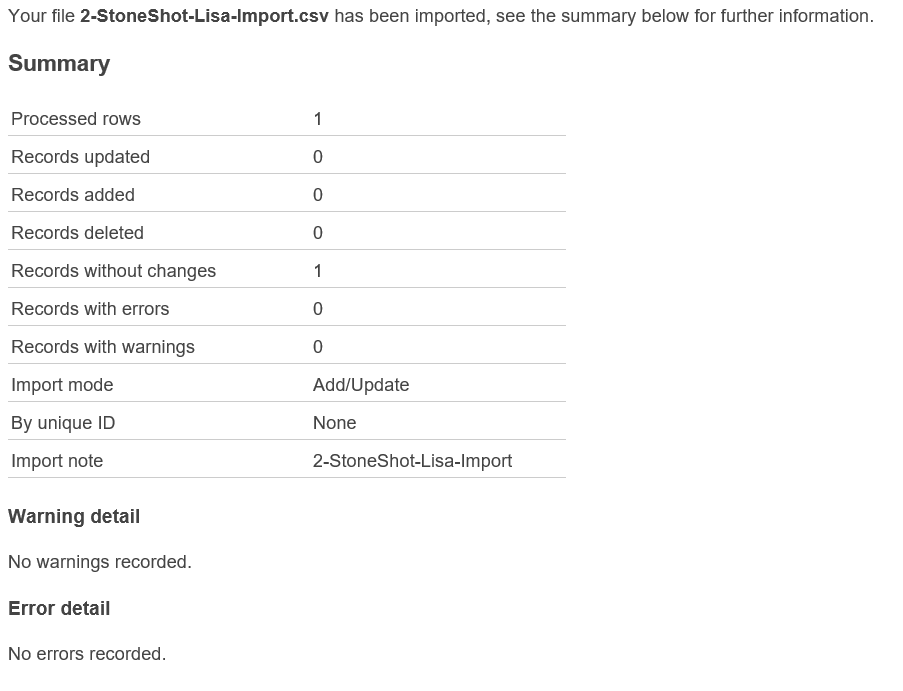
Import Report (if selected)
Once your list is imported you will be emailed an automatic Import Report detailing all the information for your import. If there were any errors or contacts dropped from the import you will be able to see them on this email notification – this could be for reasons such an email missing or an invalid email address. Records Skipped simply means that the contact record in your account was an exact match for the record in the import. It has still been included in the import list.
Where can I see my import?
If you selected New List, you can view your import by going to Contacts > Lists

The first list will be the latest import and it will be named with the name of your new list and a timestamp of the import. You can edit the name of the list by going into the list and clicking on the edit pencil.
FAQ
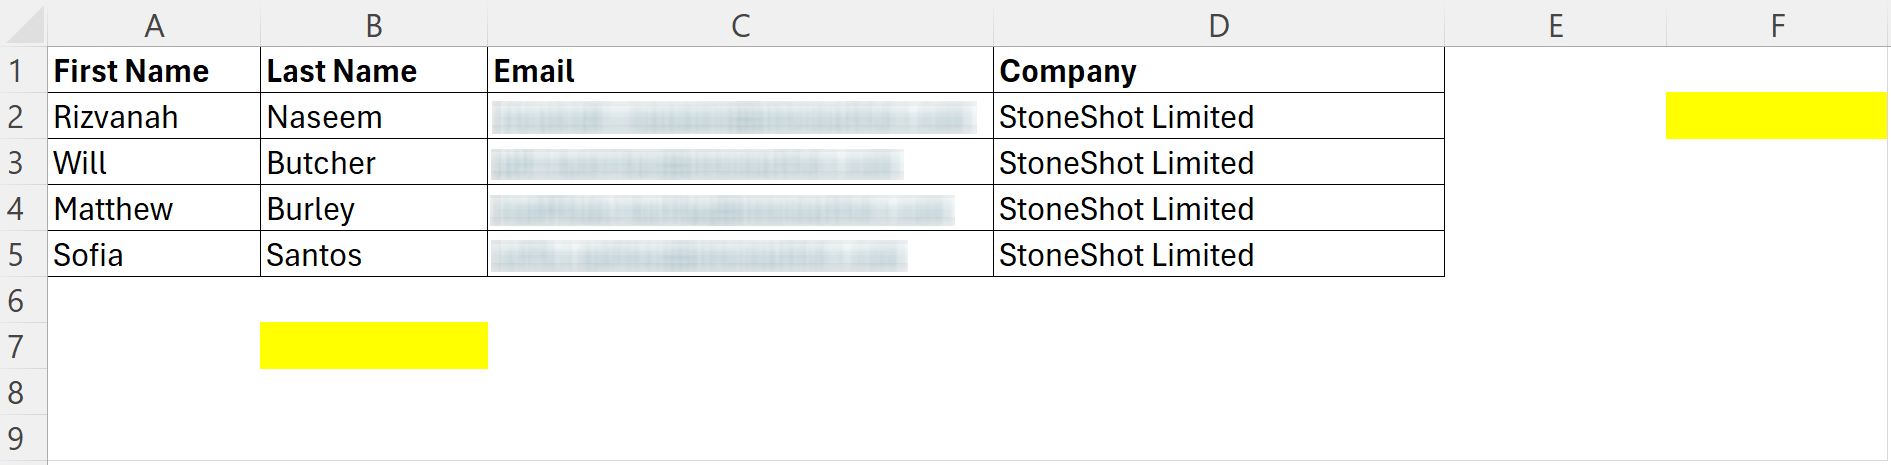
Why is my list import erroring?
If you’re trying to load in some data through the Import Manager tool and find yourselves getting errors messages, such as the one below, most times it can be fixed with a few simple steps:

- Check to see whether your last column has a value for every row – a quick fix would be to move email address to the end so that this is the final column of your data set

- The importer is picking up some hidden values in the columns to the right and underneath your data set

There are two ways to fix this:- Select all the empty columns to the right of your data set (either by clicking the column header and dragging until all the columns have been highlighted or clicking CTRL + Shift + Right Arrow Key). Then right click on the highlighted cells and either select Delete or Clear Contents.
 Repeat this steps for the rows (need to click CTRL + Shift + down Arrow key instead)
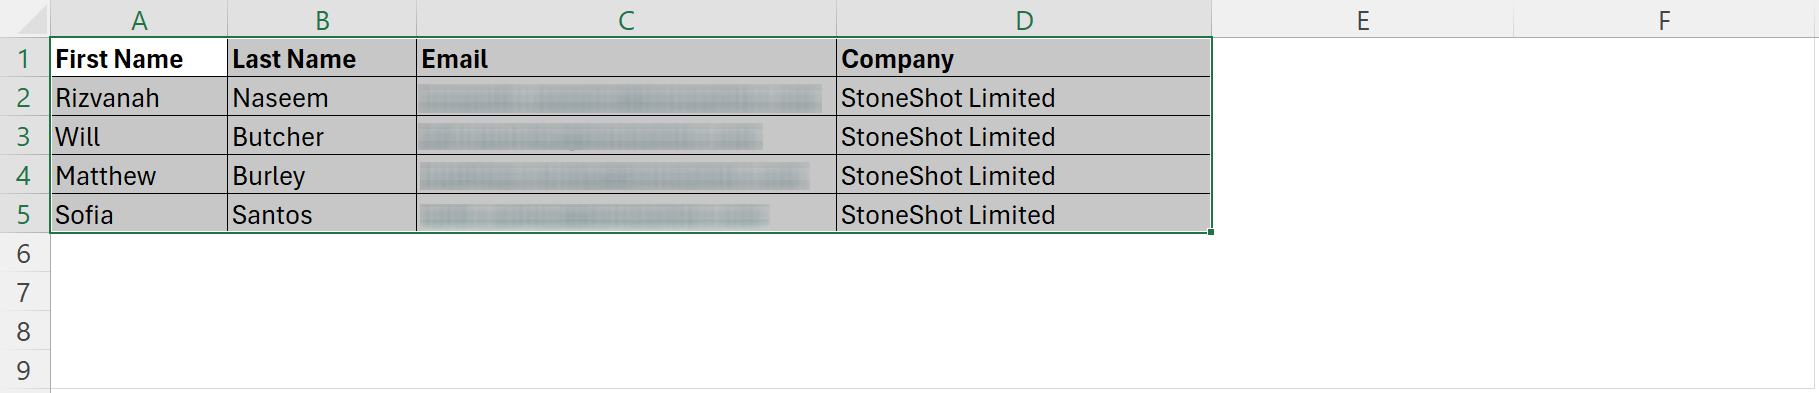
- Copy just the cells that contain your data set into a new file

- Select all the empty columns to the right of your data set (either by clicking the column header and dragging until all the columns have been highlighted or clicking CTRL + Shift + Right Arrow Key). Then right click on the highlighted cells and either select Delete or Clear Contents.
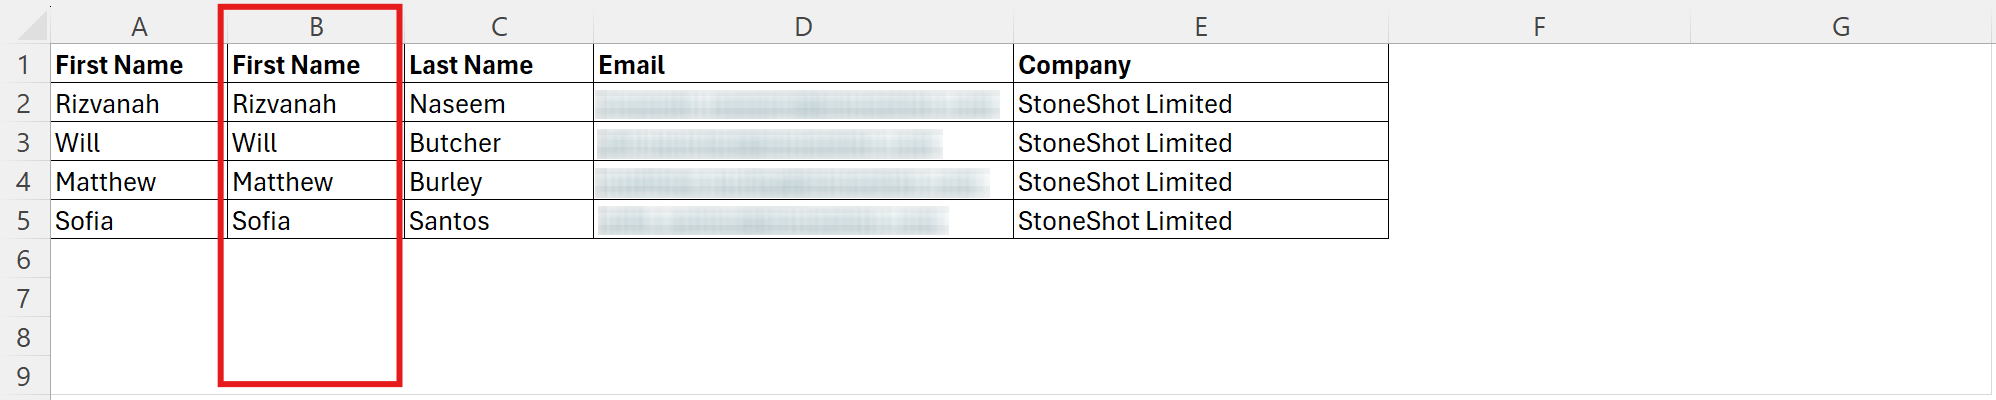
- Remove any column/s that are duplicated or rename the column to a unique name

- If you have CRM integration make sure there are no duplicates CRM IDs in your data set
 You can easily identify the duplicates by using Conditional Formatting, Highlight Cell Rules and select Duplicate Values function

- Make sure the file is saved as a .csv file.

 Repeat this steps for the rows (need to click CTRL + Shift + down Arrow key instead)
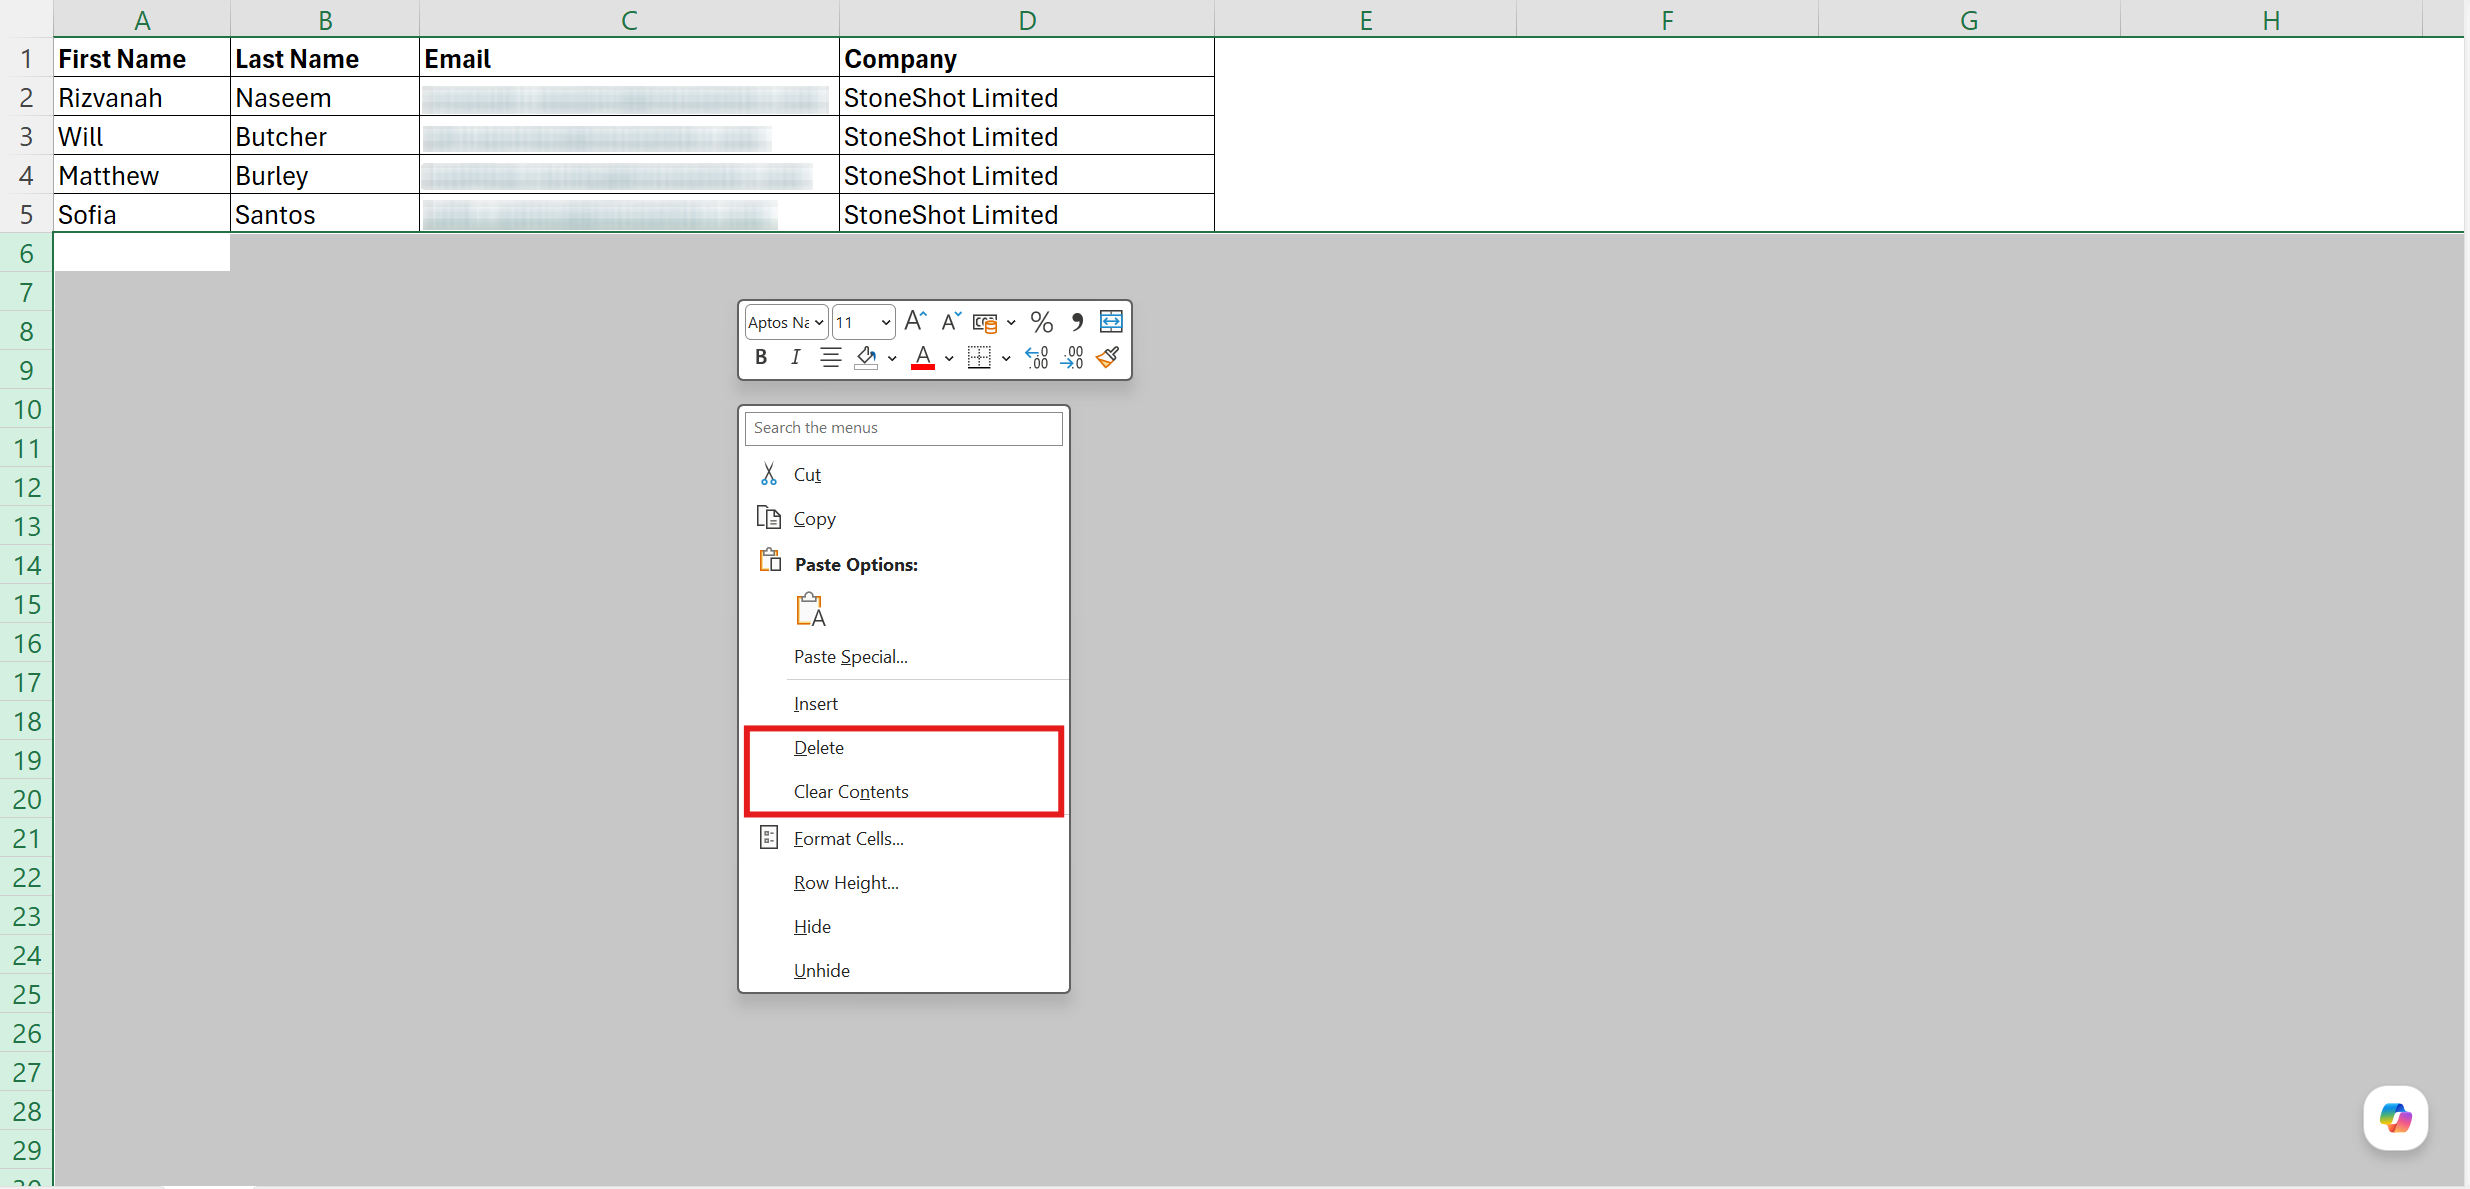
 You can easily identify the duplicates by using Conditional Formatting, Highlight Cell Rules and select Duplicate Values function
If this does not work, please get in touch with the support team.