


StoneShot Learning > Contacts Lists > Exporting
Exporting

Lists can be exported for a variety of reasons, hence why you can export a list from various places throughout the StoneShot app. You can export a list of people who signed up for an event, export a list of those who attended a seminar or even export a list to update your corporate CRM. Don’t be overwhelmed as once you get hold of the concept, the process is always the same.
For learning how to Export your contacts from within a list, please check out the export section within our Managing Lists article.
Email campaign stats export
One example of a list export could be if you wanted to export a list of those who opened an email campaign.
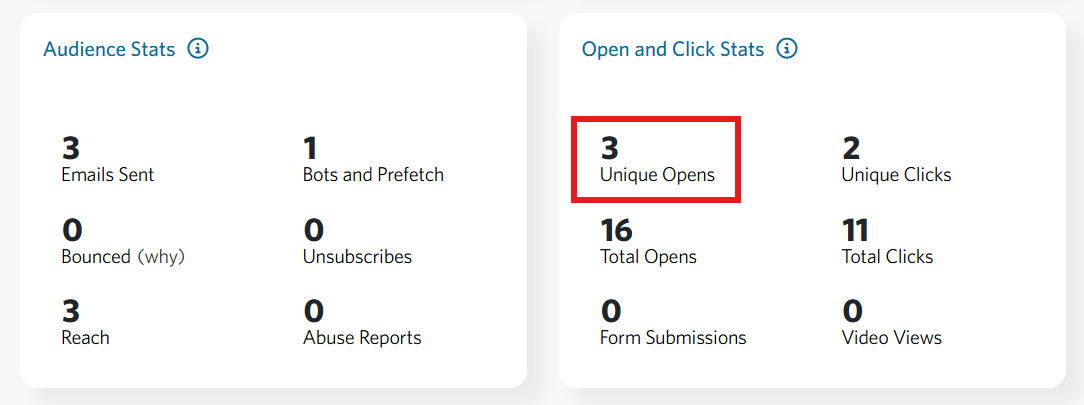
After getting to the campaign page (Reports > Campaigns), you can see the overall campaign stats. In the example below, we can see that 3 opened our email.
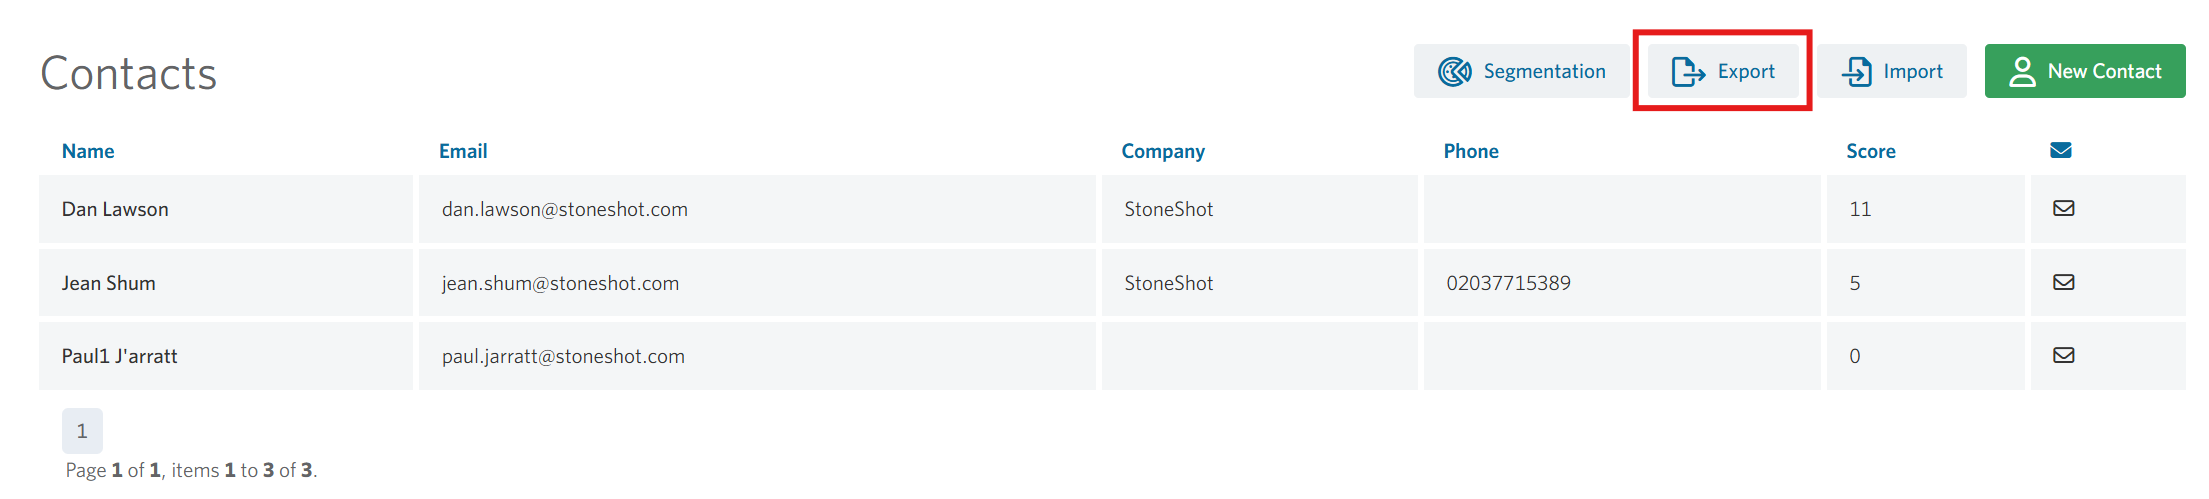
We click on Opened and we get the list of those who opened our email. At the top of the list we can also see a button named Export.
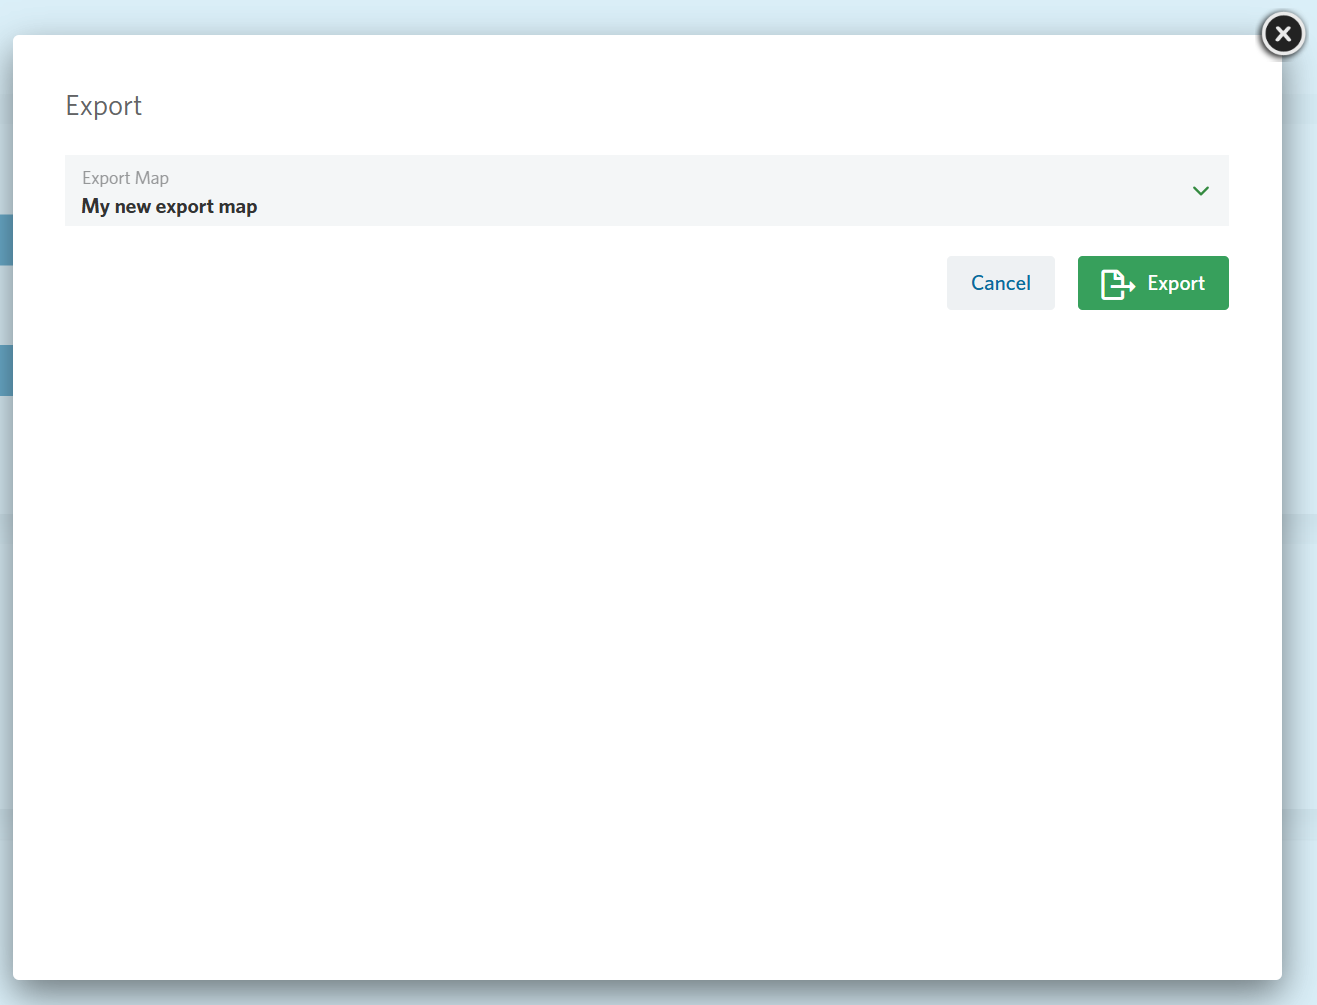
Click on Export and you should see the pop up below.
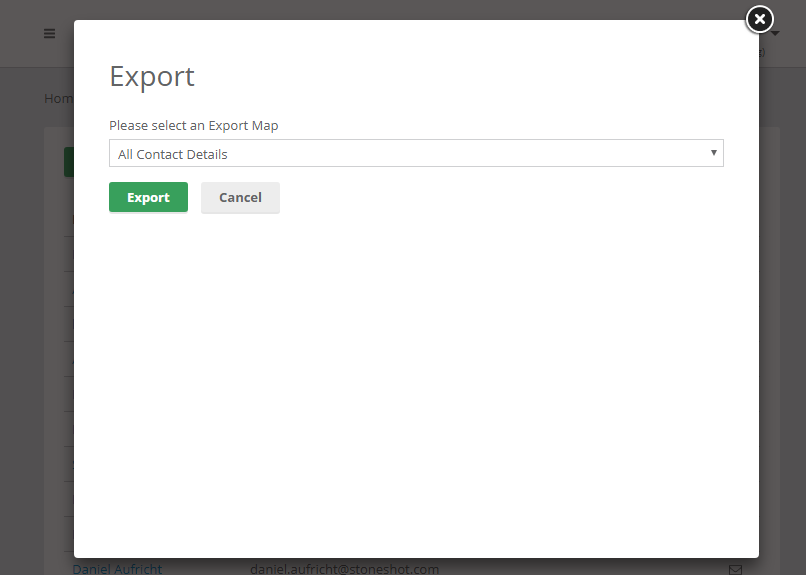
Here you can select from your various Export Maps, which will be explained further down this article, but for now you can just click on Export and you should see the file downloading.
This same process can be replicated to export all the other stats from the campaign page.
Event registration stats export
To export lists from event registrations, you would need to go to Events > Events, select the event you want and from the event summary page click on Export
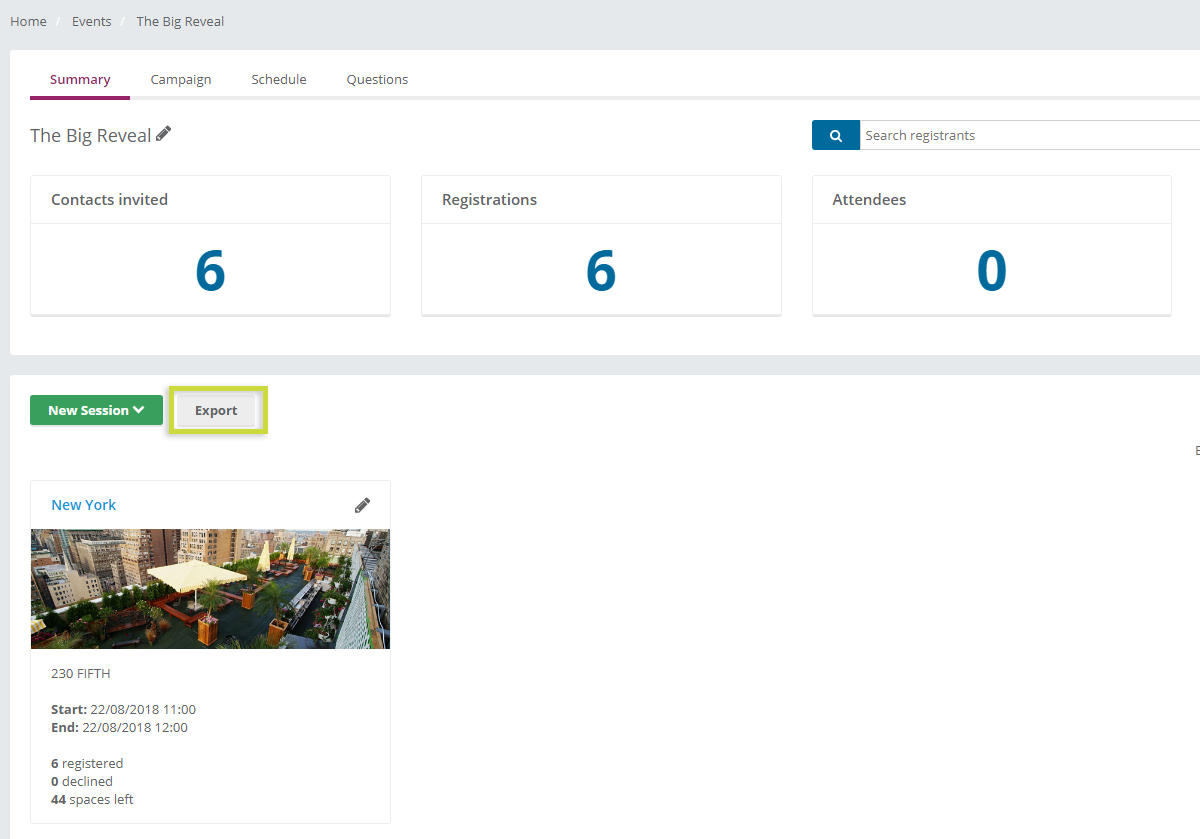
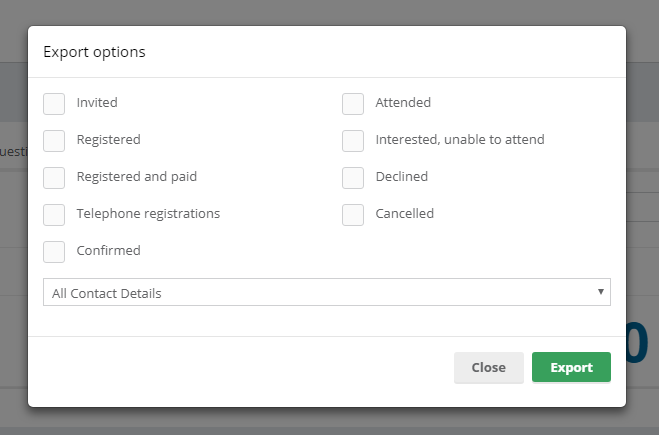
You will be presented with a popup from which you can select multiple options to include in your list export. As you can see below, you can combine more than one status with one export.
Form submissions export
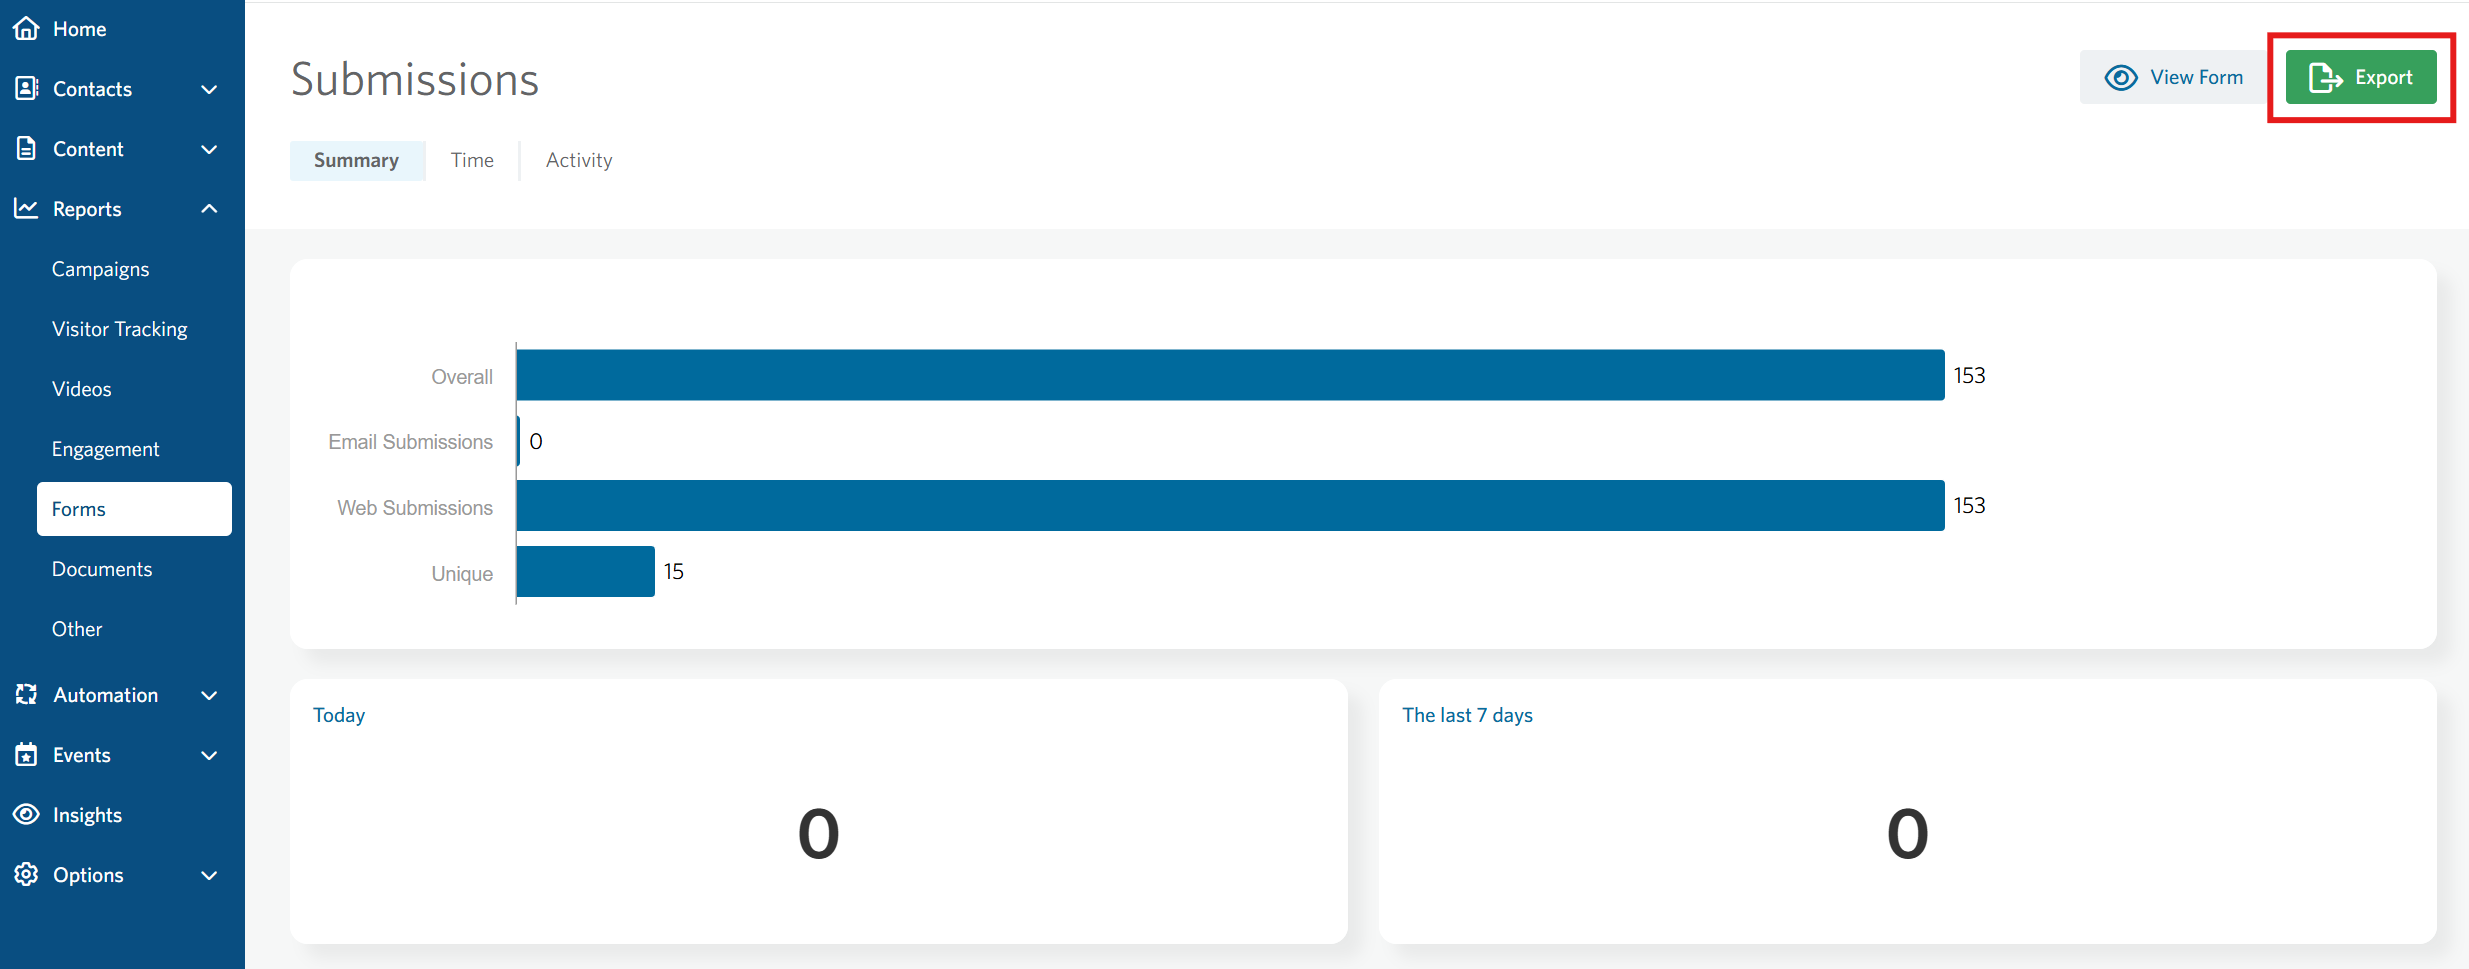
Another list to export would be form submissions. To export form submissions, you need to go to Reports > Forms, select the form you want and from any of the tabs (Summary / Time / Activity) you will find an Export button.
Once you click the export button you will see a slight difference in the export popup. This time the pre-set export map is set to Submissions Export instead of All contact details.
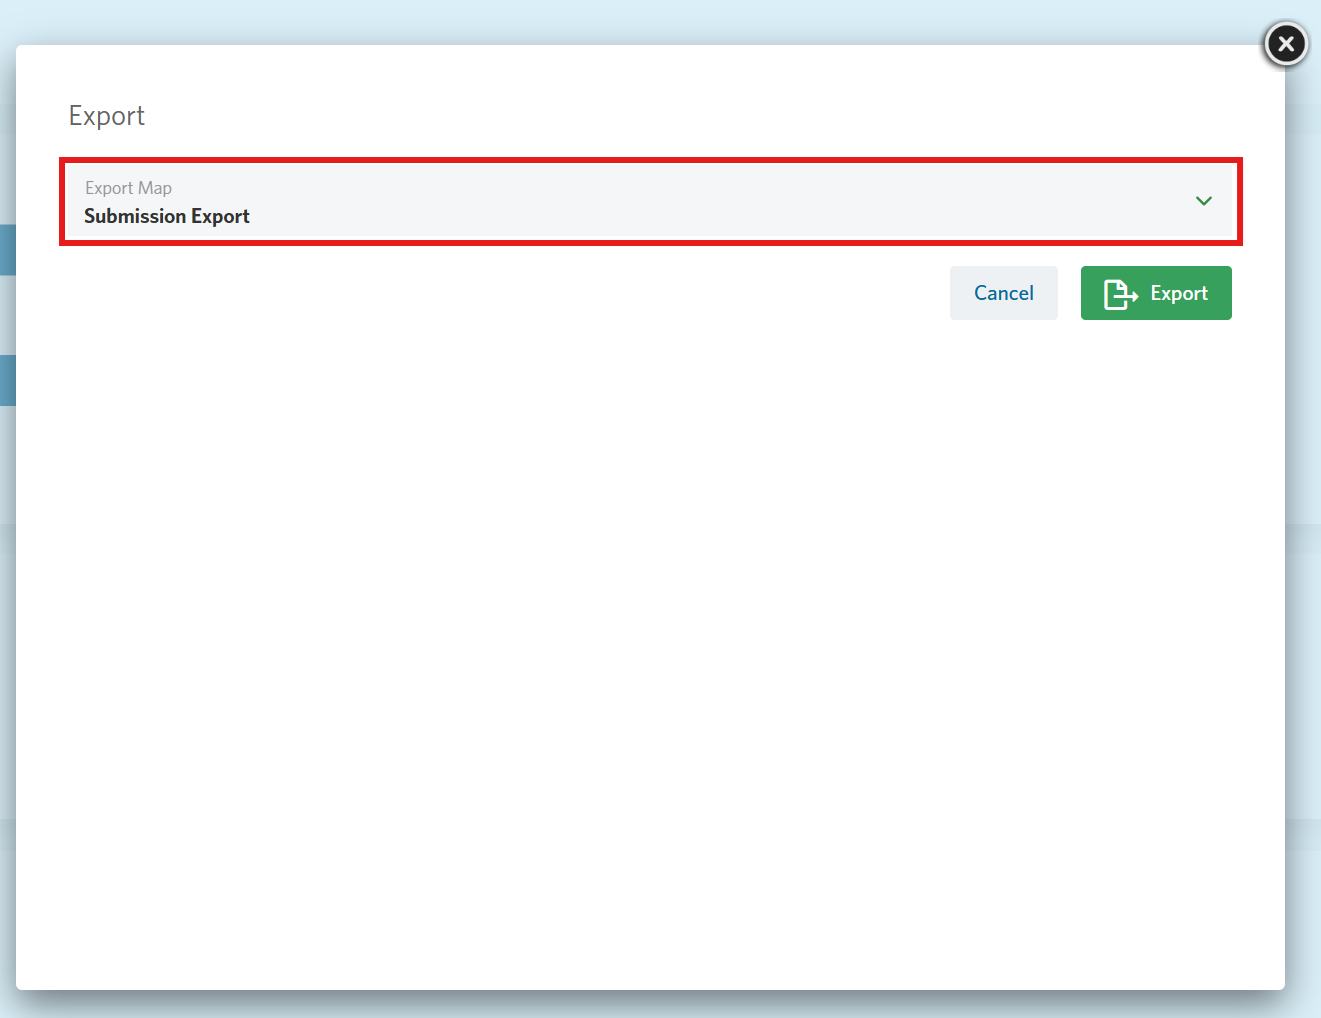
This export map is specifically built for form custom fields. It will include not just the users’ information but also custom fields that have been created specifically for the form.
Export Maps
What are Export Maps and how to create them?
As you might have already wondered throughout this article, is it possible to export only the necessary data not all the contact details?
The answer is yes. For a onetime report it would be easy to just export all details and delete the unwanted columns but if it is a weekly or even daily report, you might want to create an export map where instead of exporting all the details you can export just the data you need.
To create an export map, you need to go to Options > Export Maps > New Export Map
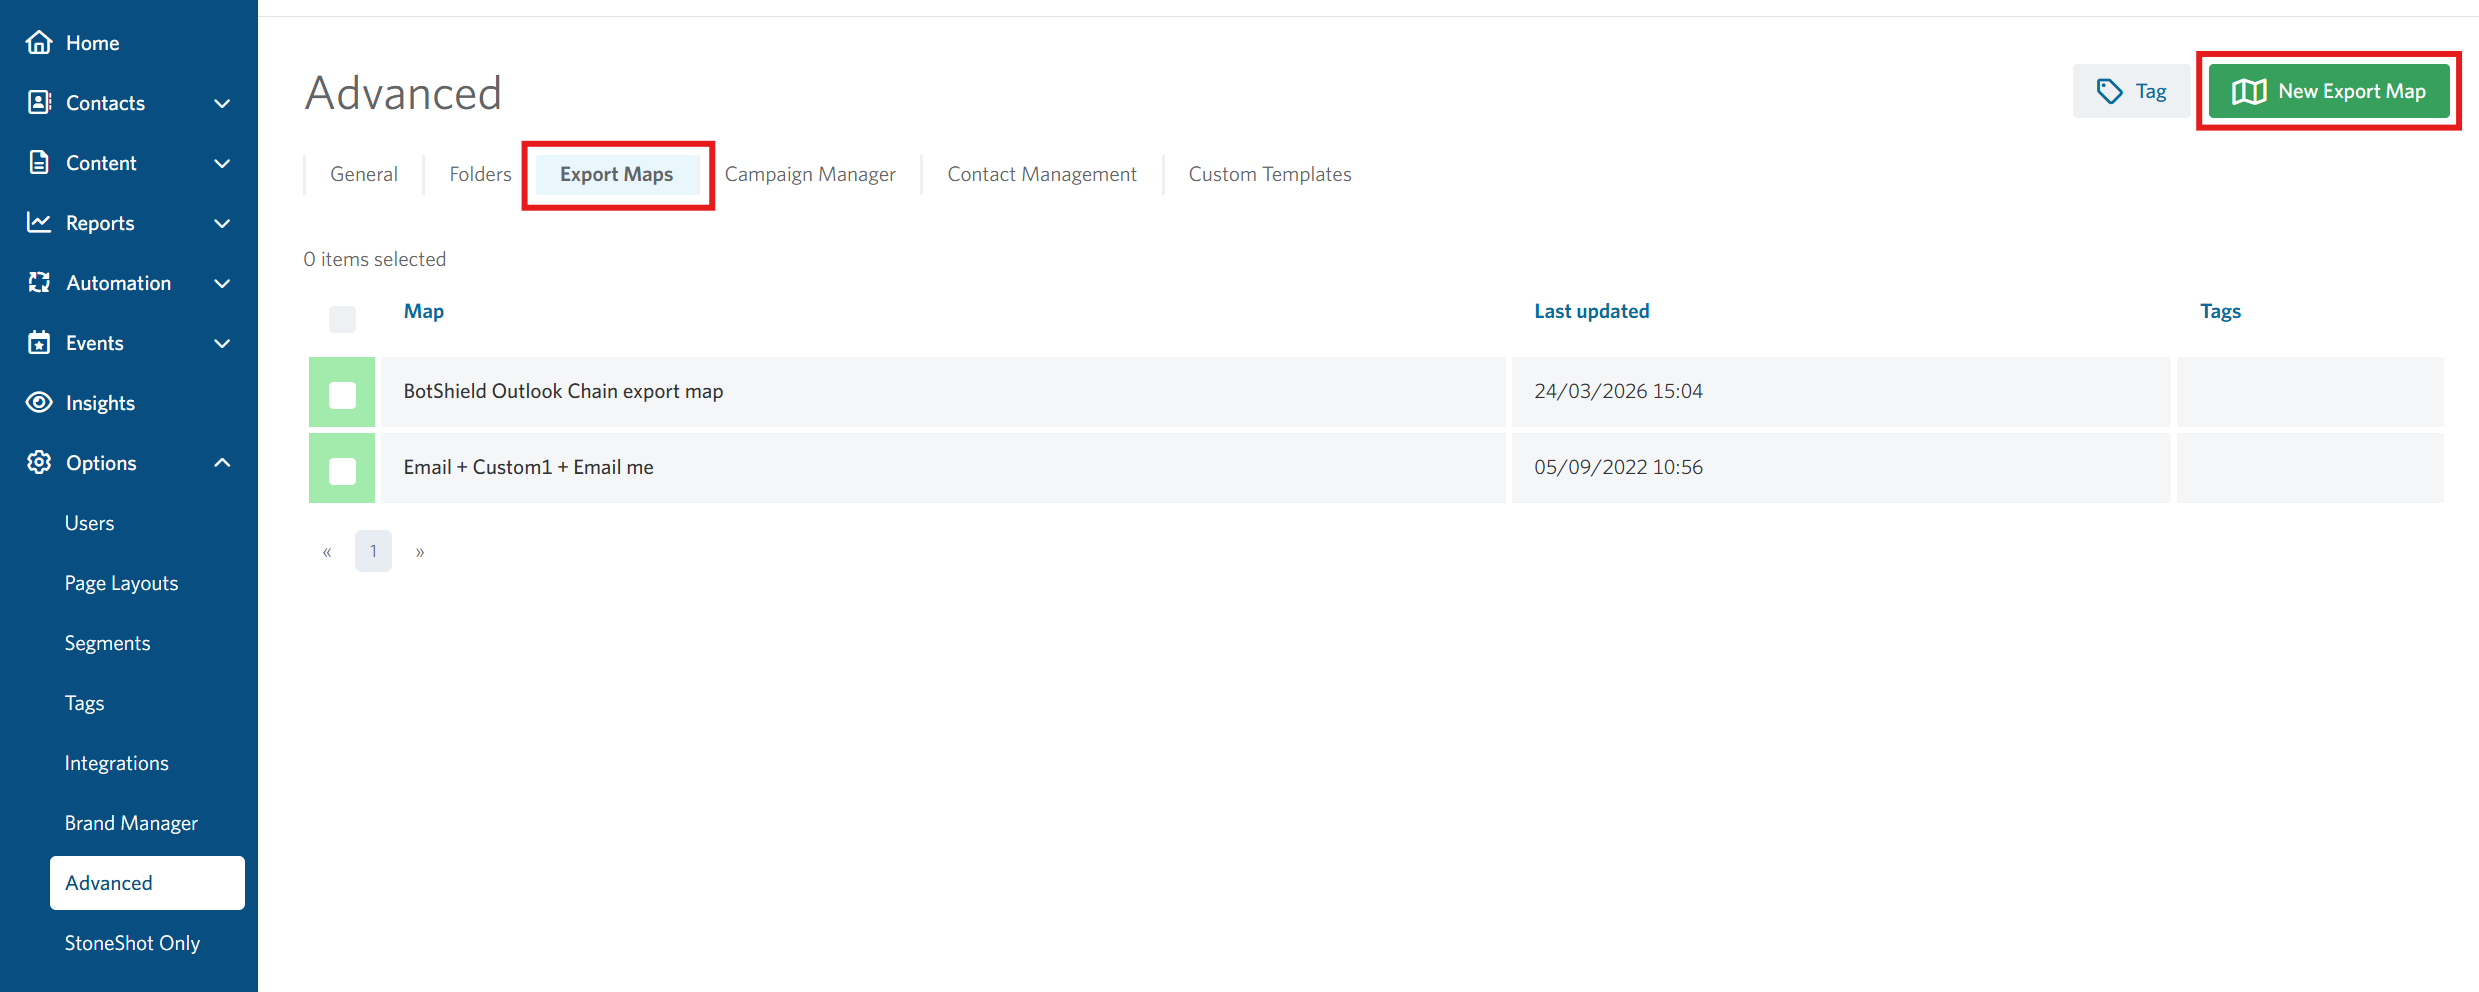
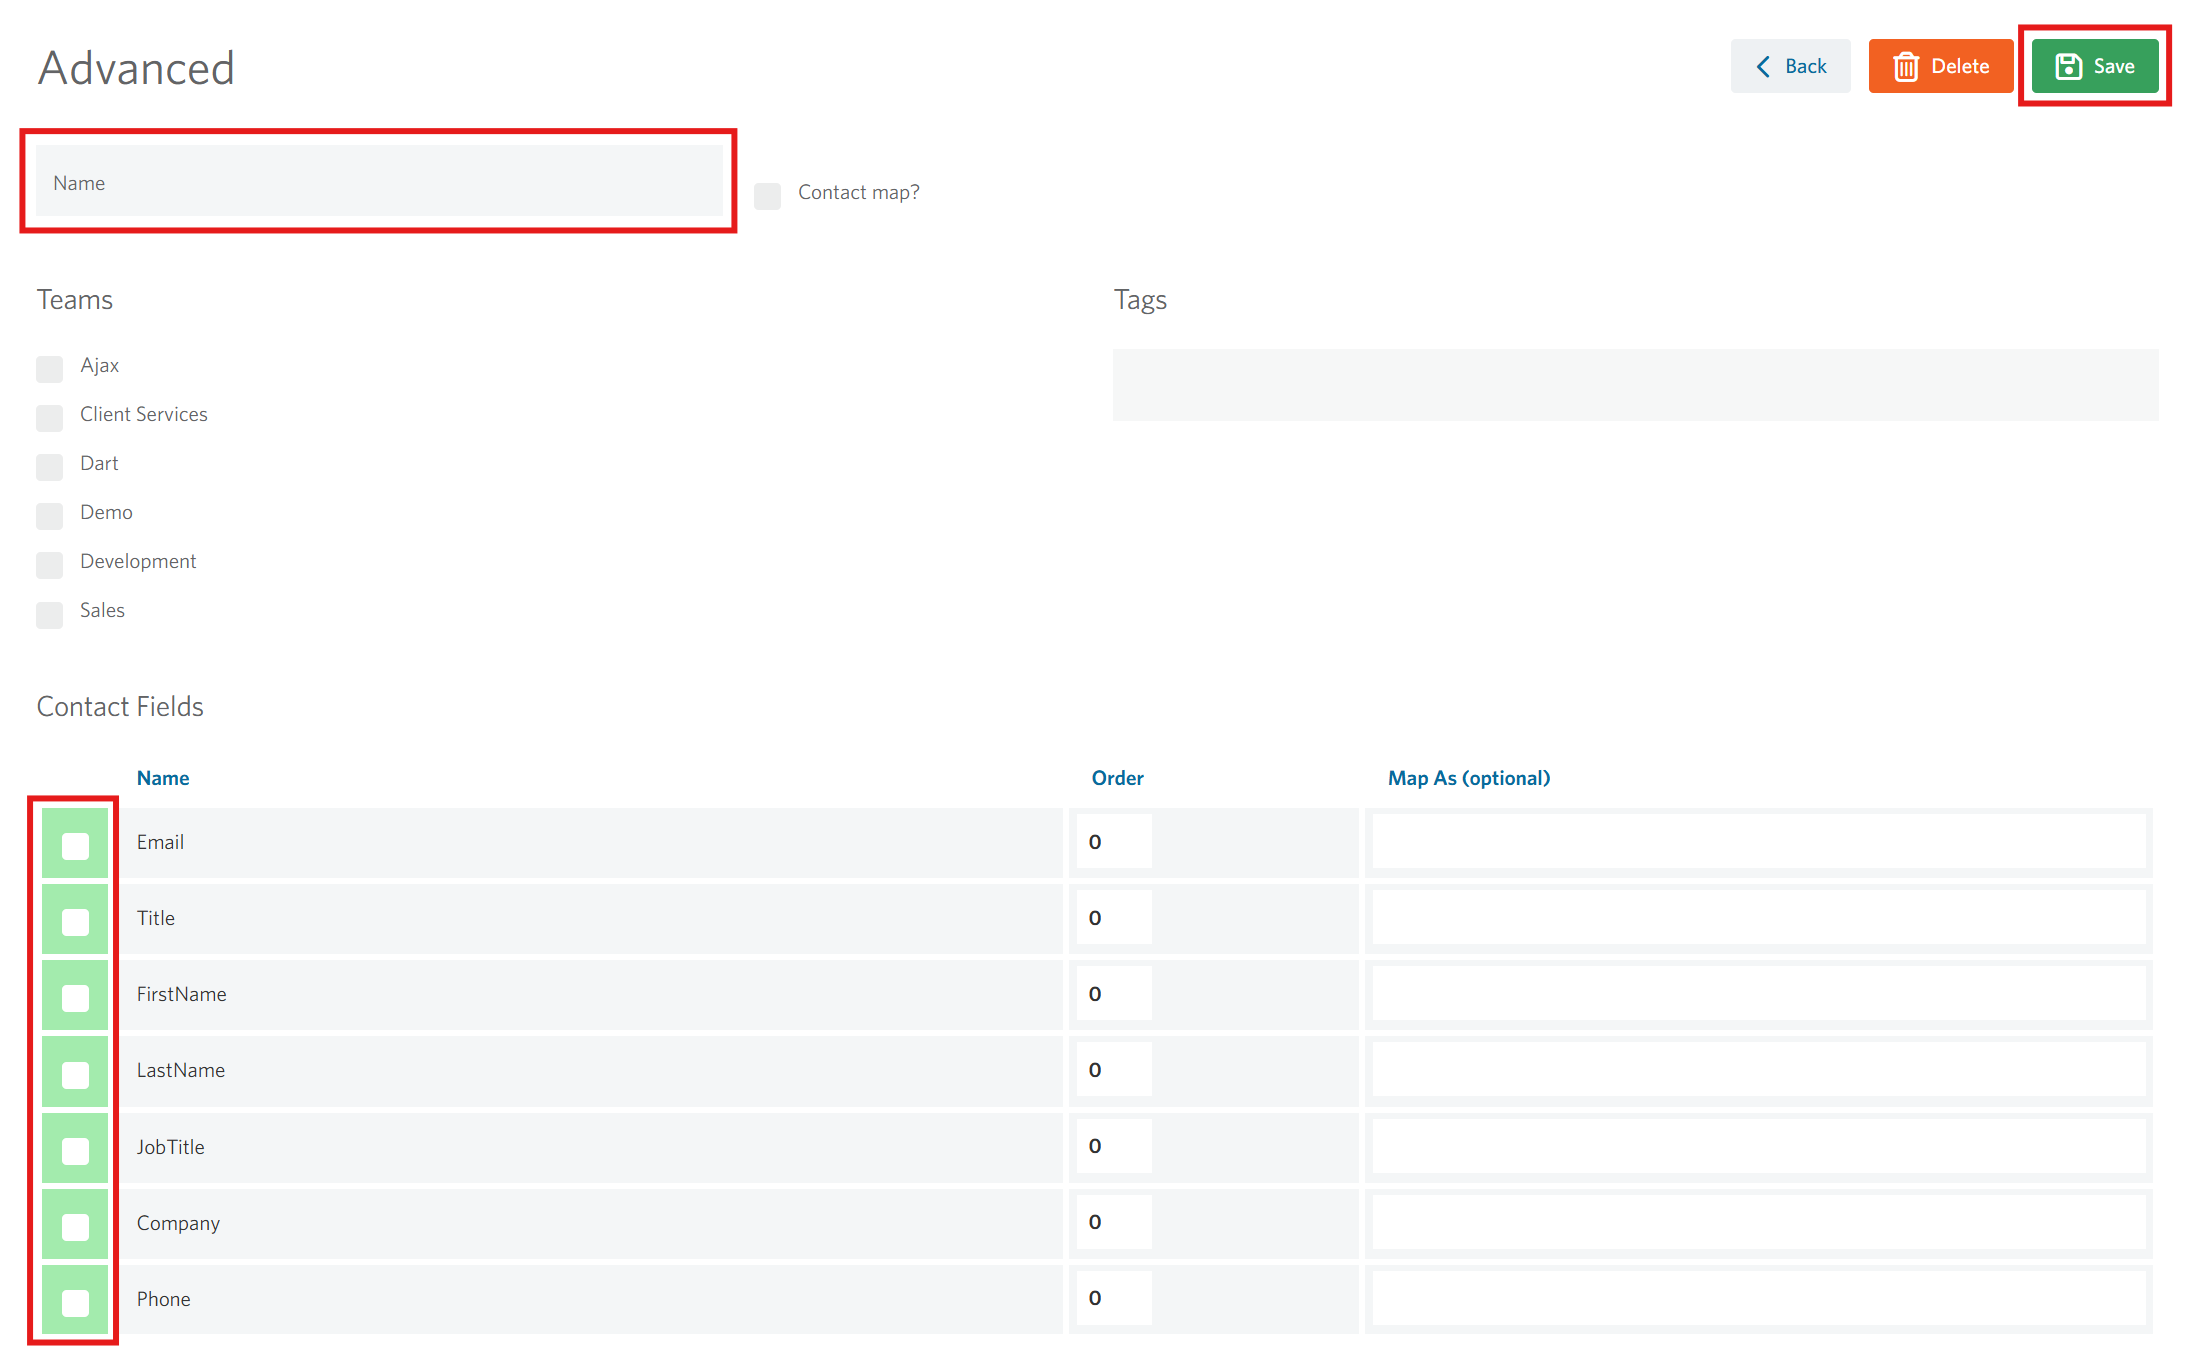
Once you get to the screen below, the process is quite easy.
- Give a name to the export map,
- Tag (Optional)
- Select a team if you want to restrict the map to a particular team (Optional)
- Choose the fields you want to include in the Export Map.
- Save
You can also choose to change the default order the data comes out by putting the order numbers you’d like in the Order box against each field. You can also change the default field name for a field when using the export map by using the Map As box against each field.
Now that we’ve set up our export map, we should be able to see it in any of the export locations we mentioned throughout this article.