


StoneShot Learning > Event Marketing > Event Schedules
Event Schedules
A schedule defines the communications plan around your event and it’s set up under the Schedule tab.
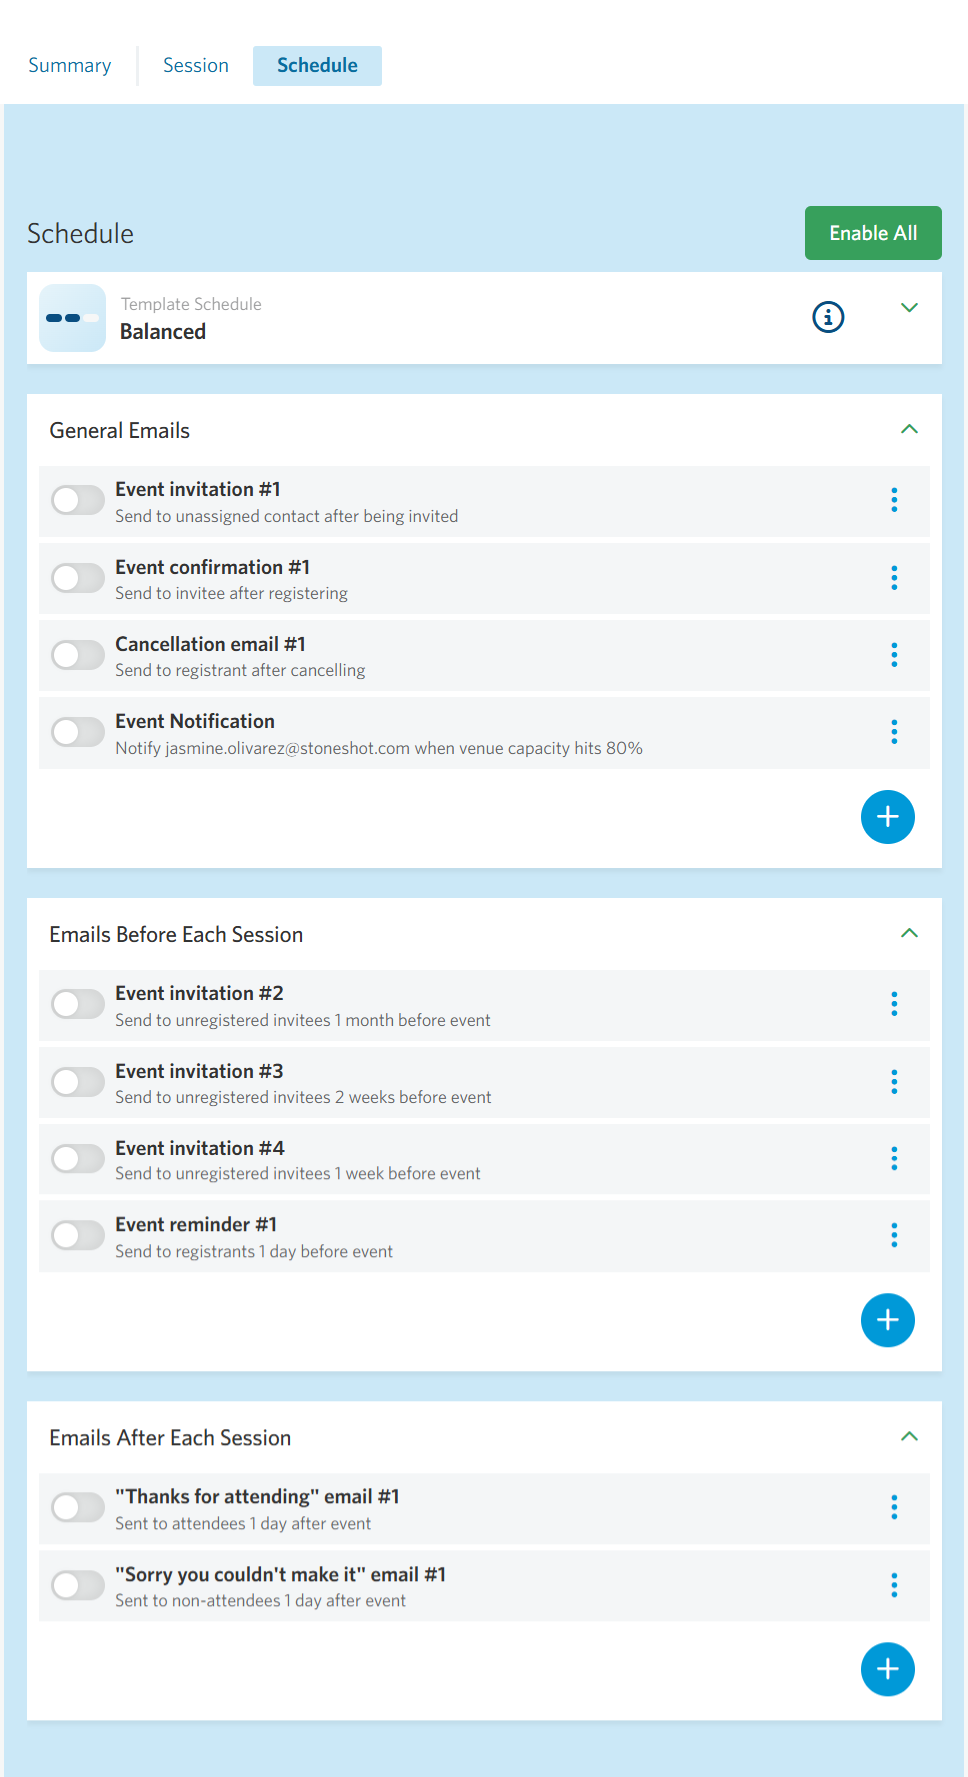
There are three groups of actions:
- General Emails
These emails or notifications get sent at any time during the event. A good example is sending an invite email when a contact is set to Invited. It allows you to automatically invite clients at any time after the event has been launched. - Emails Before Each Session
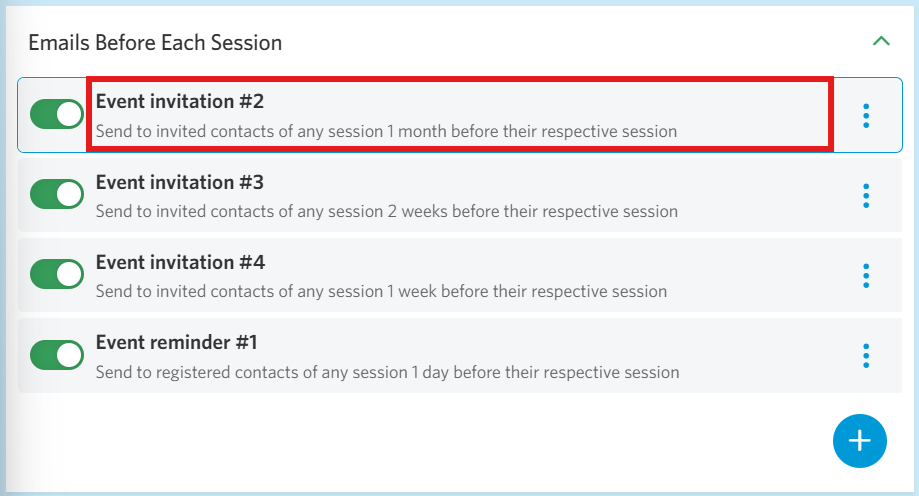
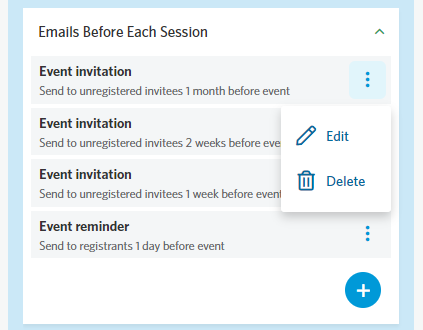
These emails are triggered based on the date of each session. So you could automate the first invitation email going a month before, the second 2 weeks before and a third a week before each session. These invites would only get sent to contacts that are set to Invited, so those that registered or declined are ignored. We could also send a reminder email the day before to Registered contacts. - Emails After Each Session
These emails get triggered after each session. So “Thanks for Attending” or “Sorry you couldn’t make it” emails are good examples. You can automate post-event CE/CPD certificates too.
Template Schedules
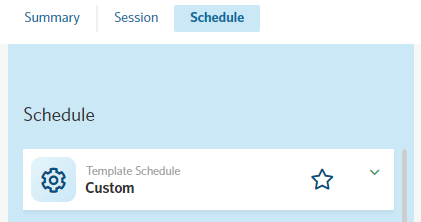
At the top of the panel you’ll see Template Schedule. We’ve created three templates based on our best practices:
- Basic – the most, umm, basic option with no automated invitation emails before each session.
- Balanced – our recommended template with three invitations, a reminder and solid post-event emails.
- Advanced – like Balanced but with the CE/CPD included.
All three schedules use email and form templates from our library. These templates are linked to the Brand Manager so they have your logos, fonts, color palettes and more. The templates also pull in your event info and deal with sessions with no agenda, speakers, etc. We’ve put in loads of work so you don’t have to 😃
Enable Schedules
The schedule needs to be activated so that our emails send out. There’s a master toggle that allows you to enable or disable all the schedule items at once.

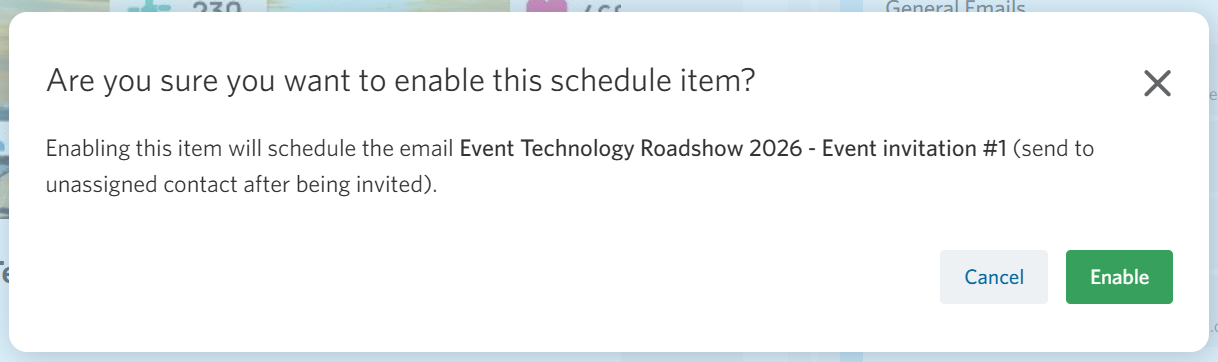
Any time enabling or disabling a schedule item would impact emails being sent to your invitees, a confirmation modal appears, giving you a chance to review before making changes.
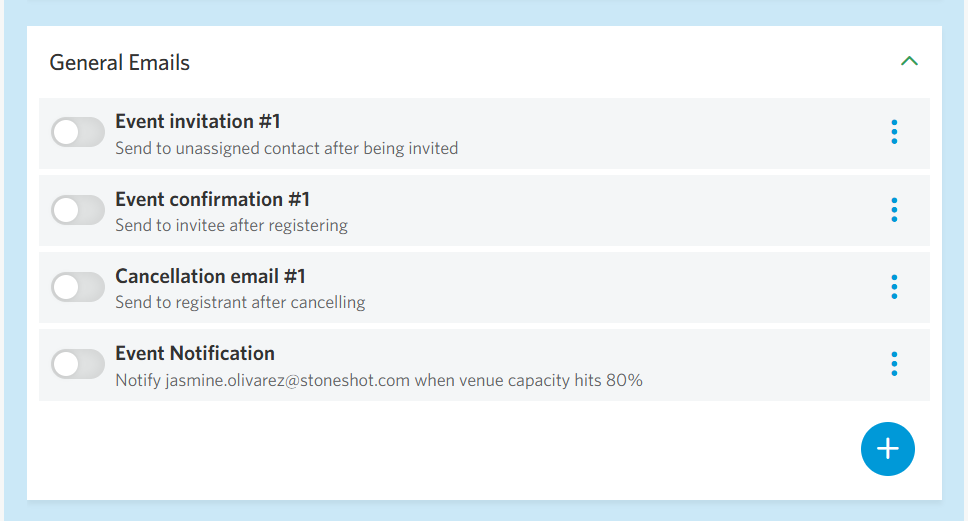
Below, there are also individual toggles for each email or notification in the schedule.
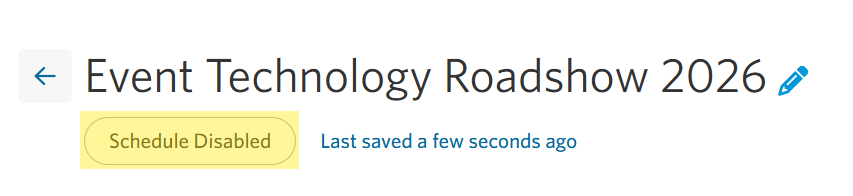
The current schedule status is always visible in the status chip at the top left of the page, so you can quickly see whether communications are active.
Custom Schedules
We won’t restrict you to using our own templates of course – you can use your own emails and forms or make your own schedule.
Once you start changing the schedule, the Template Schedule changes to Custom. You can pick your own emails – we’ll get to that in a minute – and if you want to save it for future events, just click the star and name the schedule. Then when you create your next event, you’ll see the schedule saved for you. You can pick any saved schedules here too by clicking the down arrow.
Ok so let’s walk through changing a schedule. Pick Edit on the scheduled item you’d like to change.
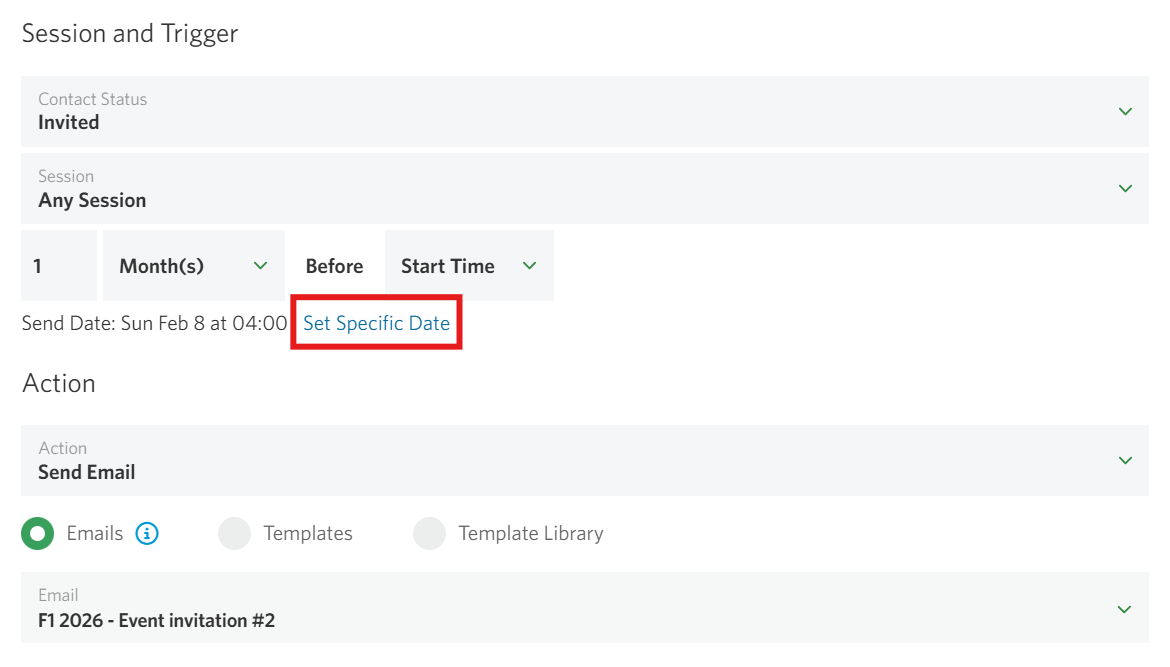
In this example we’ll change the schedule to trigger two months before the event, and we’ll pick a custom email. So this is saying…
For contacts that are Invited, send this custom email 2 months before the session start time.
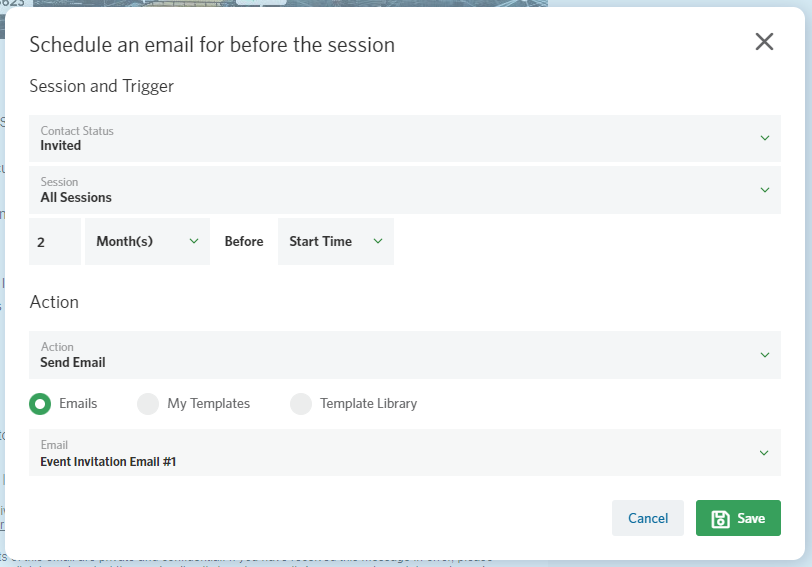
The schedule will make a copy of the selected email, just in case you want to tweak it further without affecting your master. You could select specific sessions too.
Under Action, you’ll see Send Email and Send Notification. An email is sent like a campaign with tracking which is what you’ll need to integrate with a registration form. Notifications are for internal use where you want to get an alert. We use these, keeping an eye on venue capacity ahead of the form closing.
FAQ
How can I create an email schedule within an event?
To create an email schedule for say a “Sorry you couldn’t make it” or “Thanks for Attending”, follow these steps:
- Go into the Event Builder. Go to Events > Events and select the event for which you want to create the post-event email schedule. Click Edit Event.
- Add Schedule. Go into the Schedule tab.
- Expand a schedule stage. You’ll see “General Emails”, “Emails Before Each Session” and “Emails After Each Session”. General emails are sent at any time during the event – such as when a contact is changed to the Invited status. Expand the relevant stage and hit the plus icon.
- Create the trigger. Choose a Contact Status (post-event would usually be the Attended status). Pick a session all leave as “All Sessions” and choose a delay – such as a day after attending.
- Pick an email. Choose “Send Email” in the Action dropdown and finally pick an email. You can either select a pre-created email or take on from you own or the StoneShot template library. Click Save when done.
You can create email schedules to cover multiple invites, confirmations, reminders and post-event emails. You can also automate CPD/CE certificates here too.
Can I add a seed list to my event schedules?
Not yet, but support for adding seed lists to event schedules is coming soon.
Can I schedule an event email to be sent at a specific date and time?
Yes, you can for the schedules within the Emails Before Each Session and Emails After Each Session.
To do this:
- Click on the Schedule.

- Select Set Specific Date.

- Set the date/time of send and Save.
- Click on the Schedule.