


StoneShot Learning > Event Marketing > Setting up Sessions
Setting up Sessions
Let’s quickly recap on events, sessions and venues.
As we covered in the Overview, an Event can have one or many Sessions.
Sessions can be either In-Person or Online, and in-person events have a Venue. Both session types can have Speakers, an Agenda and an Attendance Certificate.
In the example below, we’ve created a roadshow on event technology. There are two in-person sessions – London and New York – and an online session hosted for marketers in Singapore. We specified these sessions during Creating Events so we just need to configure them now. Let’s get to it.
Click on the Sessions tab and click on a session – in this example, we’ll pick London. You’ll notice that the arrival date and time and end date and time are pre-populated.
We crunched the 6,500+ investment events we’ve run for our clients and used the most common times as the default.
There’s a timezone option too that’s used to send invitations and reminders at the optimal time and for formatting the time in your emails and forms.
Pick a venue
When you’ve confirmed these dates and times, you can pick a venue. Our clients often use the same venues again and again, so venues are created once and reused. If you’ve not already made your venues, you need to do it now. It’s ok, we’ll wait for you.
Right, so with that done, you can now pick the venue. Note that Capacity has been picked up from the venue but can be changed. That’s because venues often have a multitude of options for hosting large and small events. You can change this at any time up to the point of launch – the registration form will ensure the event doesn’t become oversubscribed.
Online Events
For online events, you need to pick a provider as opposed to a venue. We’ve integrated with these online meeting providers:
- Brightcove
- BrightTalk
- ON24
- Wistia
- Zoom
If your provider isn’t listed, pick Other and enter the Session URL under More Options.
Options, options
You can setup a Session Banner Image against each session if you want to customize your emails a little more, and this is separate from an image you can upload for each of your venues.
You’ll also see there are More Options that can be set on a session covering a Session URL, Session ID (usually an internal reference), Dress Code, Parking and Refreshments. Each of these can be dynamically merged into your emails and the registration form.
On top of that, you can create any Custom Fields you wish. Custom fields are actually created at the event level, so make them in one session and they appear in all.
Attendance Certificate
We’ve created a separate page on CE/CPD certificates so head over there for a full explanation. From the session, you can add the Learning Objective and pick a template.
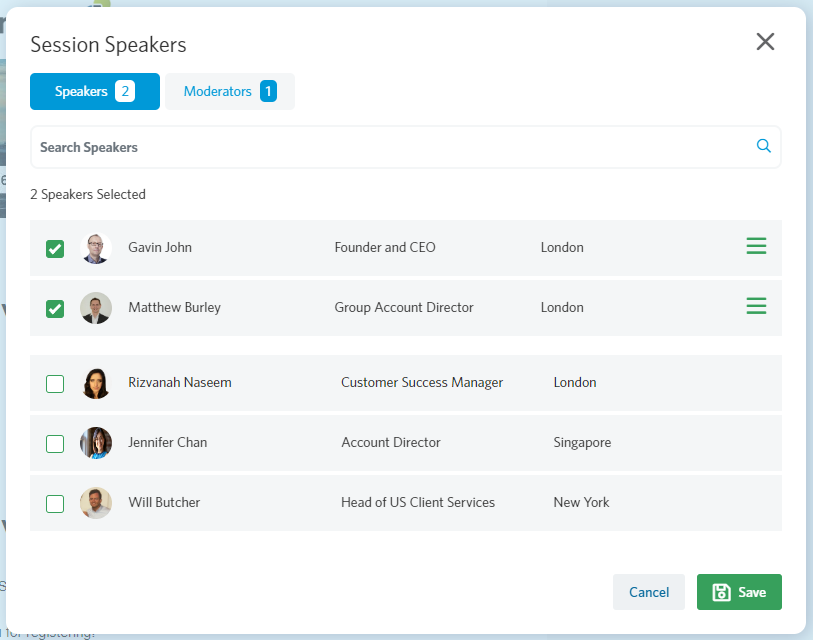
Speakers and Moderators
You’ll see a slider to add speakers. Again, speakers are created once and reused. Pick Assign Speakers and select the speakers for the session. You can add Moderators too. Here’s one we made earlier.
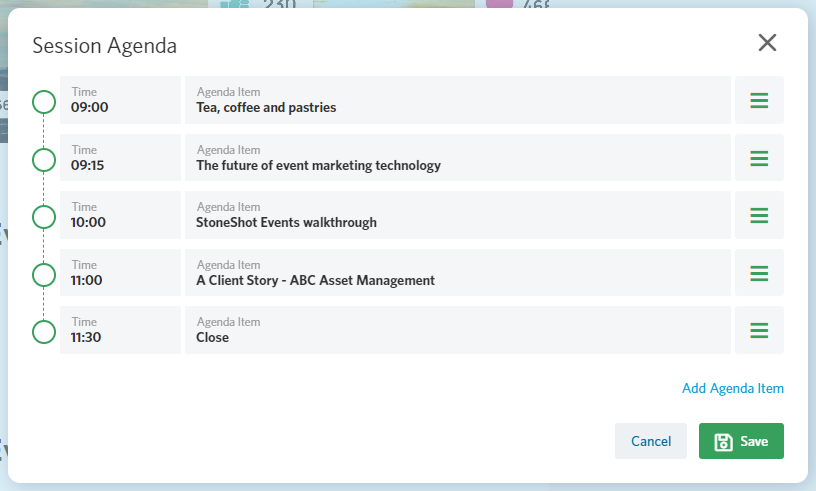
Agenda
Next let’s setup an agenda. Click the slider and click Create Agenda. You can add agenda items and drag and reorder too. The Time field isn’t strictly enforced so you can add anything you like such as:
- 09:00
- 9.00
- 9AM
- 9AM – 11AM
Here’s one we created on the London session.
Rinse and Repeat
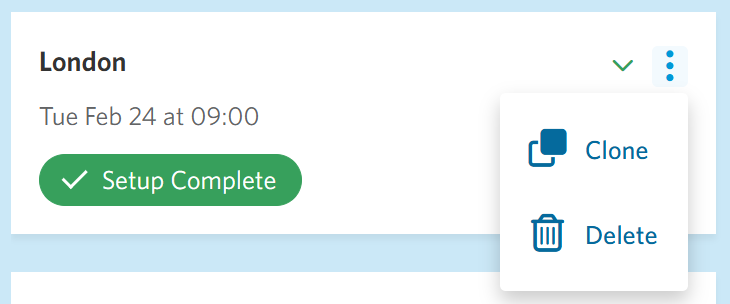
So that’s one session done. Just follow the steps above for any others.
You can Clone and Delete sessions too. Cloning is a rapid way of handling roadshows that have the same agenda and speakers.
That’s all on sessions. If you’ve not done it already, let’s setup the Schedule.
FAQ
How do I add a session to an existing event?
Using the + button at the bottom of the sessions list.

Can I add custom session information to my emails?
Yes. You can include additional session information in your event emails, such as parking instructions, refreshments, dress code requirements, venue details, or any other information that may be useful to attendees.
Within Sessions, some of these fields are available by default. If you need to add further information, click Edit in the Custom Fields section to create additional fields. Once added, these can be used in your event emails.
Why does my event show "Invalid date"?
This can happen if the time zone setting in your user profile has recently been changed. Try changing your time zone back to the original setting and check the event again. If the issue continues, please contact the StoneShot Support Team and we’ll be happy to investigate further.