









StoneShot Learning > Integrations > StoneShot Integration for Salesforce
StoneShot Integration for Salesforce
The StoneShot Integration for Salesforce provides both sales and marketing users the full range of StoneShot functionality to create, send and report on email campaigns, but from directly within the Salesforce environment.
It tackles three major issues for clients – how to streamline the process of list management, how to provide Sales with feedback and metrics from marketing activities and how to provide an integrated way of managing event promotion and registration.
Authentication
The first step in using the application is to authenticate as a user. To use the full functionality within Salesforce you will need both a StoneShot and Salesforce login credentials. This authentication only needs to take place the first time you use the application.
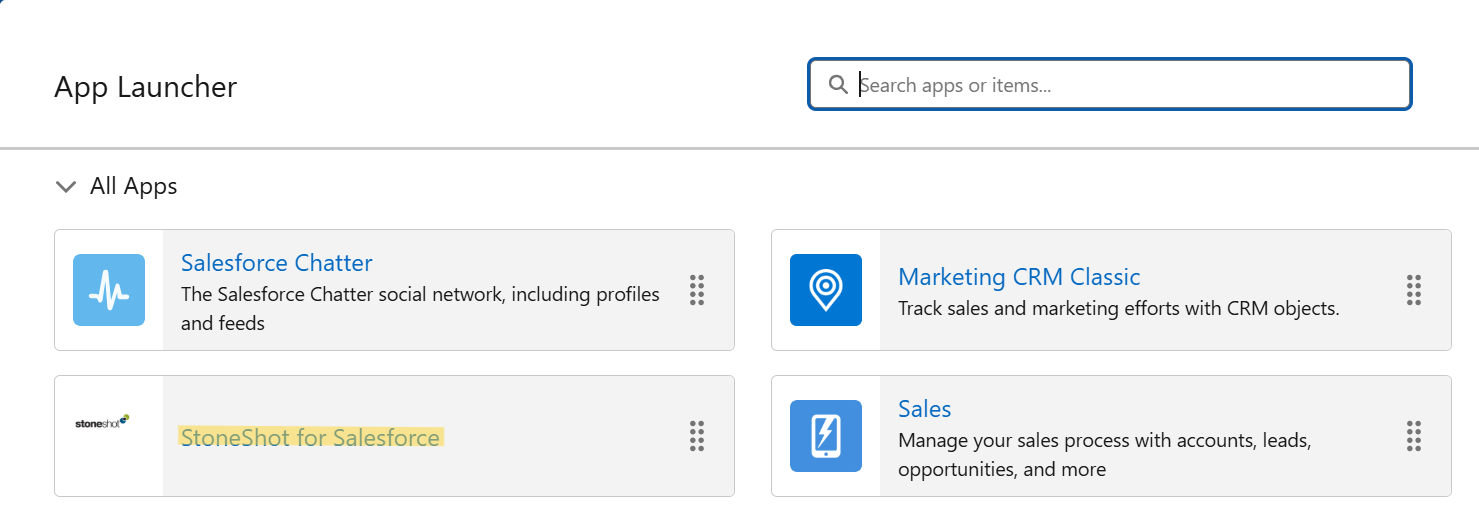
1. Go to the App launcher and hit the StoneShot for Salesforce link:
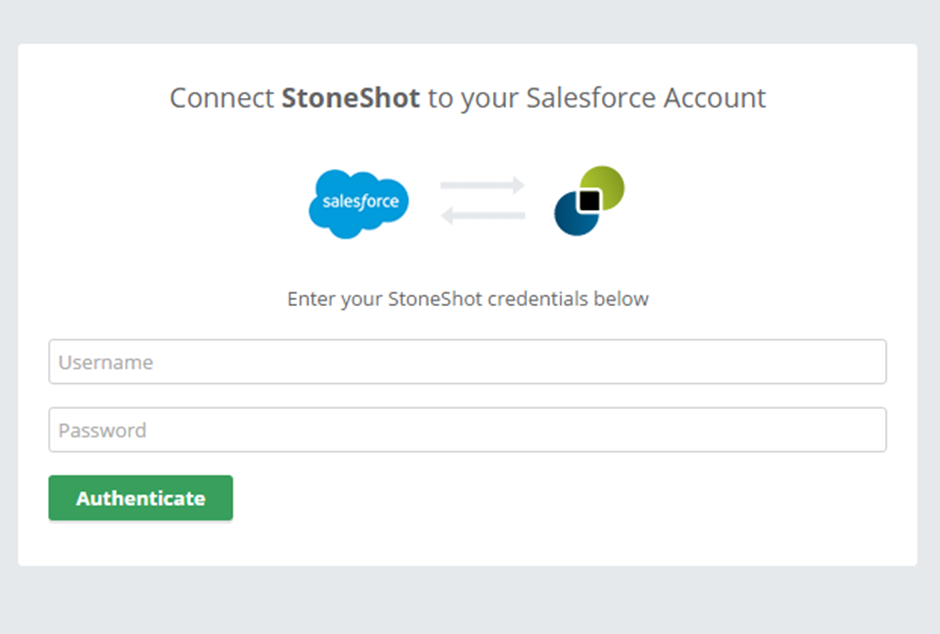
2. Enter your StoneShot login credentials (if prompted to) or reach out to support@stoneshot.com to gain access:
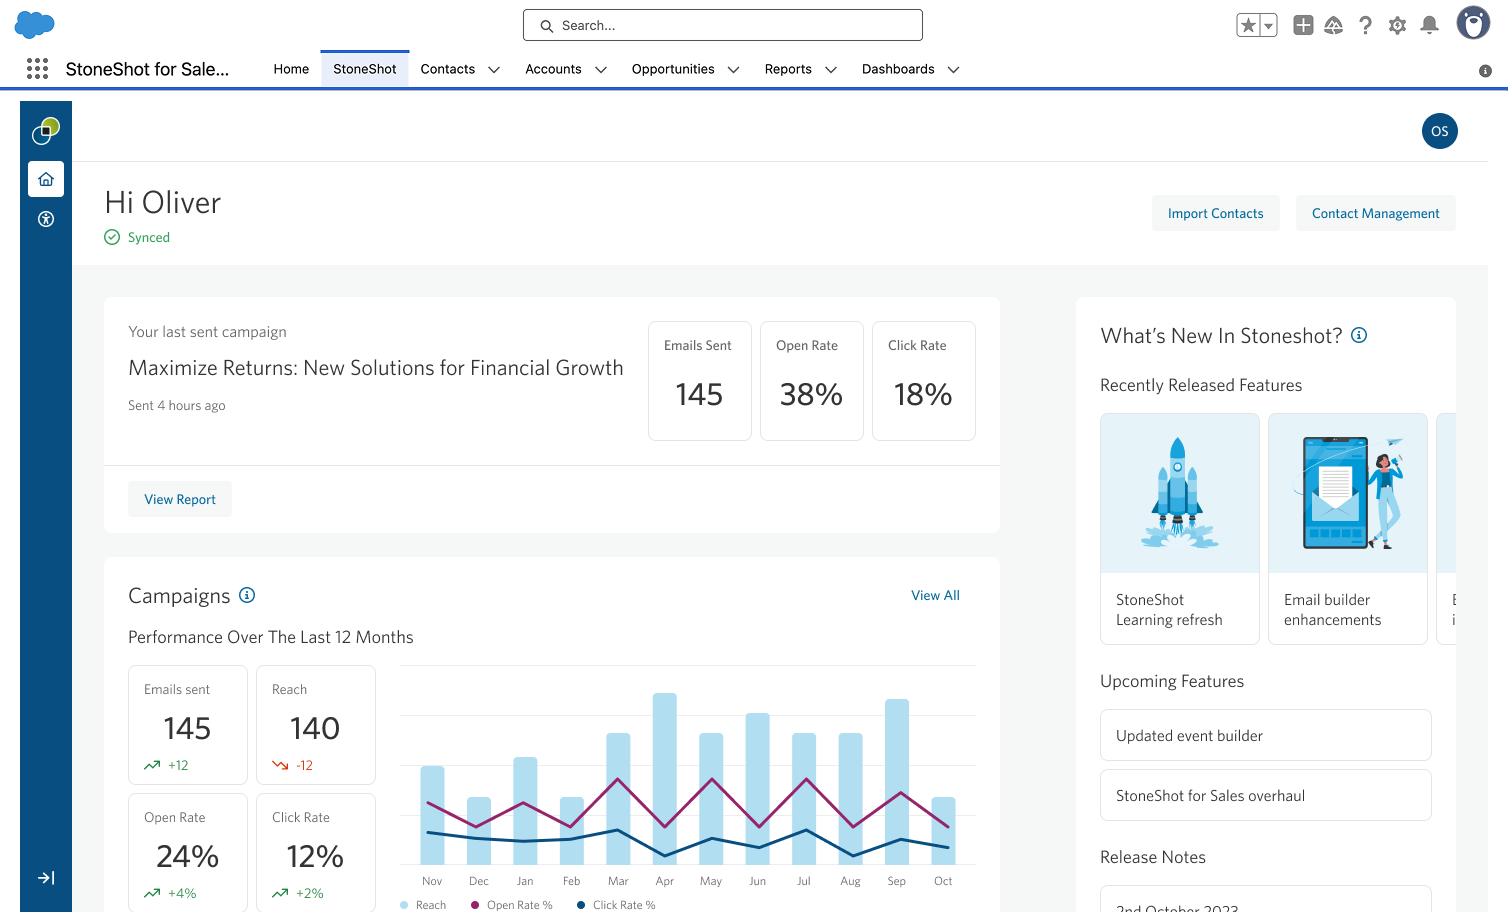
3. Once you have access to the StoneShot application in Salesforce, you should see the familiar StoneShot homepage.
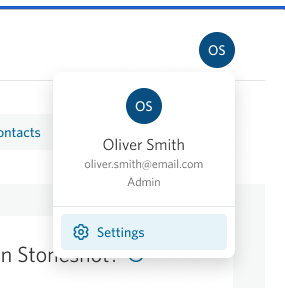
4. To complete the full authentication you need to also finalize the Package authentication which is accessible via your profile icon in the top right hand corner.
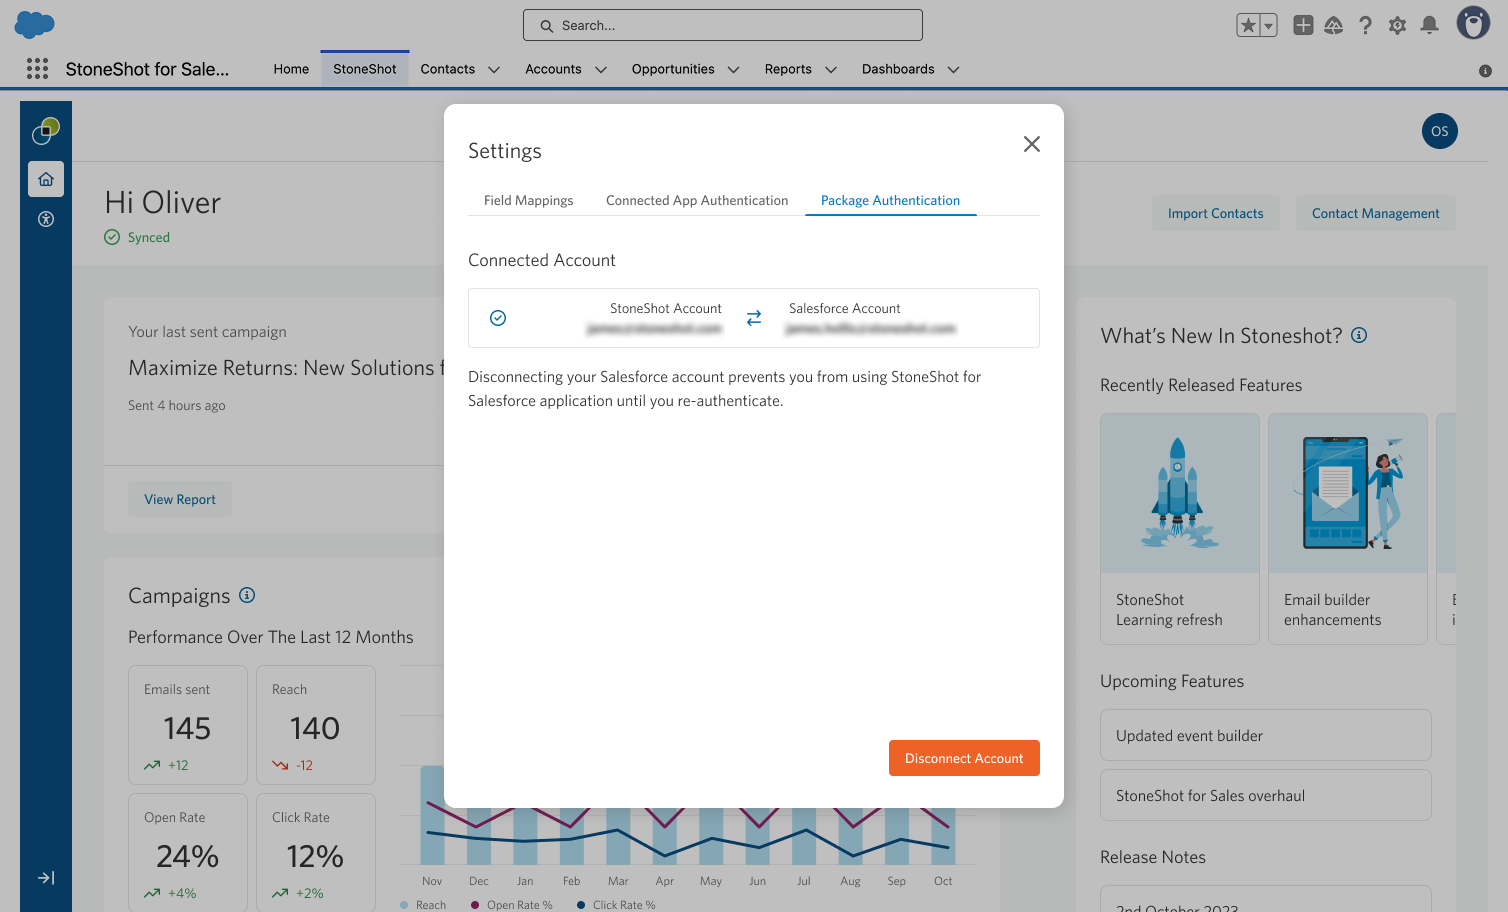
5. You can also choose to complete the Connected App authentication within the same modal. This is optional, but required if you want access to features that use the Salesforce API — such as pushing a campaign member list or managing sync settings.
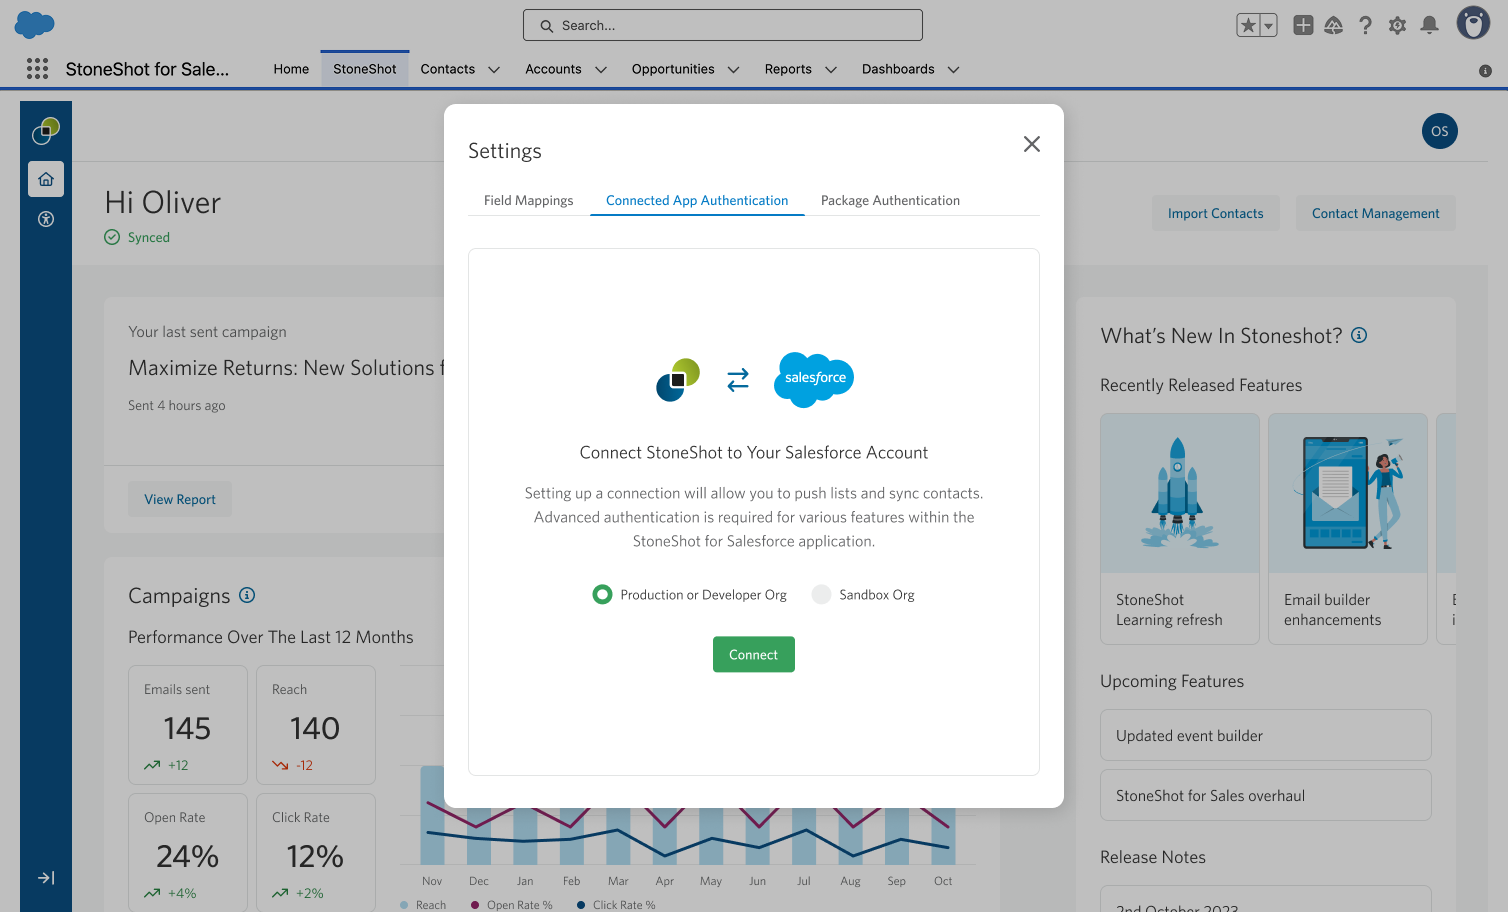
Once complete Salesforce will remember the credentials so you won’t need to do this again.
Navigation
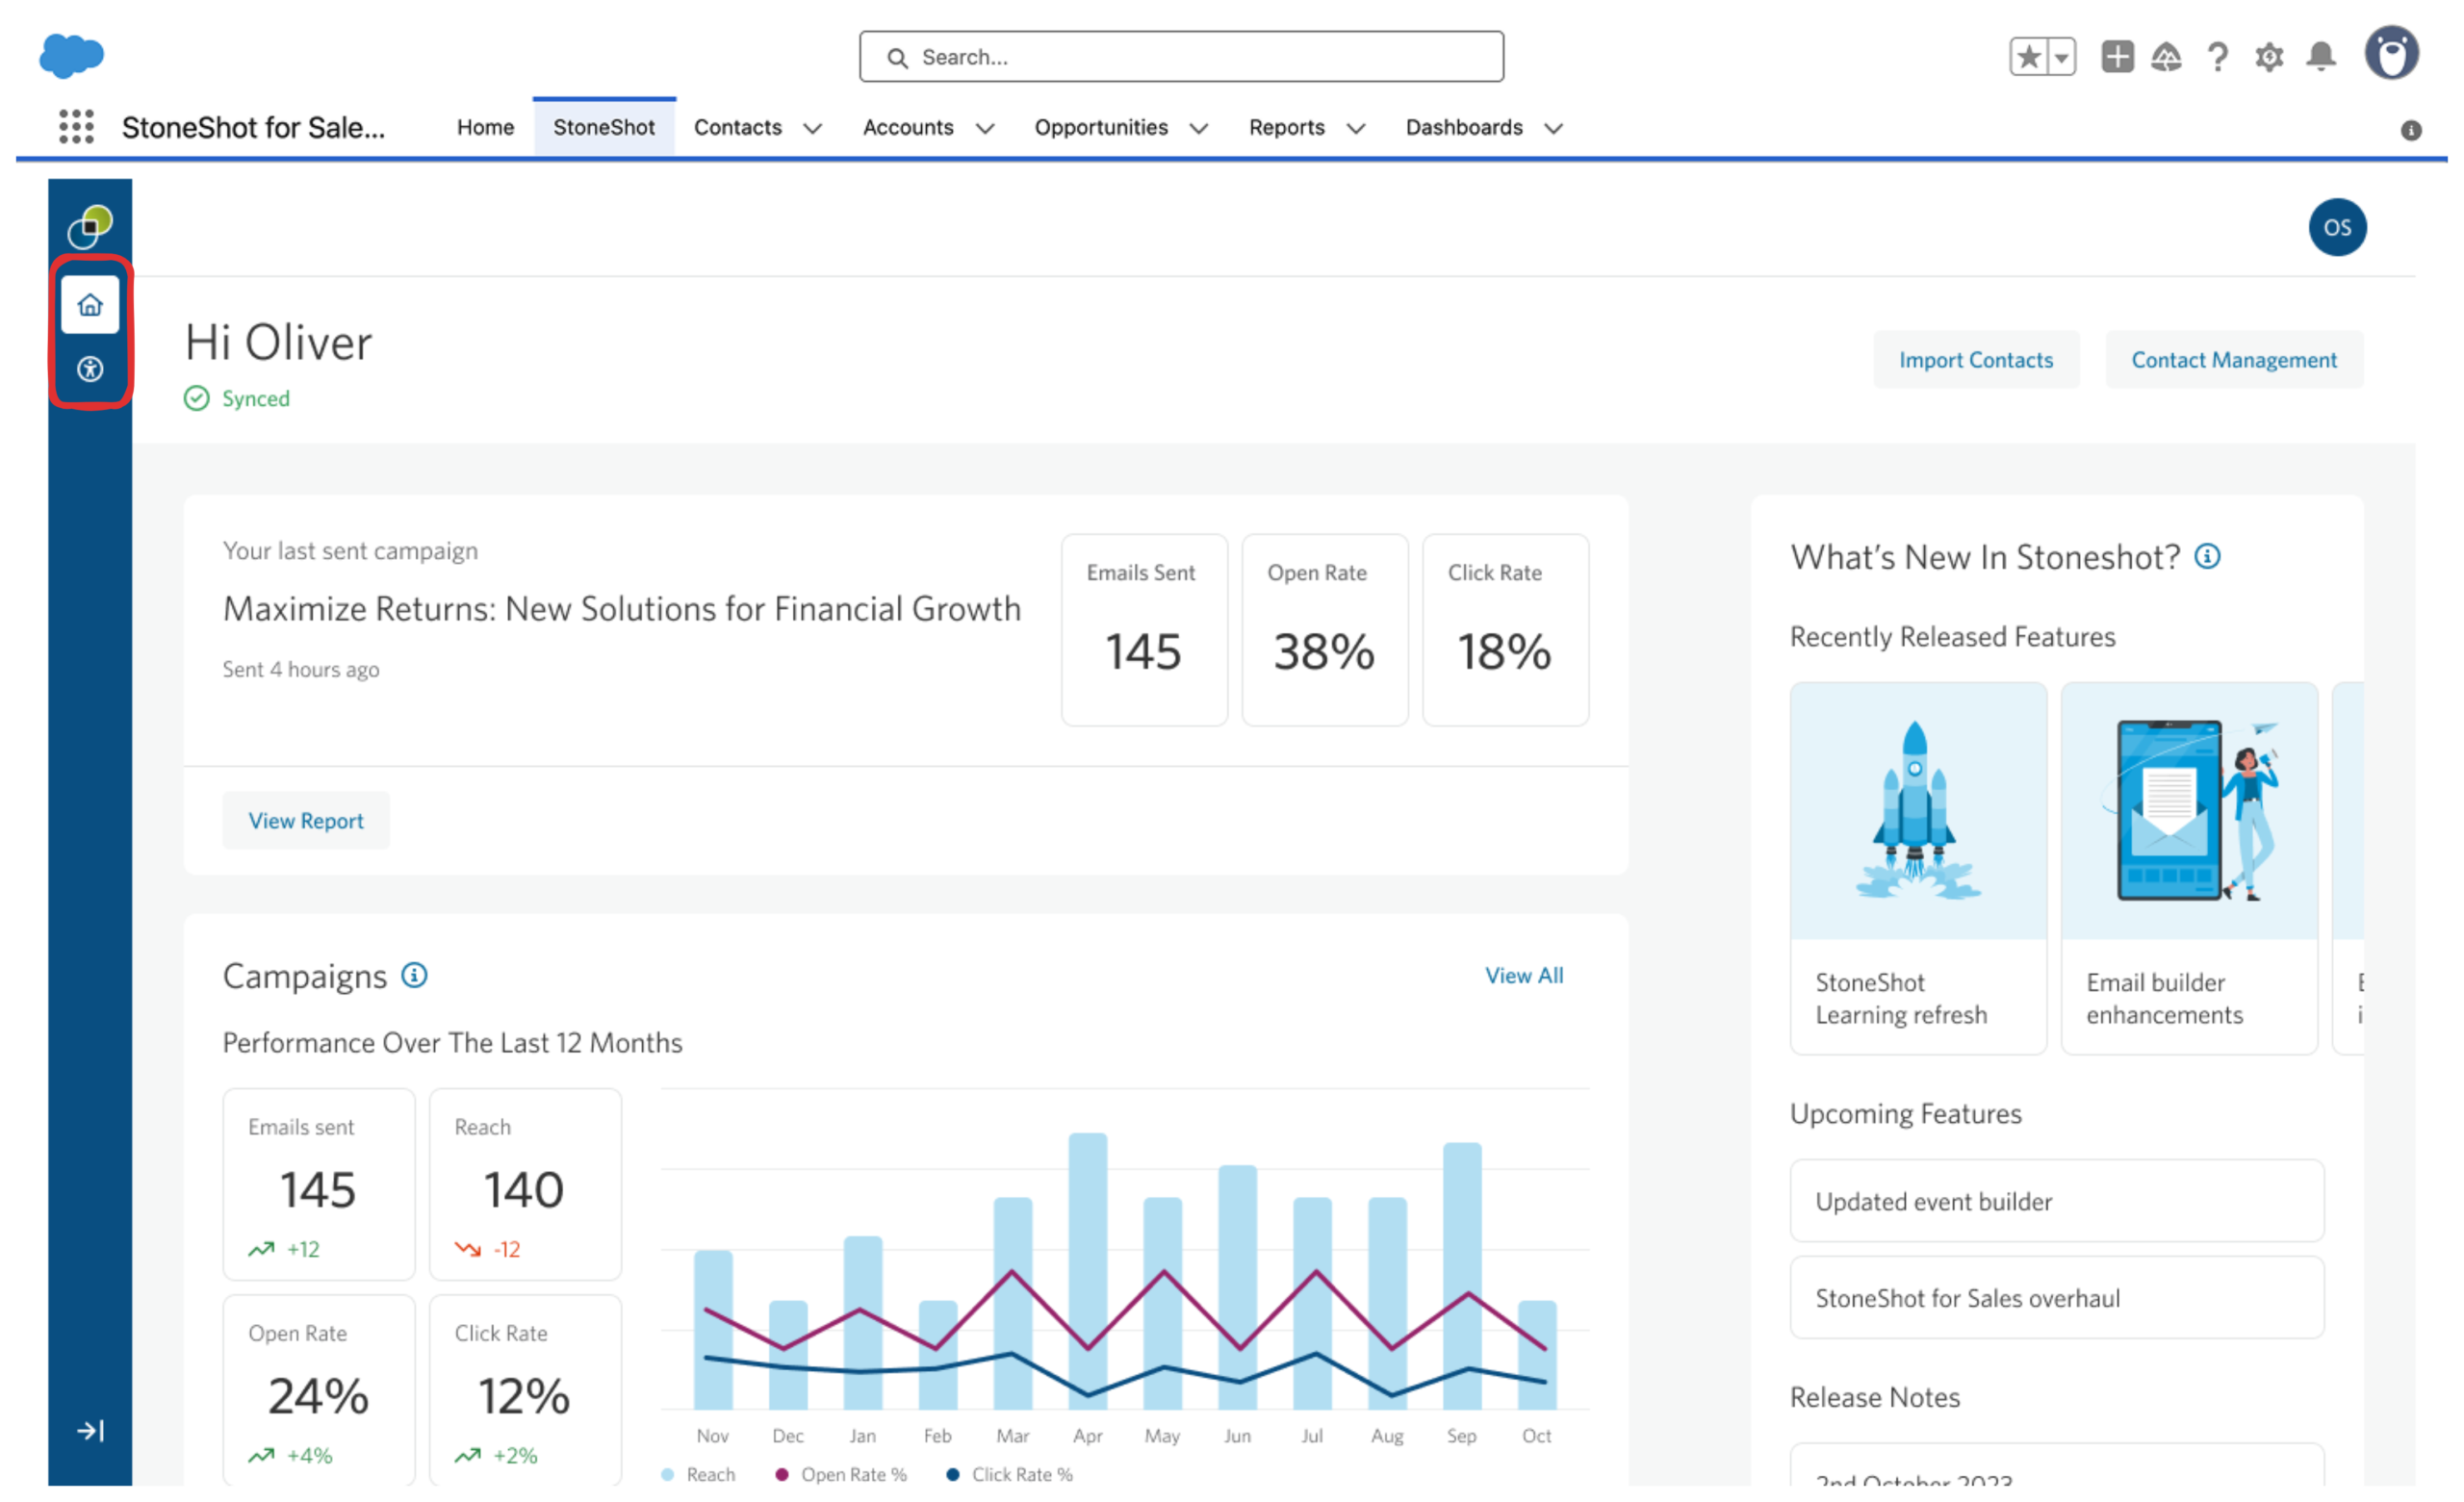
Once you’ve successfully added and authenticated the StoneShot Integration for Salesforce, you’ll be able to click into StoneShot tab within your Salesforce navigation to view the homepage dashboard anytime.

The left-hand navigation includes two icons:
- Home — takes you to the integration’s dashboard homepage
- StoneShot for Sales — takes you to StoneShot for Sales, visible only if you have access to that feature
Contact data sync
The integration provides a constant synchronization of contact data between Salesforce and StoneShot. Lists and reports can still be imported for individual mailings, but any changes to the contact records in Salesforce (email address, name, salutation etc) will be replicated in StoneShot. This means that you’re always using the correct client information in mailings.
The homepage shows a sync status indicator so you can see at a glance whether your contacts and data are up to date with Salesforce.
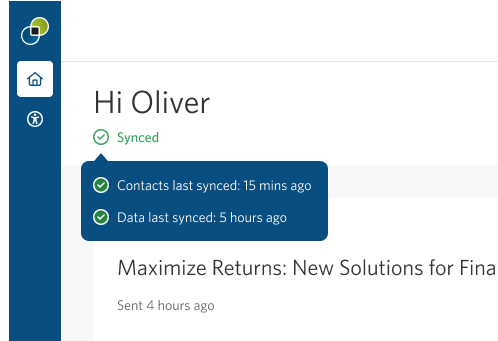
- A green “Synced” status means both your contacts and data have synced within the last 24 hours.
- A red “Not Synced” status appears if either your contacts or your data haven’t synced — or if both haven’t.
Hover over the status to see more detail, including the last successful sync time for each.
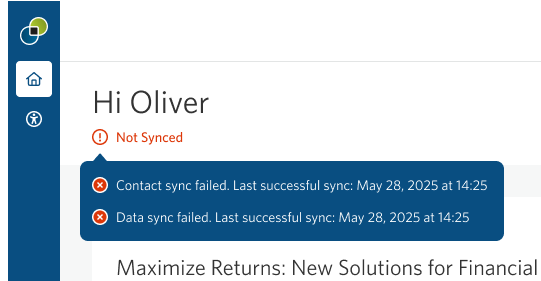
The exact fields that are synced across and the frequency of the sync are maintained by the admin, but typically include standard fields synced every half an hour.
Managing field mappings
Field mappings determine how data syncs between StoneShot and Salesforce, and are managed by your Salesforce administrator.
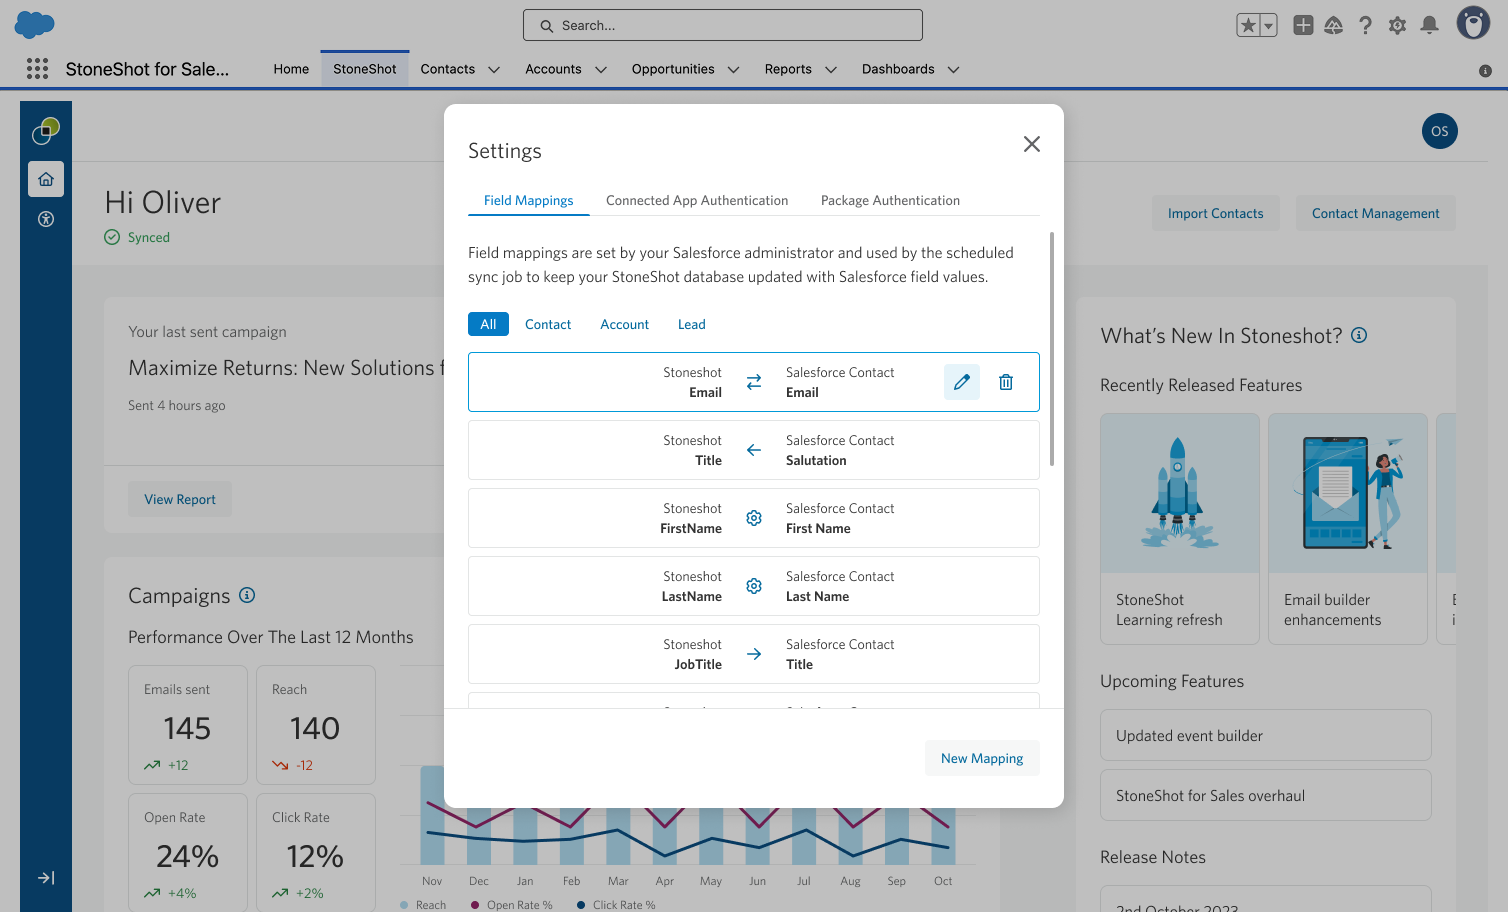
To view or manage field mappings, select your account icon in the top right, then Settings > Field Mappings.
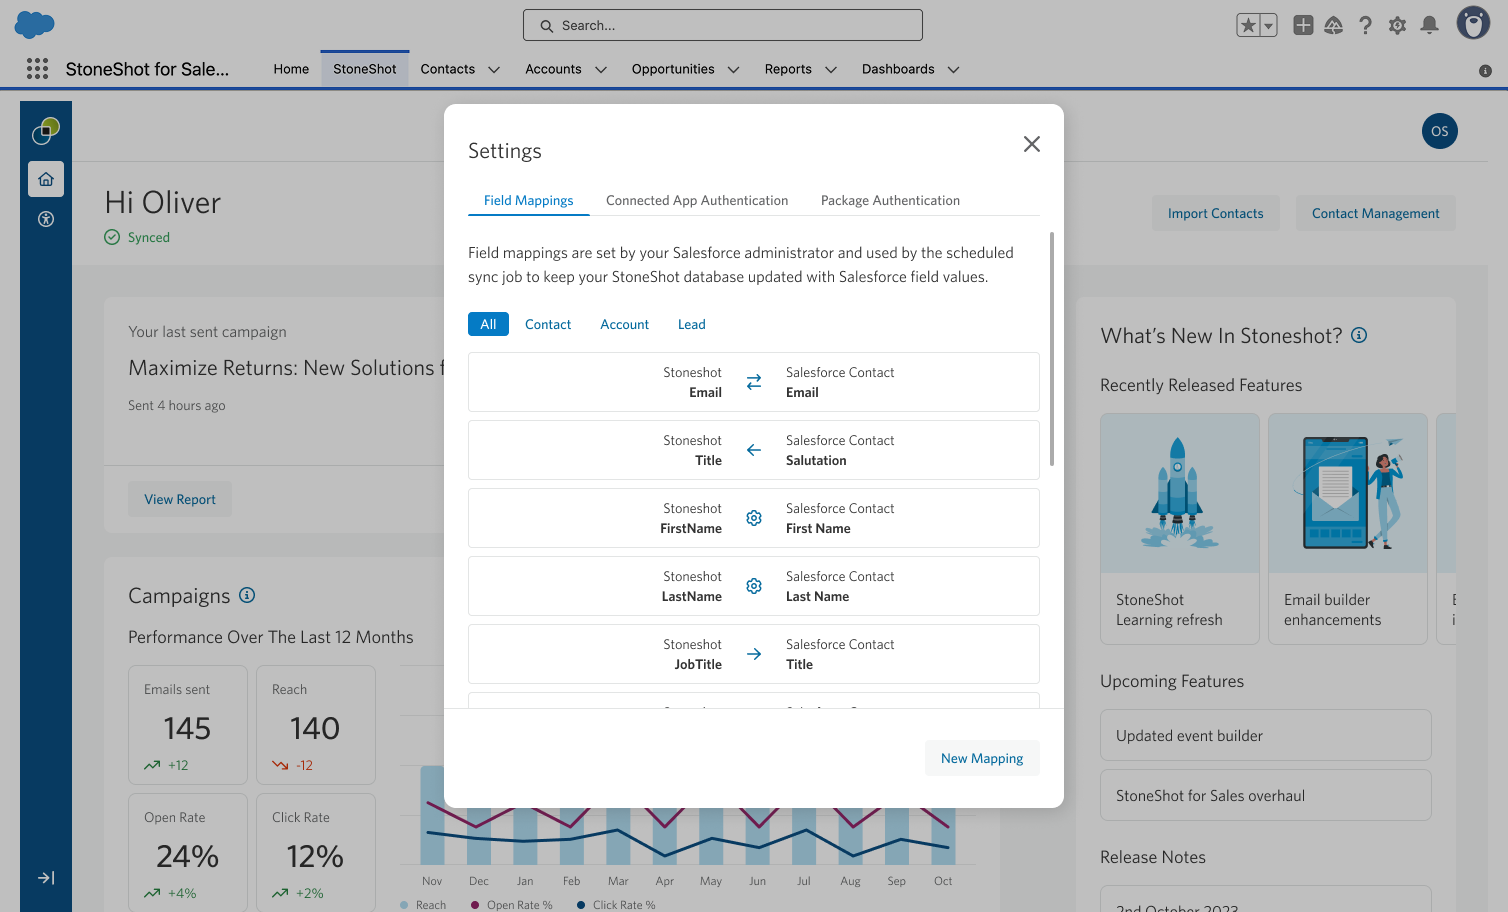
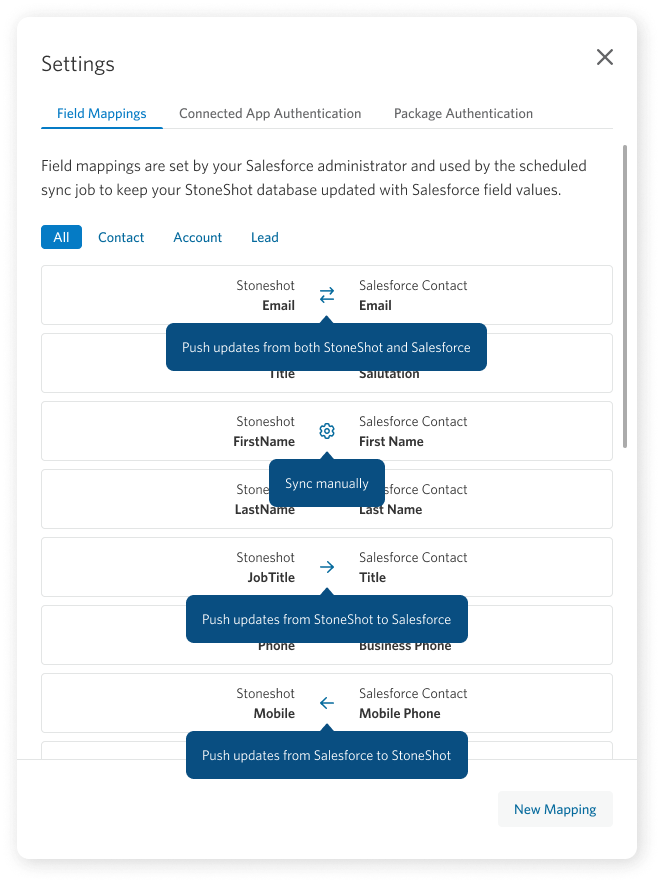
Each mapping pairs a StoneShot field with its corresponding Salesforce field, plus an icon showing the sync direction. When a sync runs, it compares the two databases for changes. Whichever field you’ve set as ‘master’ takes priority, and its value overwrites the other. Hover over any mapping to see a description of exactly how that field syncs.
- Push updates from both StoneShot and Salesforce — changes in either platform update the other (bidirectional)
- Sync manually — updates must be applied by hand
- Push updates from StoneShot to Salesforce — StoneShot is the master
- Push updates from Salesforce to StoneShot — Salesforce is the master
Admin users can also create, edit, or delete mappings:
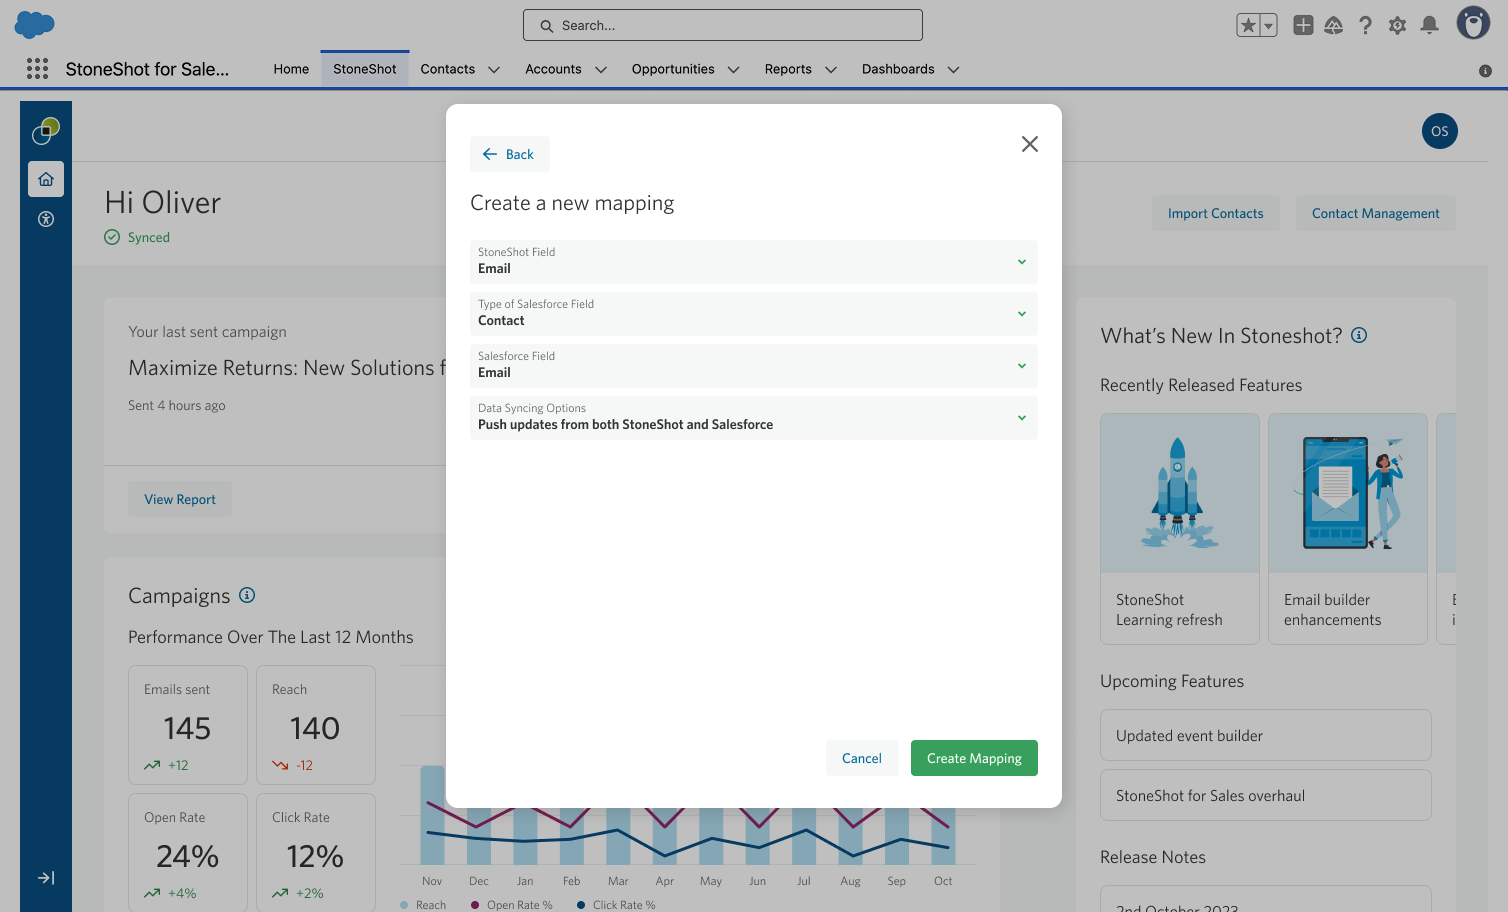
- Select New Mapping to create one — you’ll choose the StoneShot field, the type of Salesforce field (Contact, Account, or Lead), the specific Salesforce field, and the sync direction.
- Select the pencil icon next to a mapping to edit it, or the trash icon to delete it.
Importing contacts
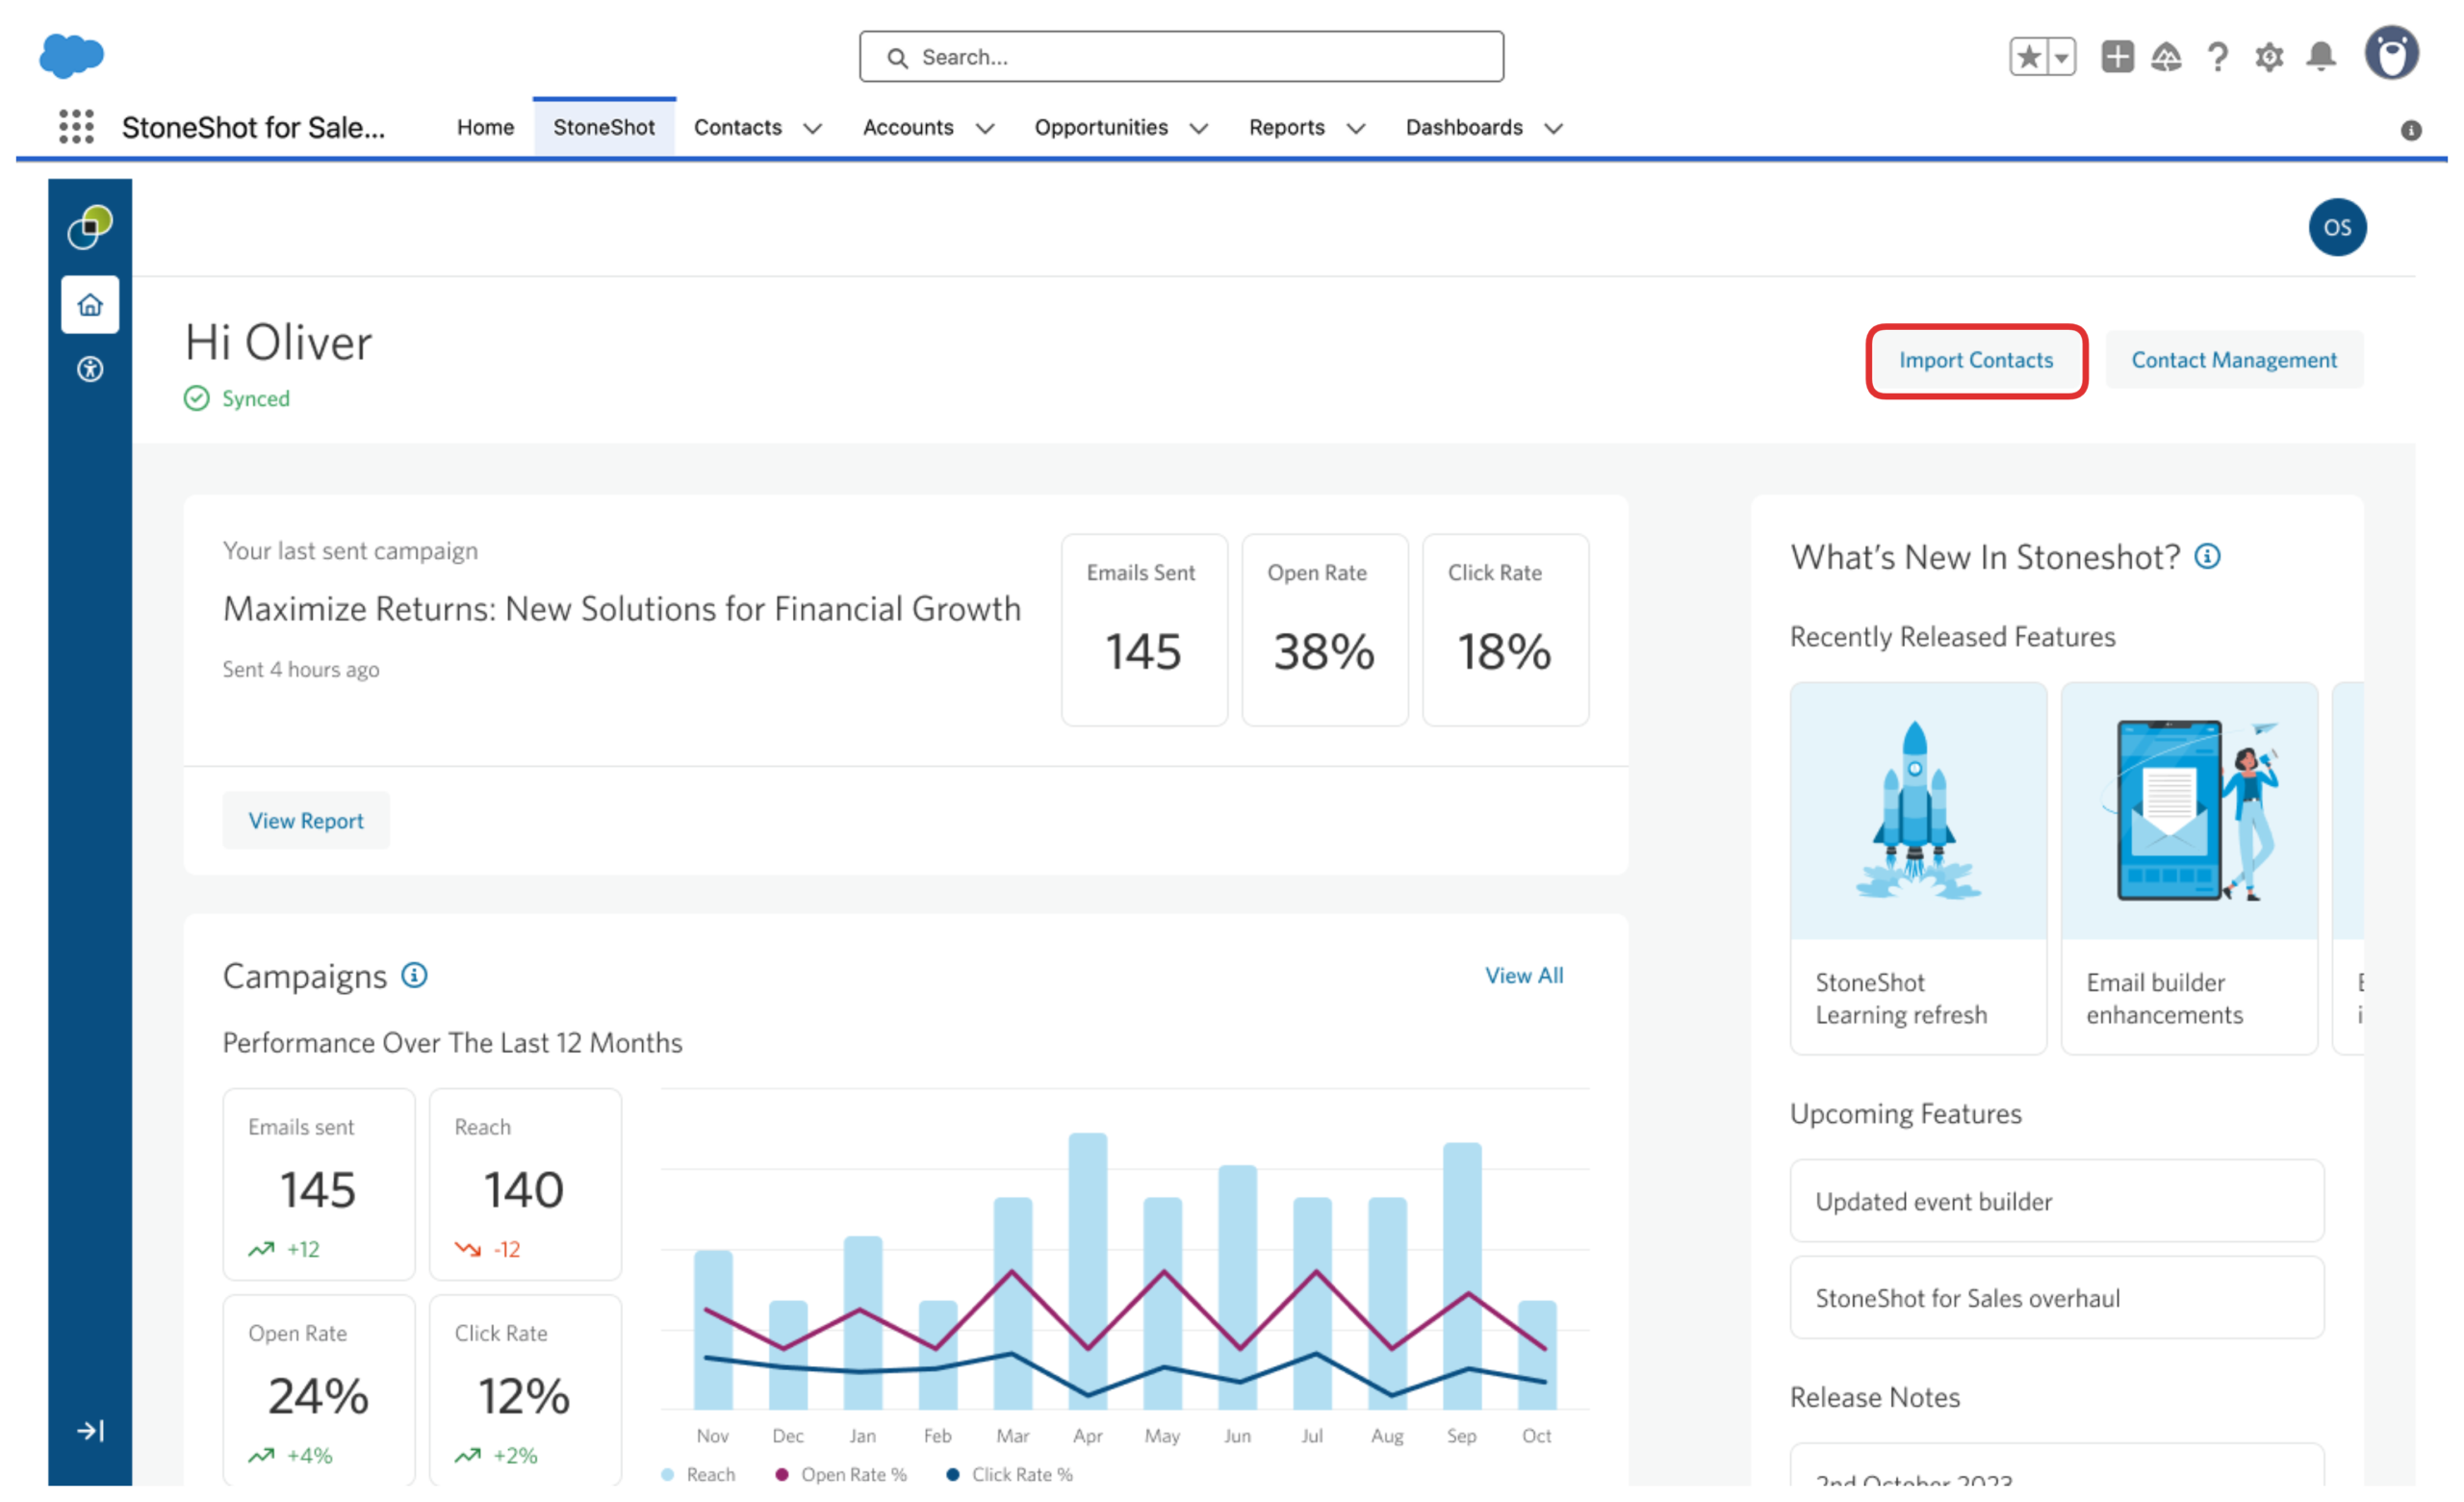
Select Import Contacts from the homepage to go straight to the importer.
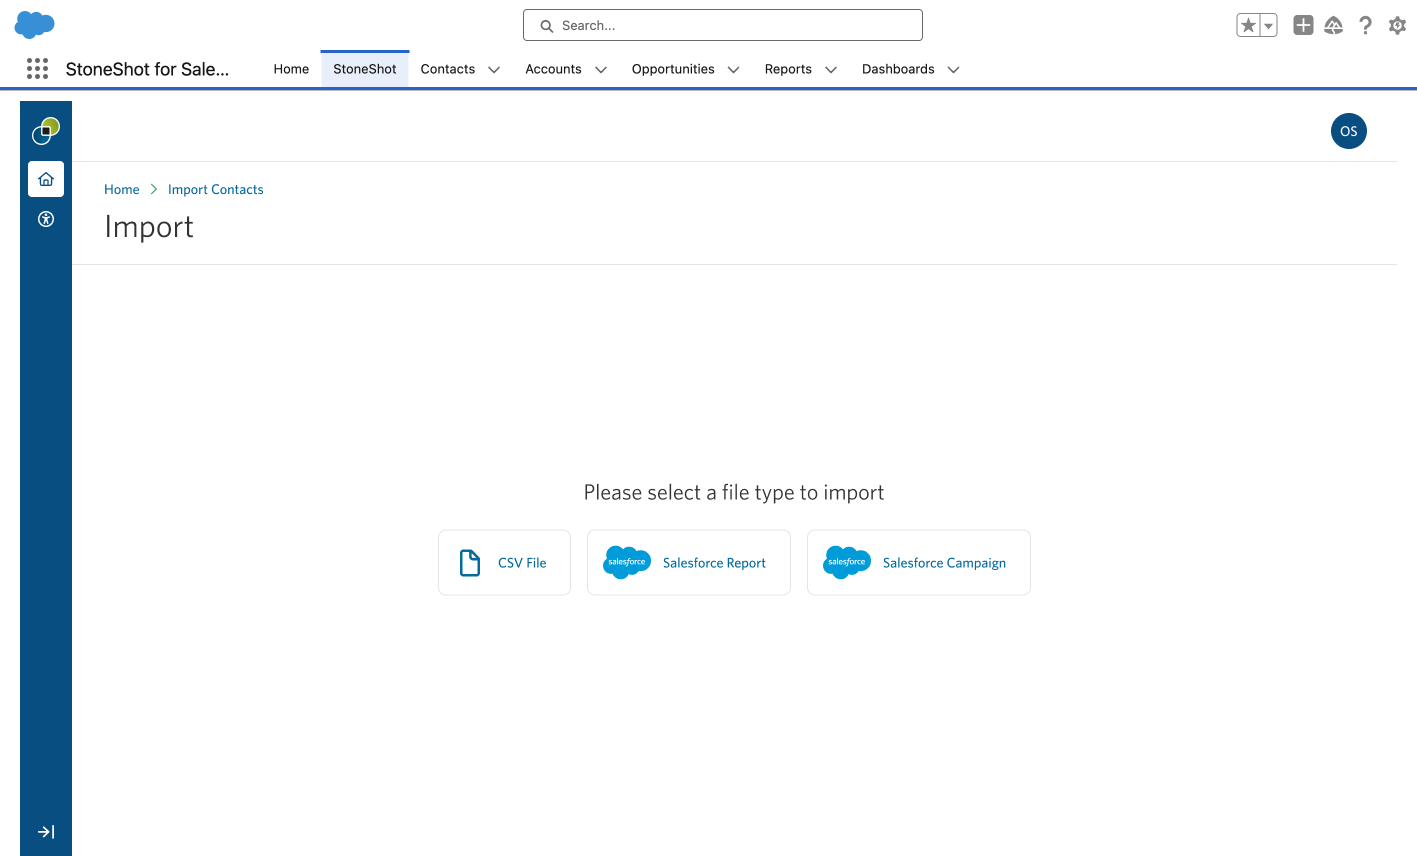
From here, you can choose to import via:
- CSV File
- Salesforce Report
- Salesforce Campaign
1. CSV import
Create your CSV file and click Import contacts > CSV File. Make sure include the Salesforce ID against each contact and import by that ID, to prevent the system creating duplicate records.
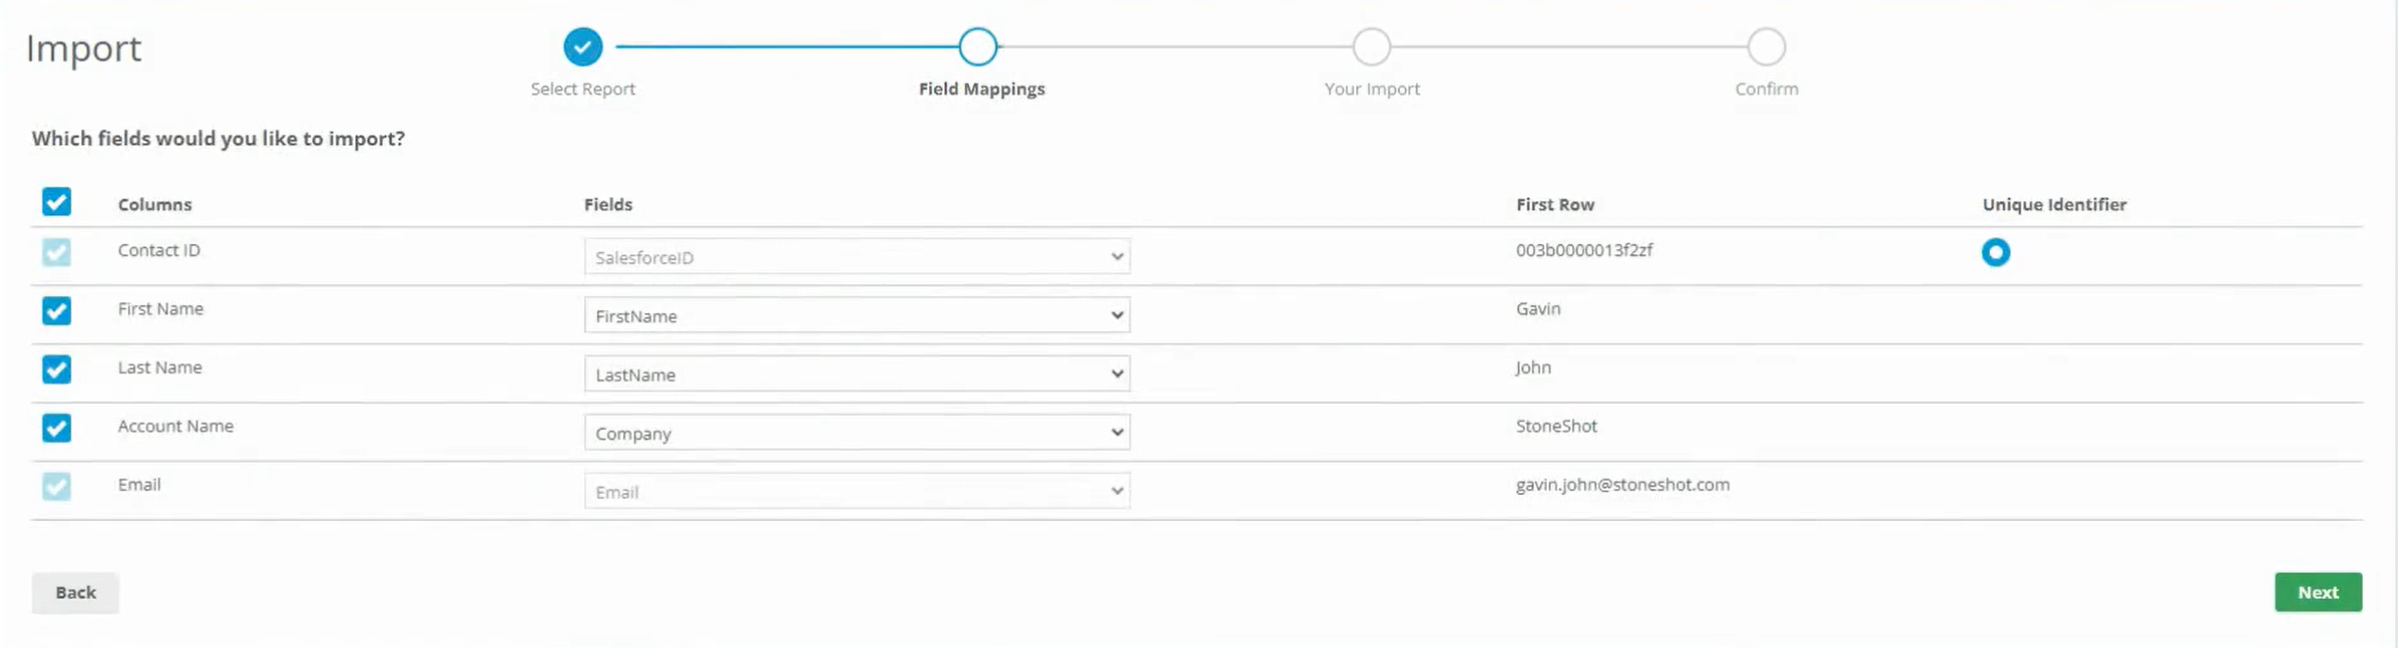
2. Importing a Salesforce report
You can also now import a report directly from Salesforce without having to export it into Excel first. Simply click Import Contacts > Salesforce Report and browse through your Salesforce report folders to find the one you want (you can also assign a team at this point).
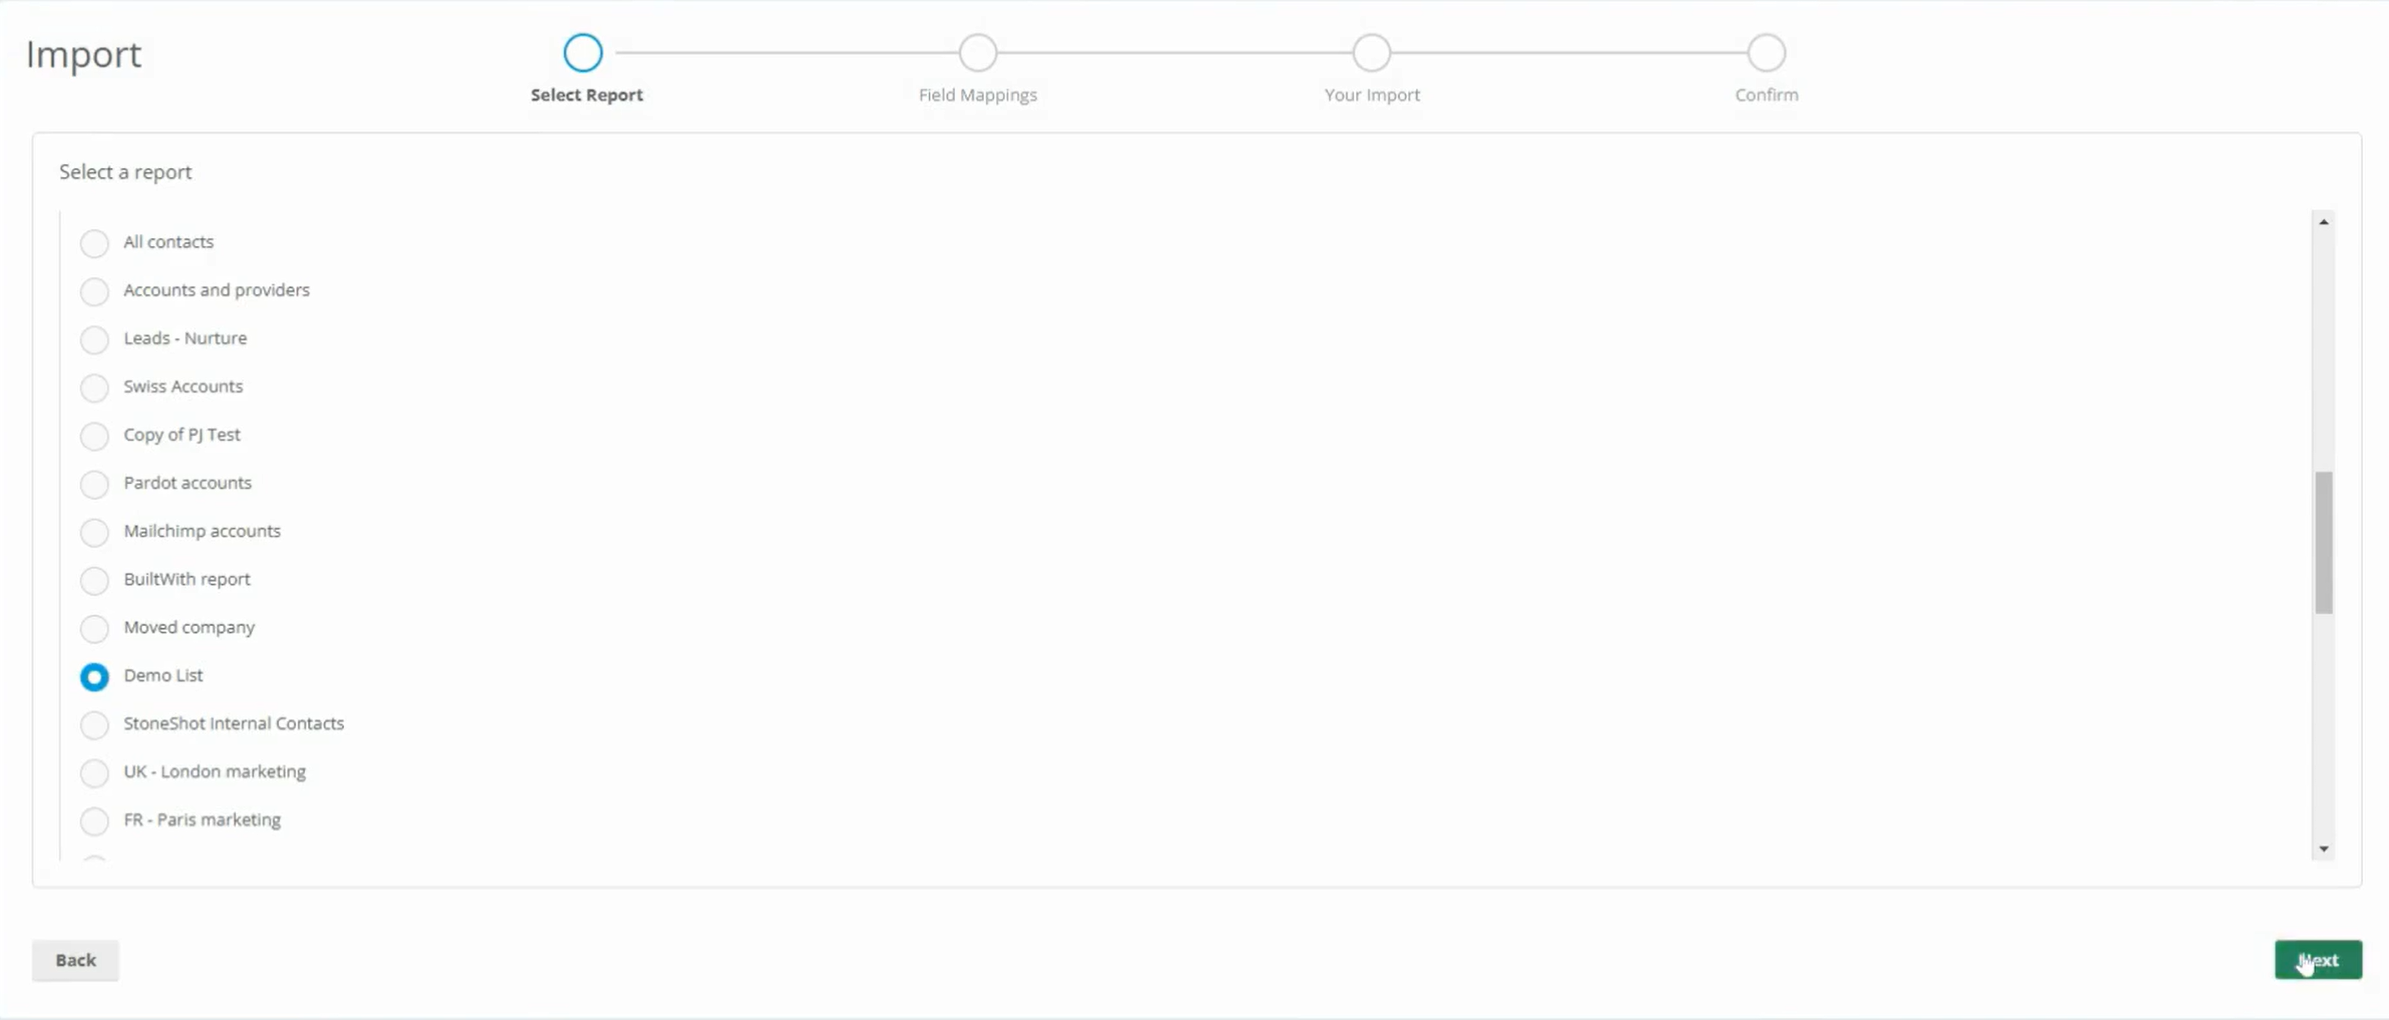
* Important: Due to a known restriction in Salesforce, you must be using Salesforce Classic view to import the reports.
3. Importing a Salesforce campaign member list
With this option you can choose to pull in a campaign member list from your available Salesforce campaigns:
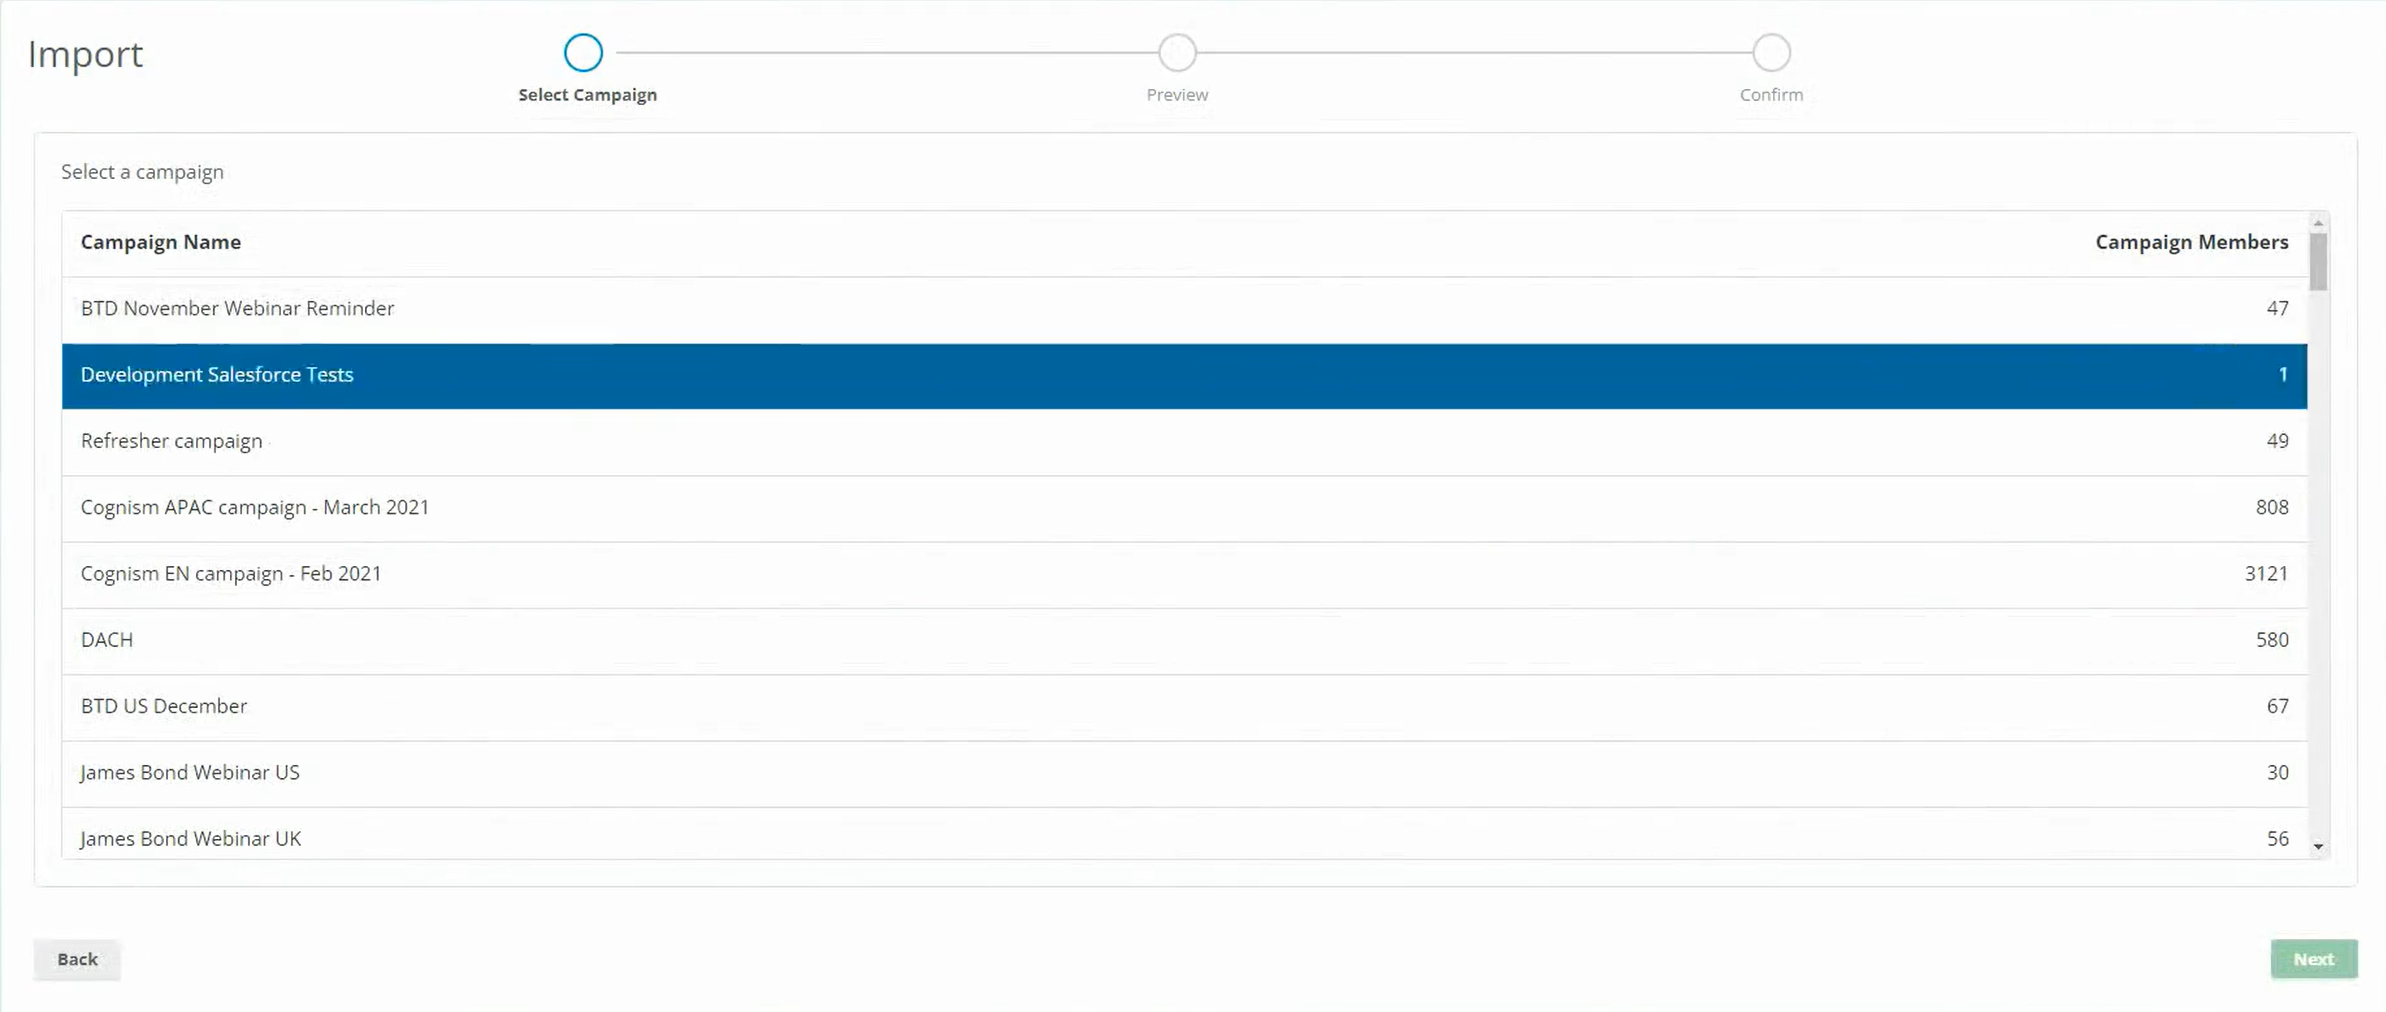
Unlike a report however, you don’t have to map the fields that you want to import; it follows the standard admin-configured settings.
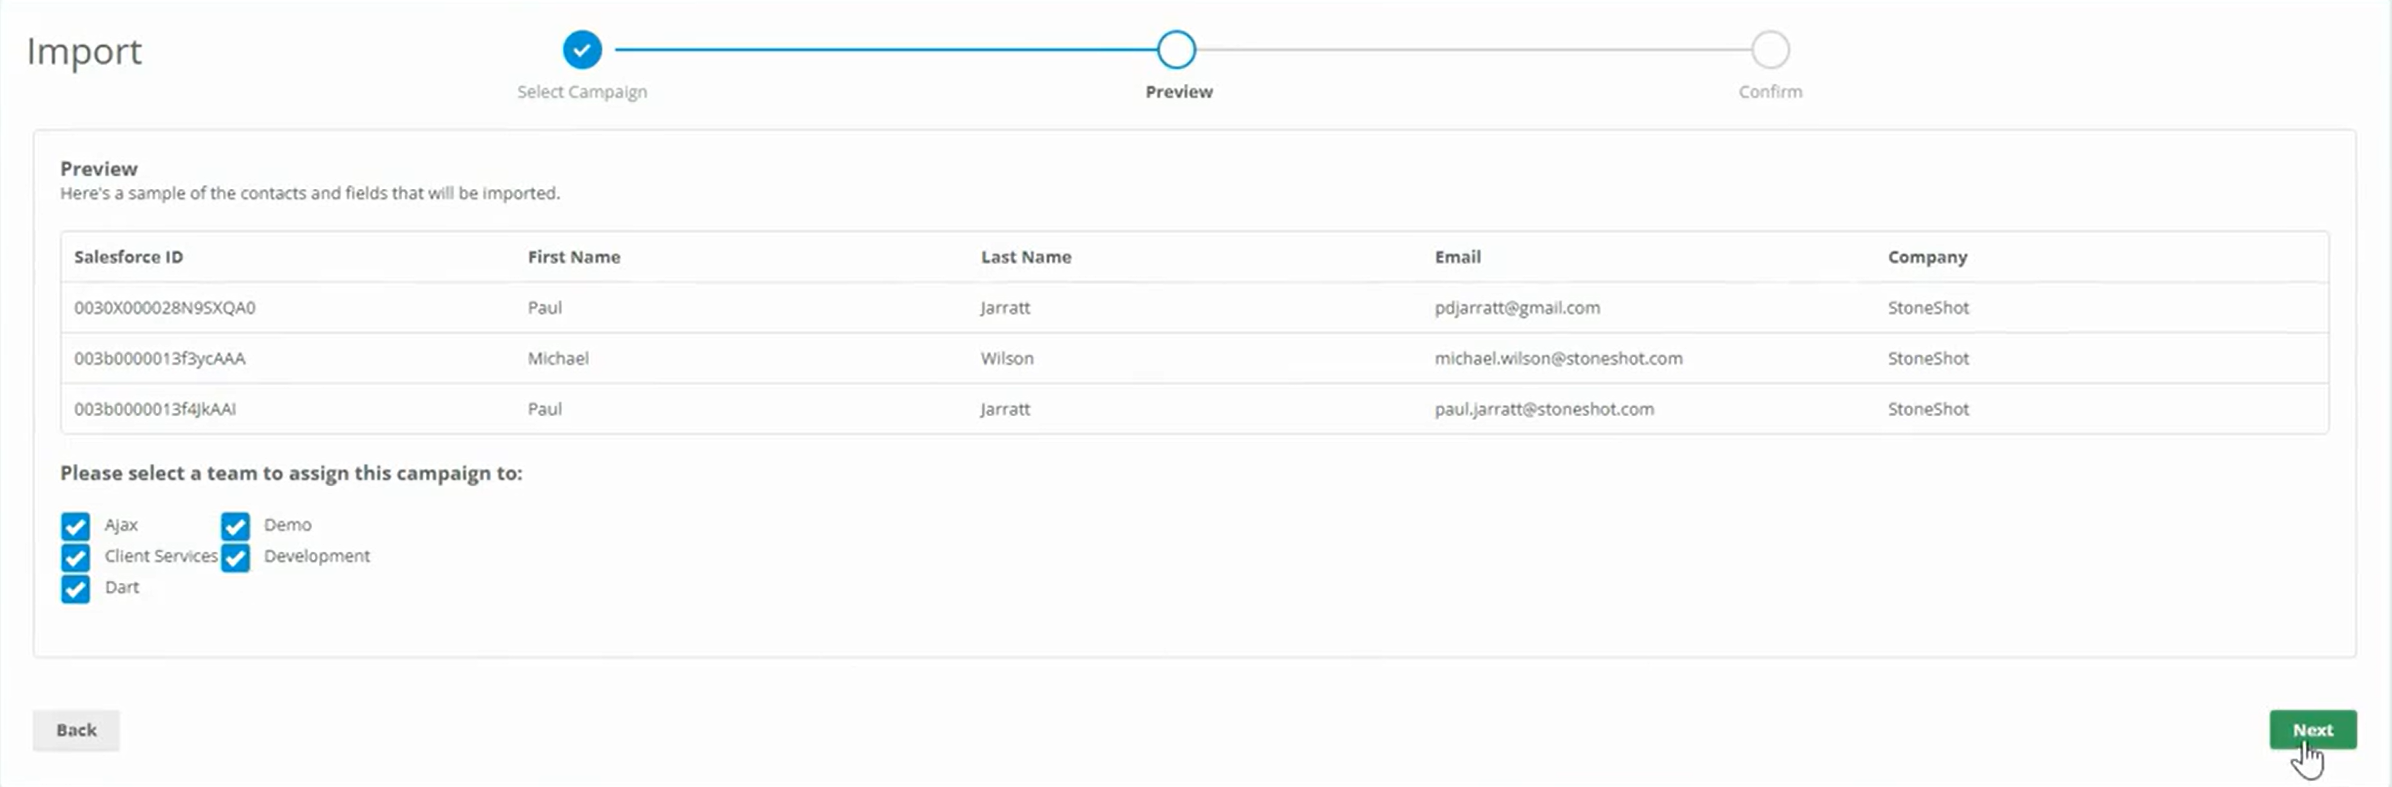
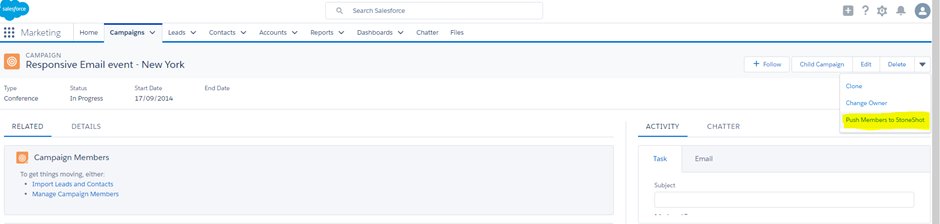
You also have the option to push the campaign member list directly from the campaign screen in Salesforce instead.
Contact Management
Navigate to Contact Management to review contacts and leads that need attention before they can sync automatically.

This page has five tabs:
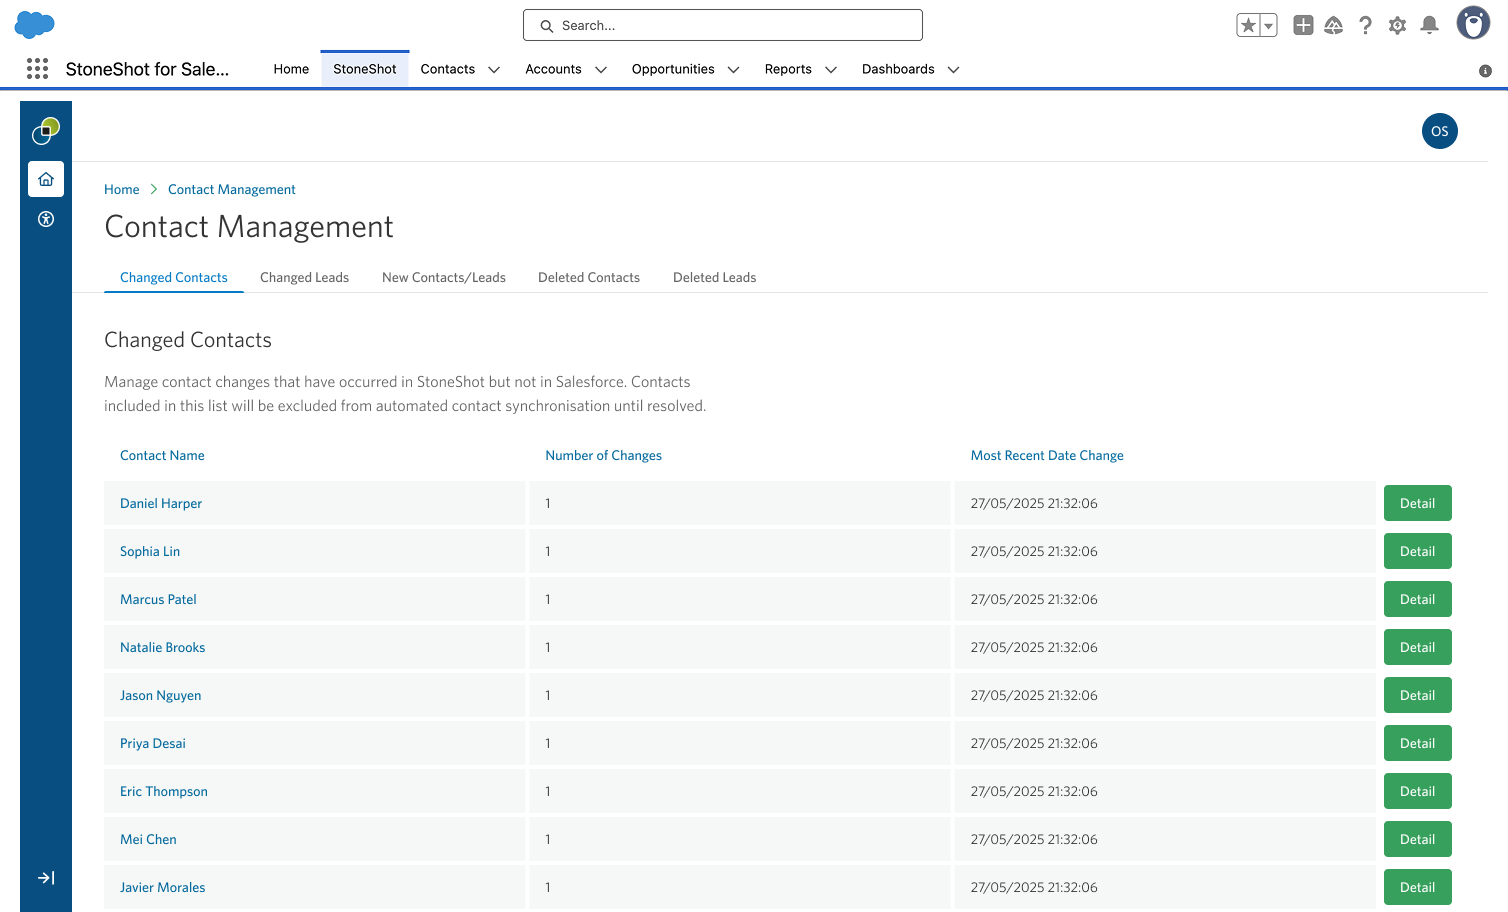
Changed Contacts / Changed Leads — Records that have changed in StoneShot but not yet in Salesforce. These are excluded from automated sync until resolved. Select Detail to review the changes. Accepting contact value changes will update the associated contact record in Salesforce. Discarding the contact value changes will overwrite the values in StoneShot with the values from Salesforce.
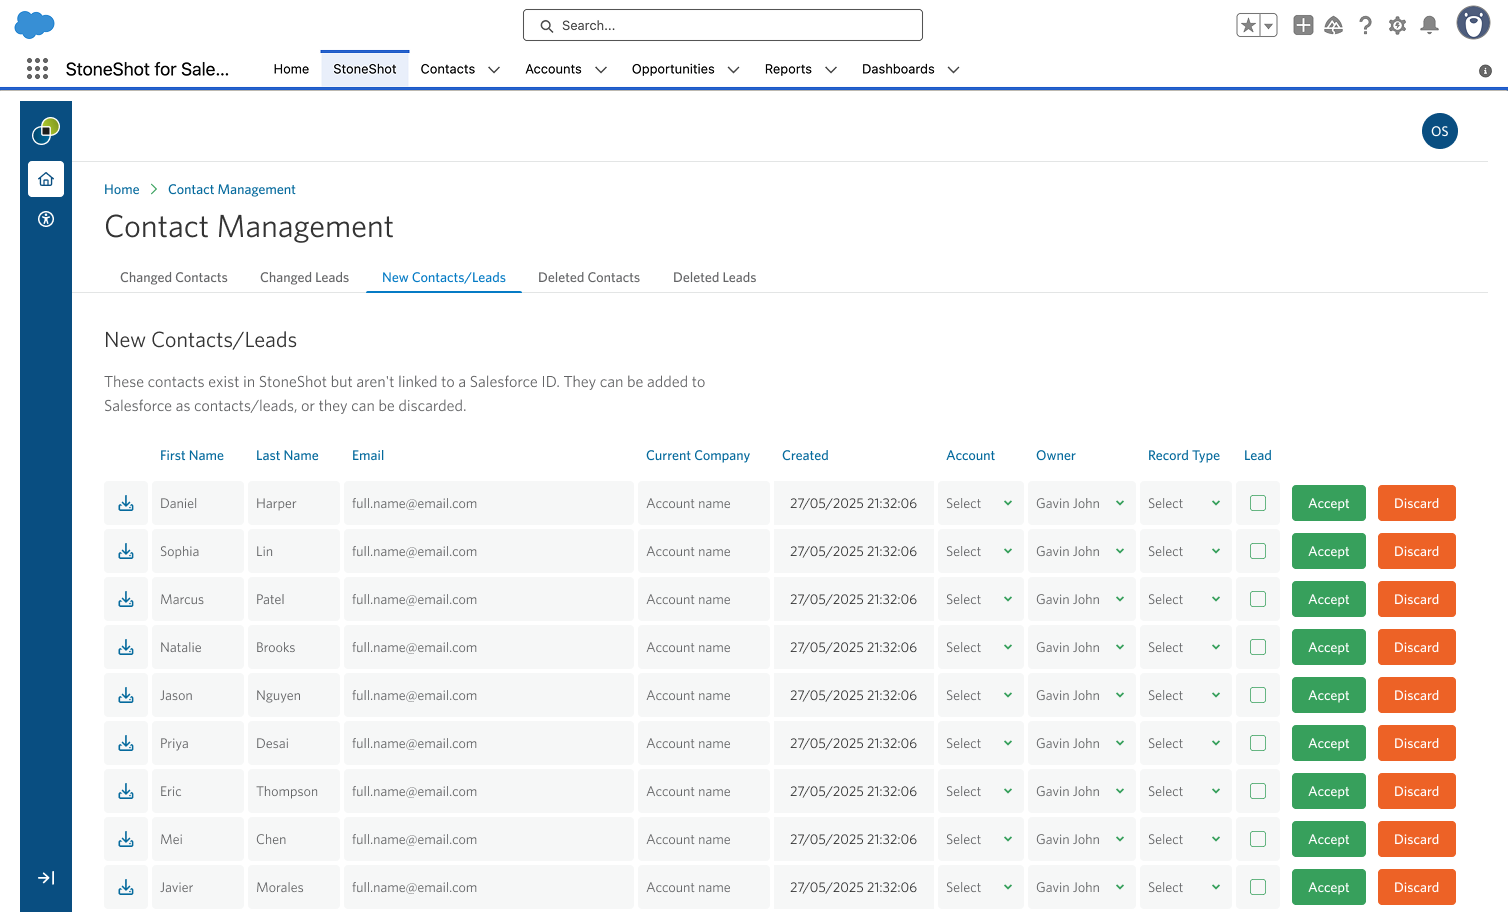
New Contacts/Leads — Records that exist in StoneShot but aren’t yet linked to a Salesforce ID. For each record, select an Account, Owner, and Record Type, and optionally mark it as a Lead, then select Accept to push it to Salesforce, or Discard to remove it from this list.
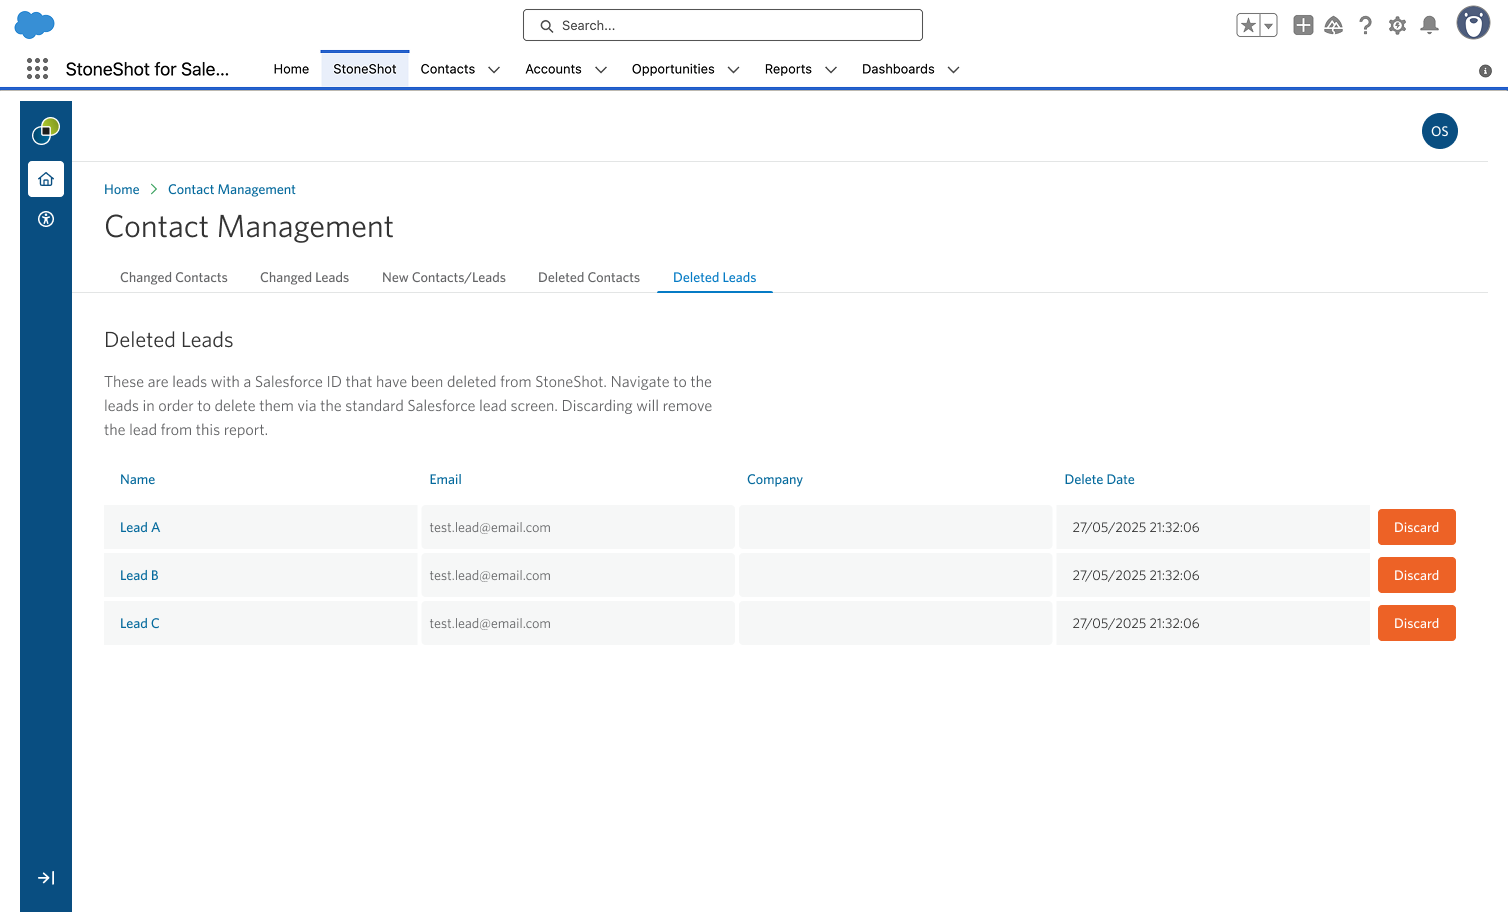
Deleted Contacts / Deleted Leads — Records with a Salesforce ID that have been deleted from StoneShot. Discarding a record here only removes it from this list — it does not delete the record in Salesforce. To remove it from Salesforce, navigate to the record and delete it from the standard Salesforce contact or lead screen.