


StoneShot Learning > Event Marketing > Managing Venues
Managing Venues

We mentioned before that you need to setup your venues before you create an event. This process is as breeze so let’s get to it.
Click Event > Venues from the main navigation. This will show all venues you’ve already setup, or an embarrassing empty page if this is your first time.
Creating a Venue
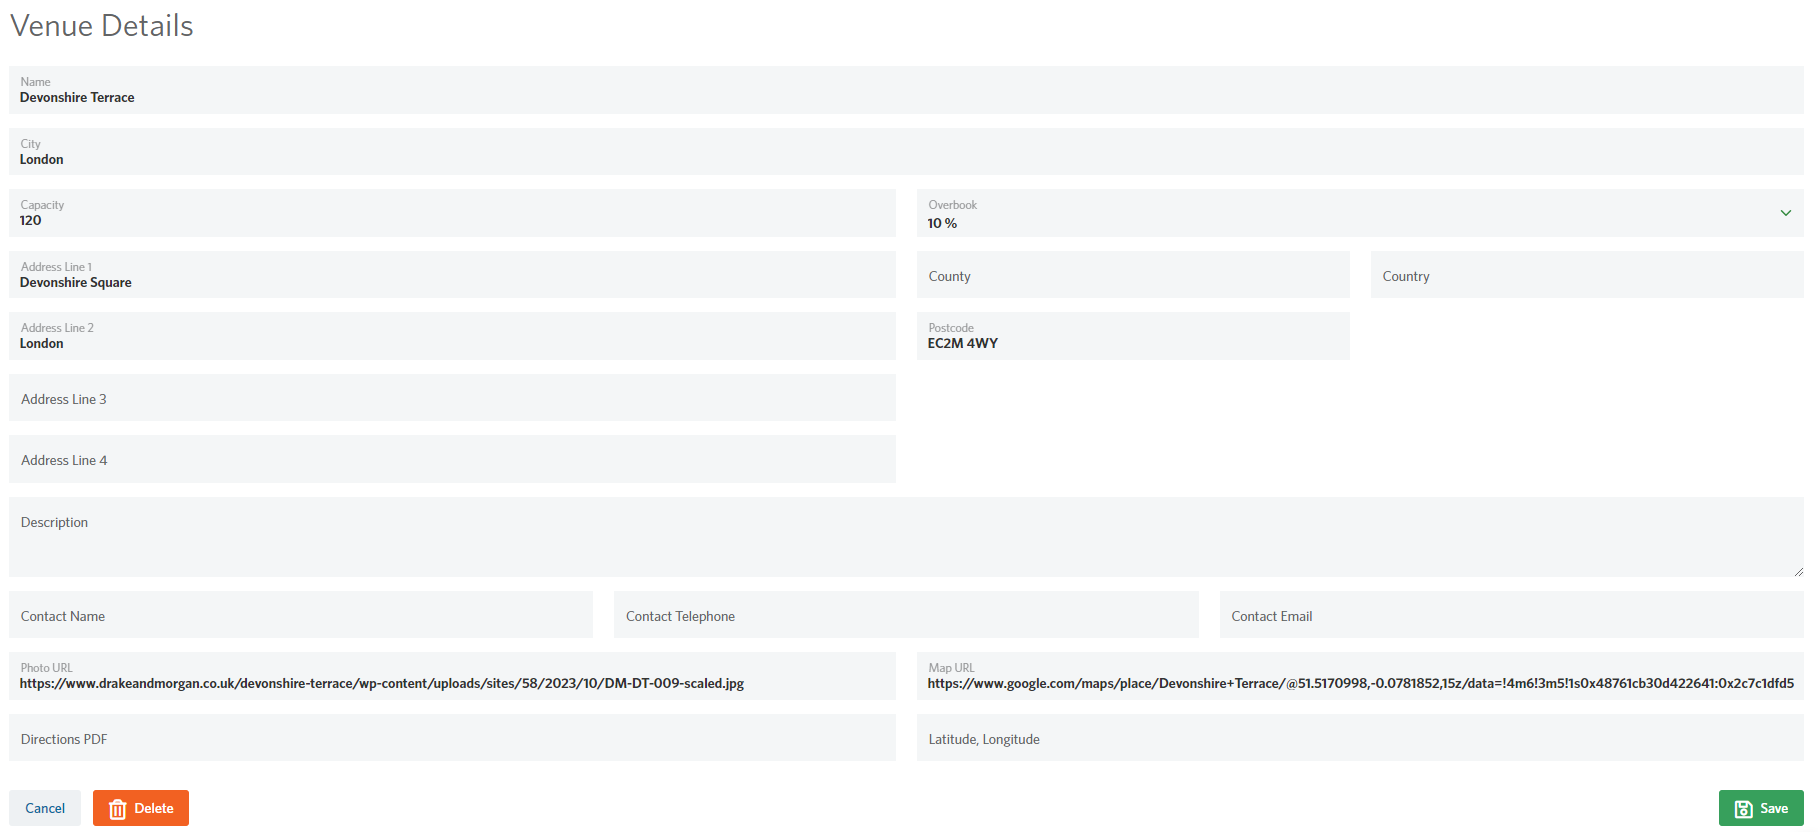
To create a venue, navigate to Events > Venues and click New Venue. It’s best to complete as many fields as possible but the minimum required fields are:
- Name
- City
- Capacity
- Photo URL
- Map URL
The Photo URL is used within the StoneShot Platform as a nicer way to navigate venues, and you can merge it into your emails and forms too. It’s best to contact the venue directly to get these photos to avoid copyright issues. You can upload photos in our File Manager (Content > File Manager) to ensure they are always available.
We recommend using Google Maps for the Map URL but you can use any online mapping tool you like (Apple Maps, Bing Maps, MapQuest, etc).
When you’re done click Add Venue.
Edit Existing Venue
To edit a venue, click the pencil icon and change the relevant fields.
Every field on this page can be dynamically merged into your emails and registration form, and that means you can reuse the same template emails and forms across any event.
Note that you can add map links too. This is a great way to help clients find a venue from their location – the link is simply embedded into the relevant email/form.