


StoneShot Learning > Event Marketing > Check In with QR Codes
Check In with QR Codes
For live events, you can enable QR code functionality within the Sessions tab.
Registrants will be sent a QR code which you can scan using StoneShot’s dedicated Event Check-In tool on the day of your event. You can then include this QR code in your event emails and calendar file.

Enable QR Codes
Navigate to your session and toggle on ‘Check In with QR codes’.

If you are using templates from our Template Library or one of the default schedules, no additional setup is required. These templates already include the necessary merge tags to automatically populate your emails with attendee QR codes.
For custom email templates, you will need to manually insert the appropriate merge tags to ensure QR codes are included.
Adding QR Codes to your Custom Email
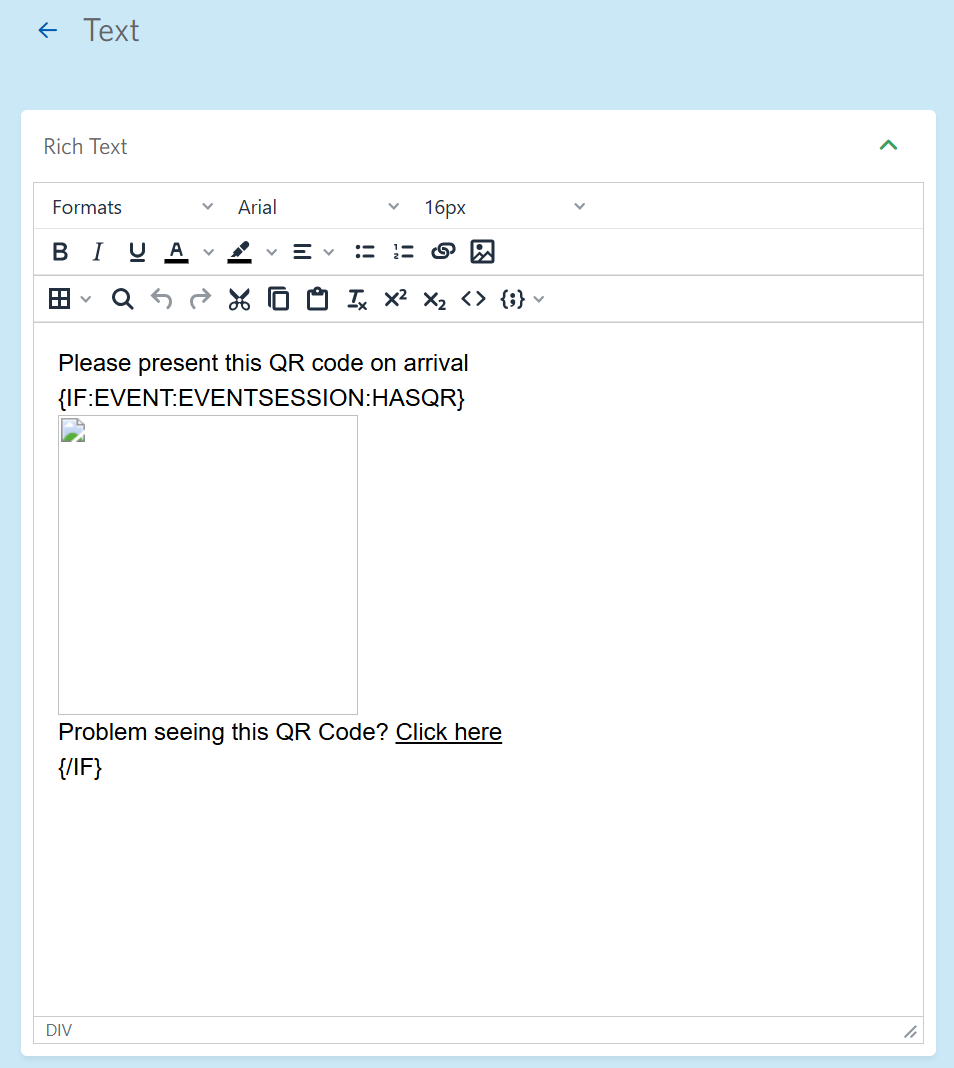
To add the QR codes to your email and calendar files, you can set up a conditional statement like so.
{IF:EVENT:EVENTSESSION:HASQR}
{EVENT:EVENTSESSION:QR} this tag should be inserted as an image in the richtext editor or within an image layout
Problem seeing this QR Code? Click here links to {EVENT:EVENTSESSION:QRCODELINK}
{/IF}
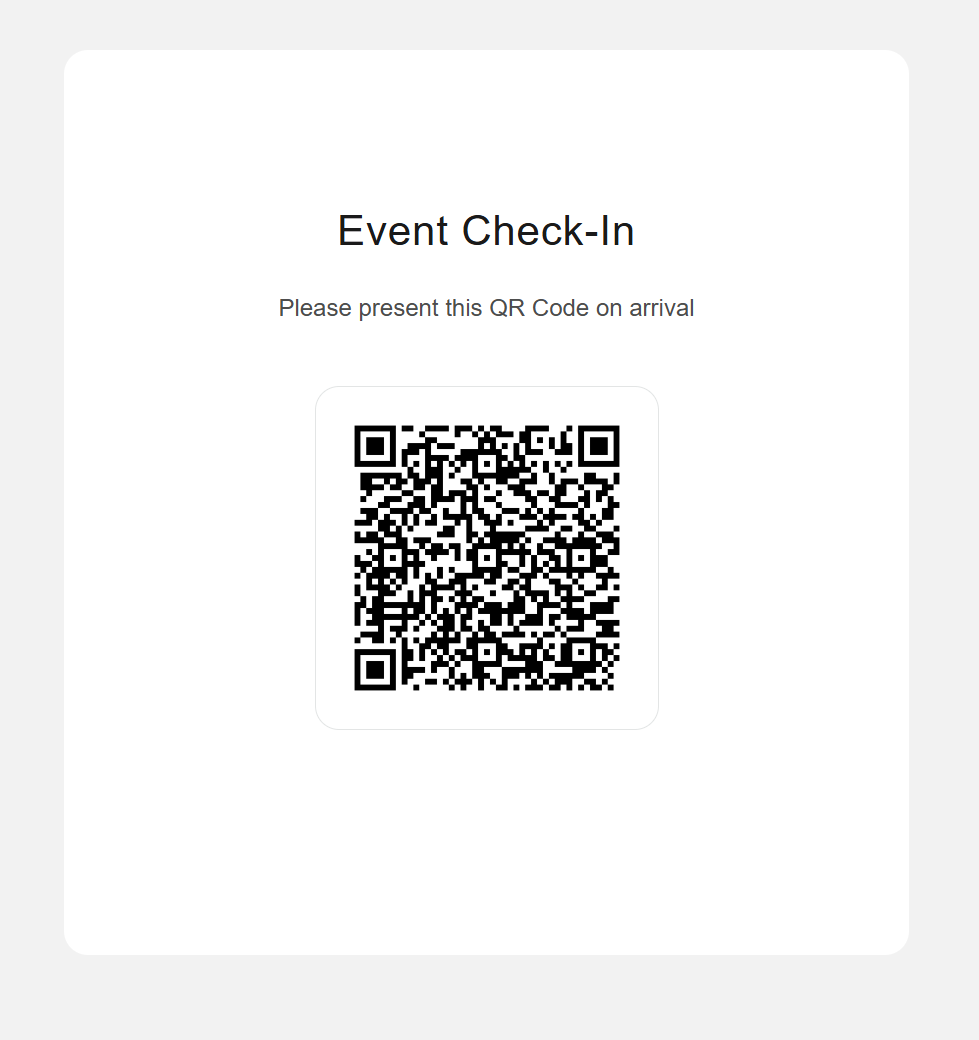
Some email clients may not display the embedded QR codes. To account for this, we include a QR code link as a fallback. This link directs attendees to a browser-based landing page where their QR code is always accessible.
Checking-In Attendees with a QR Code
On the day of your event, you can check attendees in by scanning the QR code using StoneShot’s Event Check-In.
Here’s how it works:
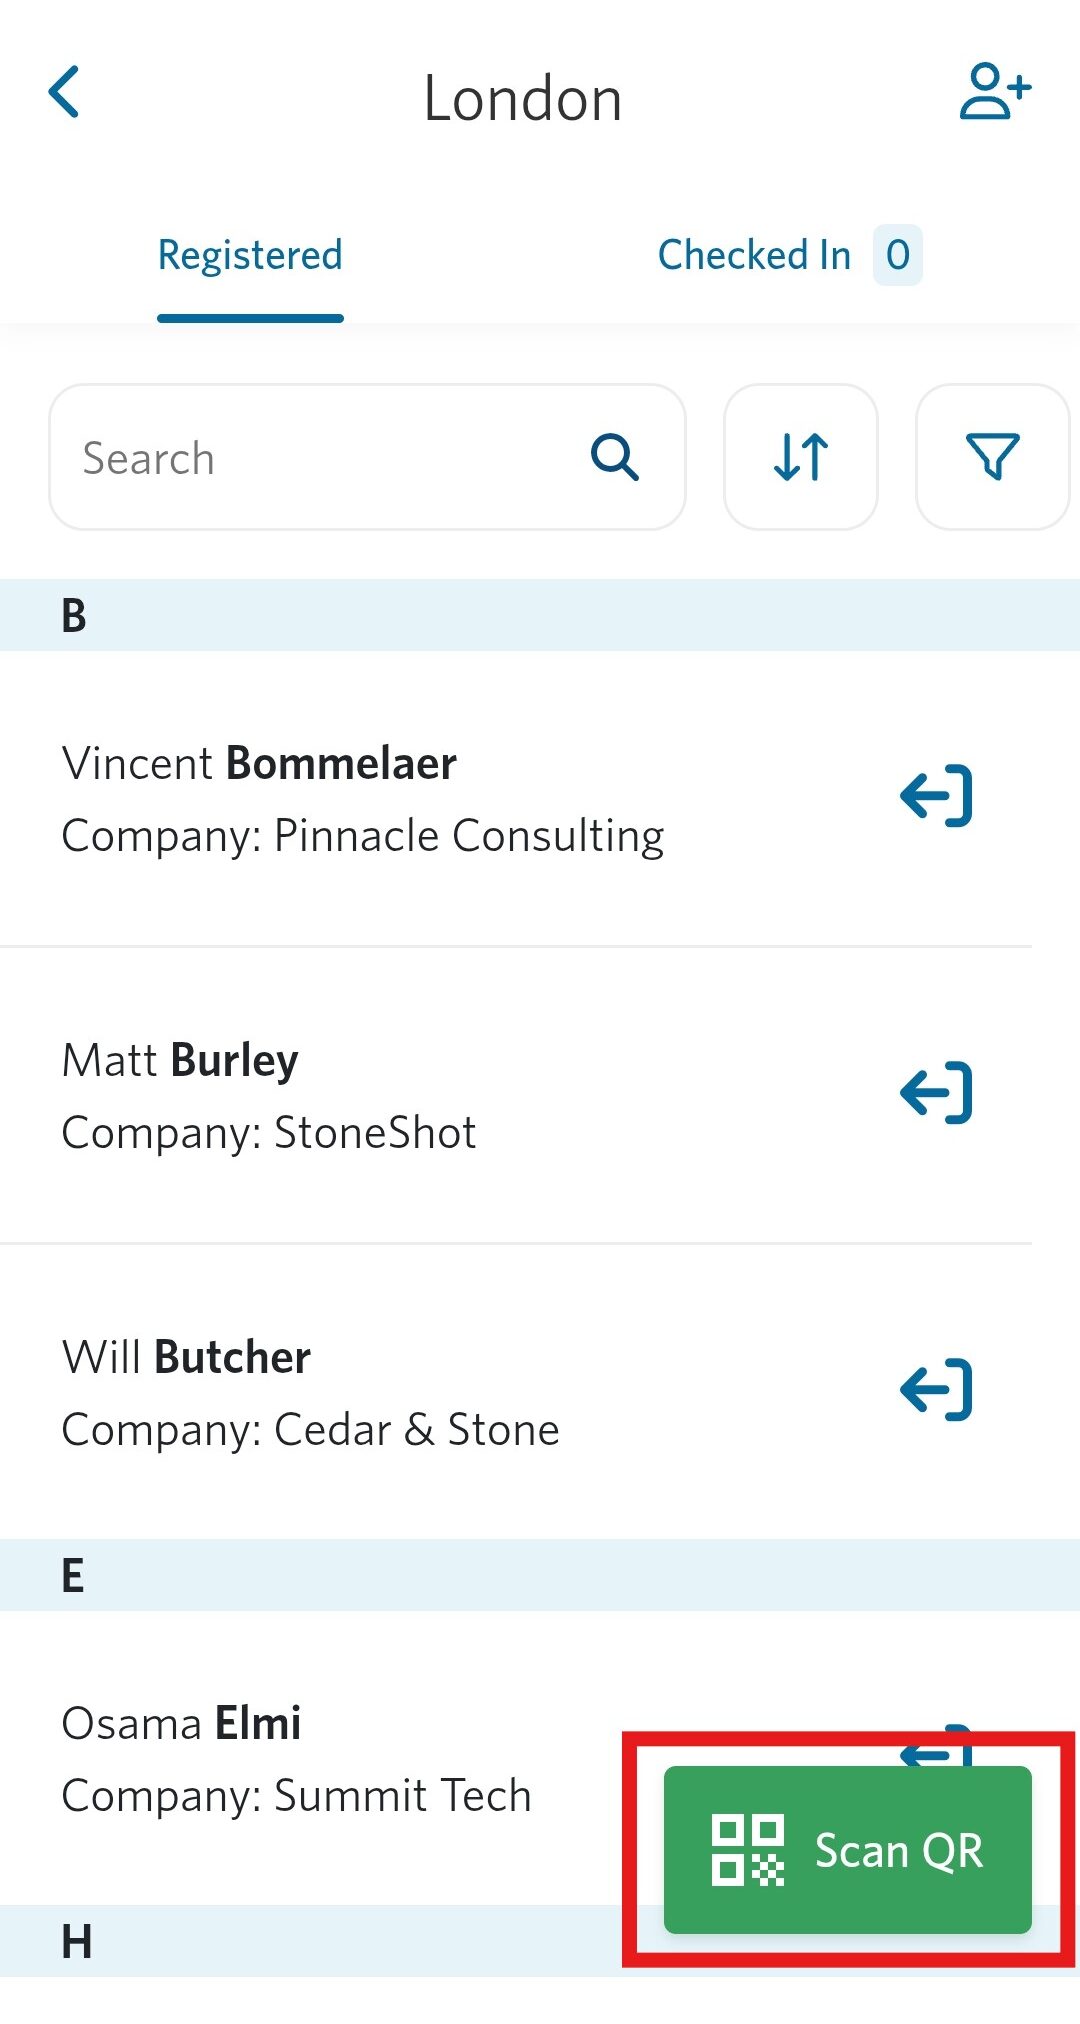
- Login to your account at events.stoneshot.com and navigate to the selected session.
- Tap the Scan QR button.
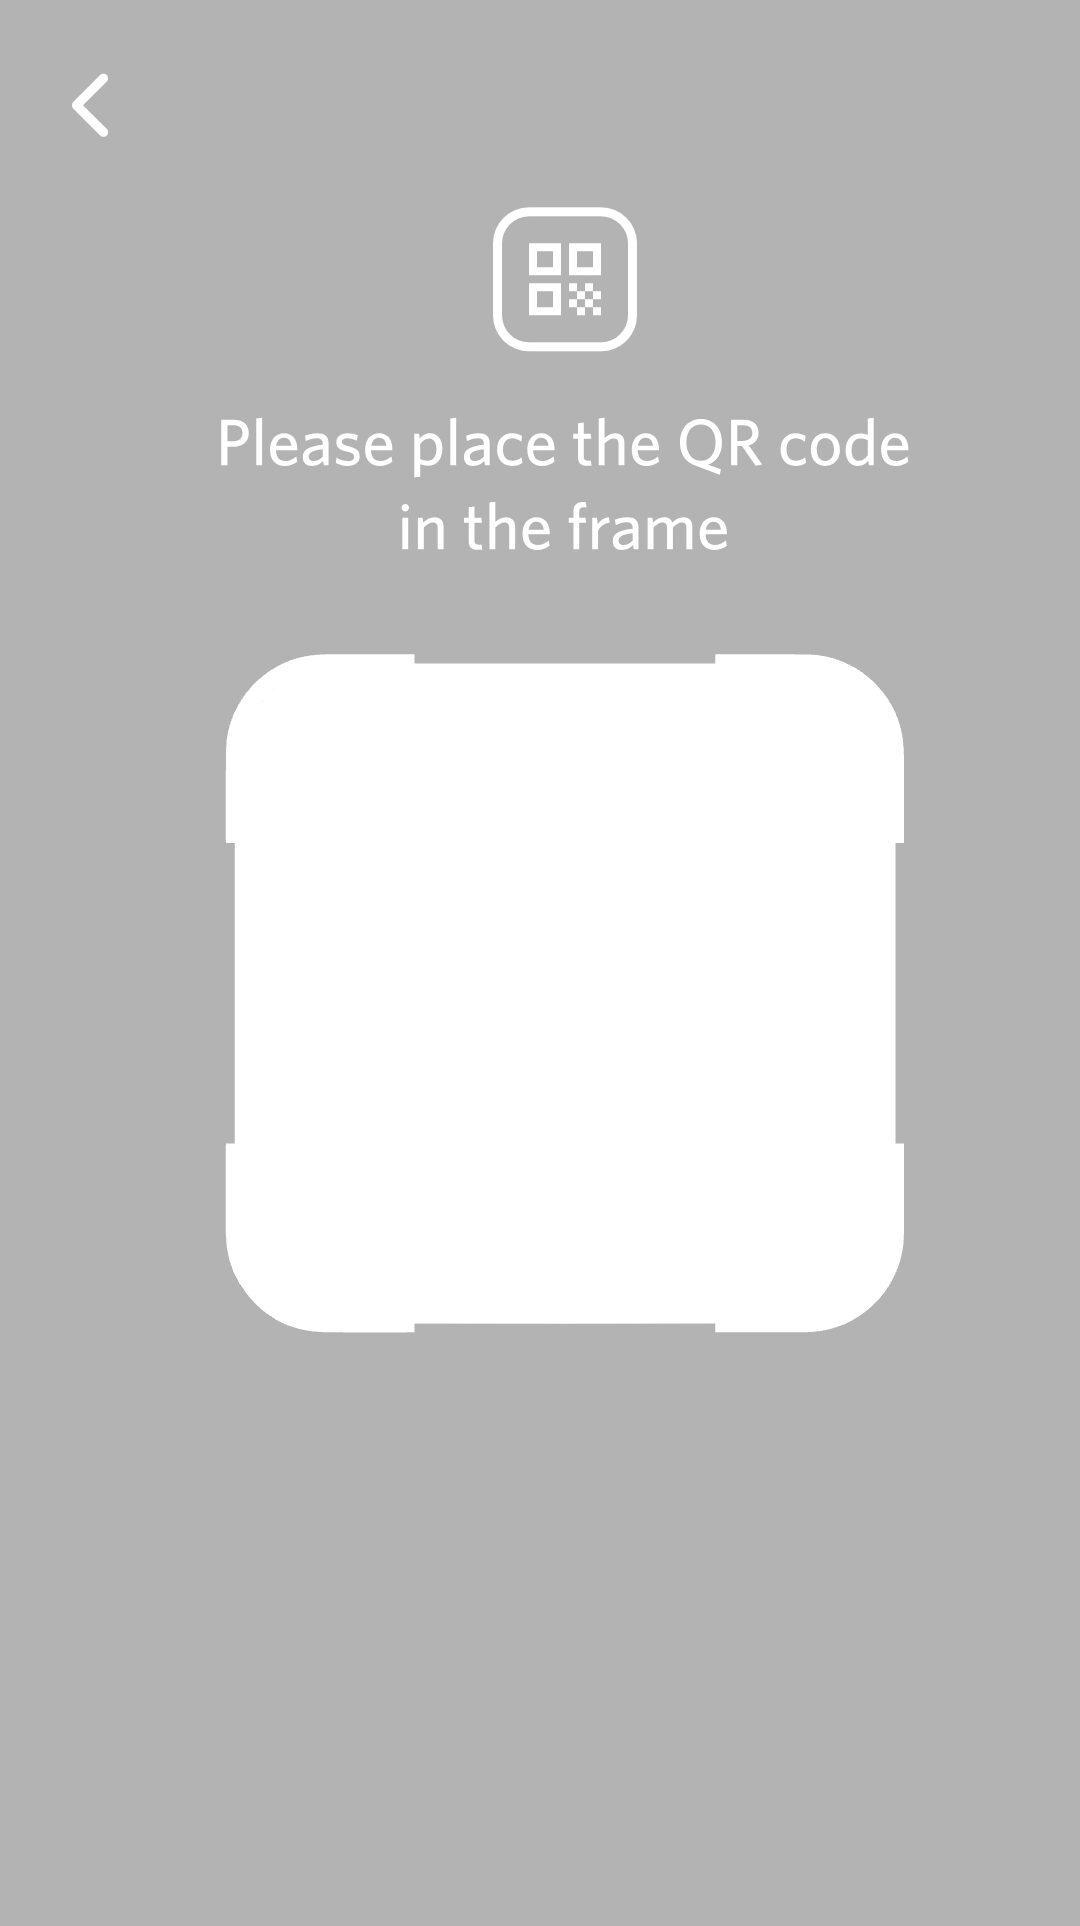
- Point your device’s camera at the attendee’s QR code.
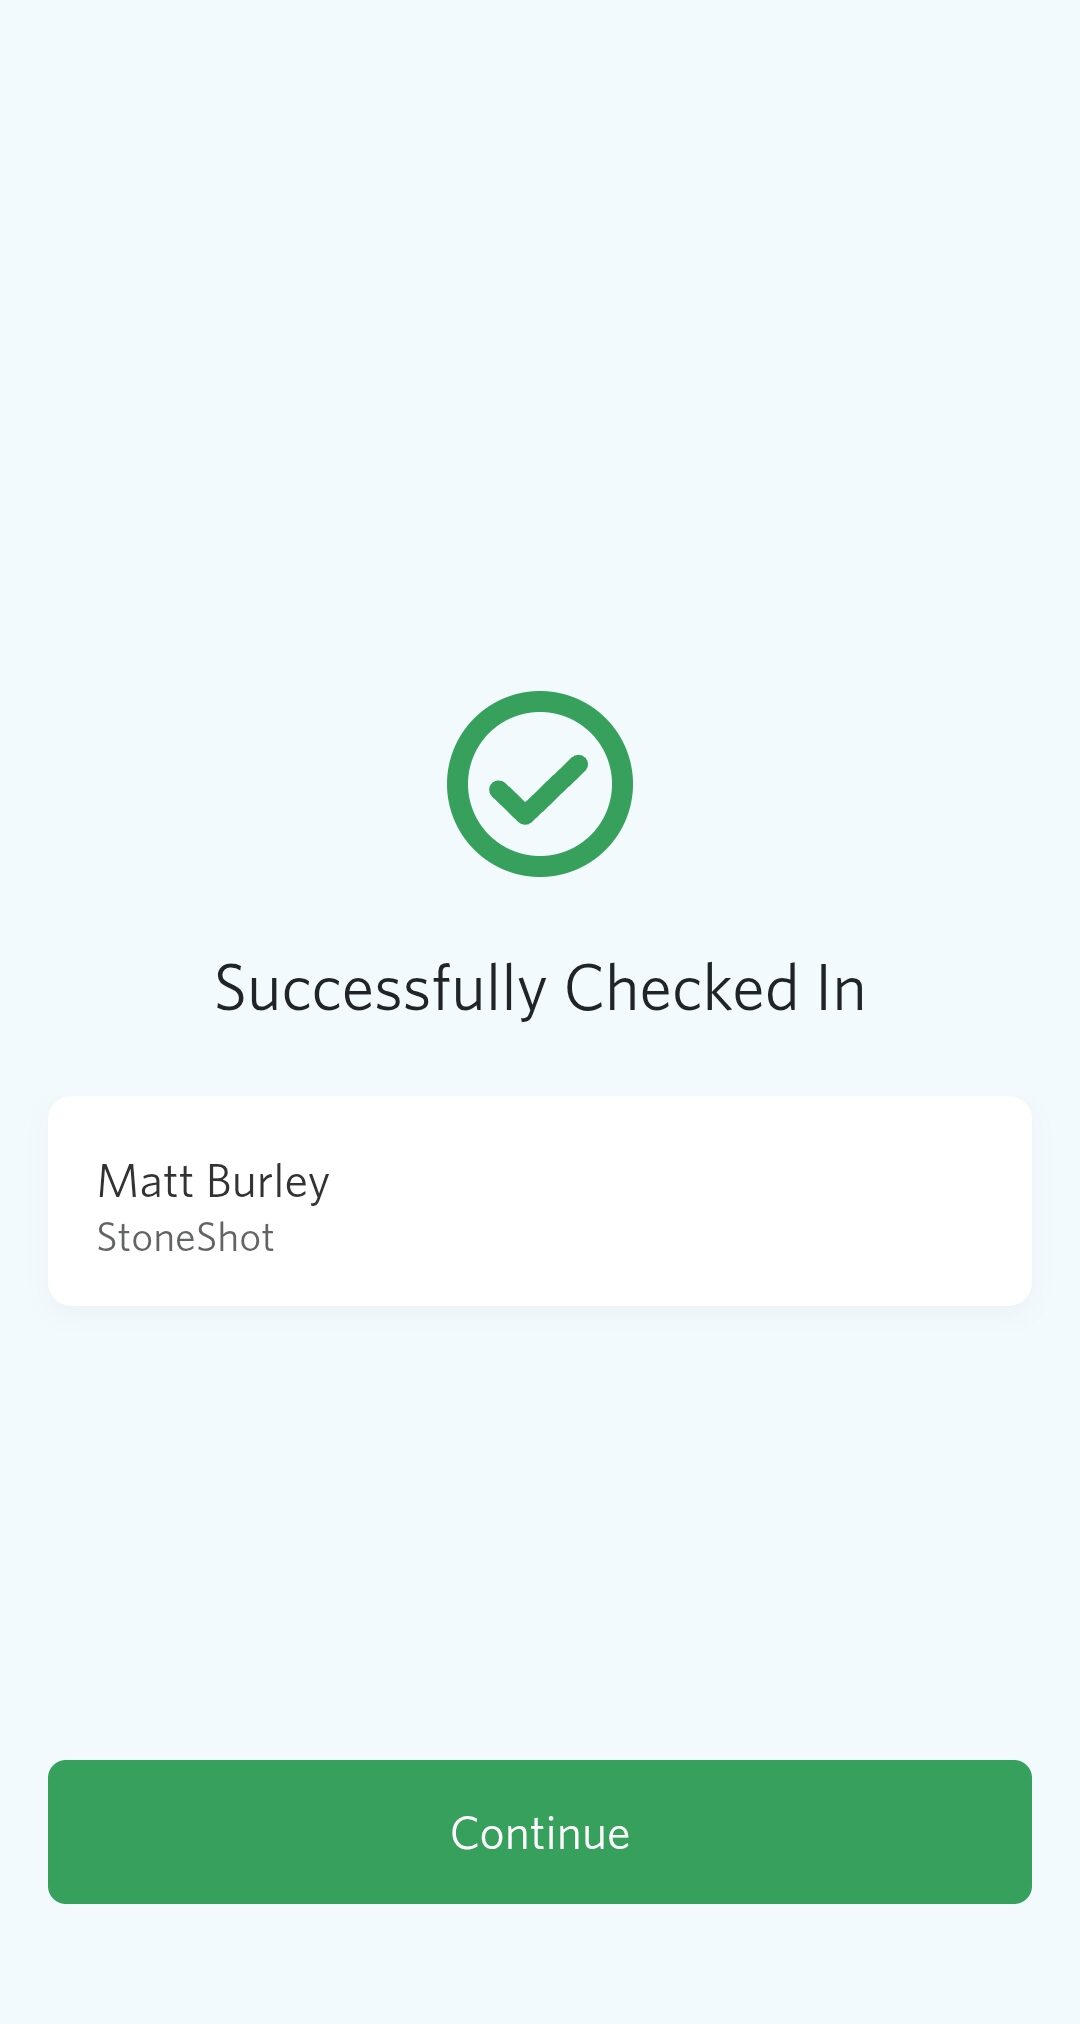
- They are instantly marked as checked in and their contact will be added to the check-in tab.
 |  |  |
Visit Event Check-In to learn more.