


StoneShot Learning > Email Marketing > Managing Images
Managing Images
There are two ways to manage images:
- Within the Email Builder
- Within the File Manager
Let’s take a look at both.
Email Builder
The Email Builder has powerful image editing capabilities. You can upload images, resize and crop, flip/rotate and filter the image brightness, contrast, exposure and more.
To edit an image, go into layout that has an image component and click the icon to the right of the Image URL.
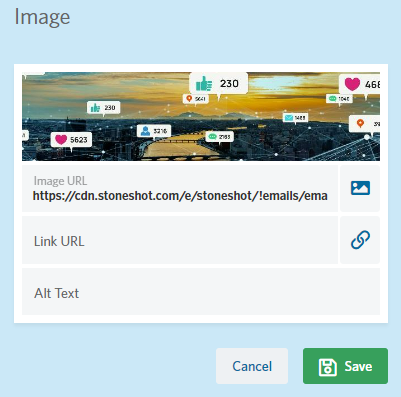
You can see a preview of the image, edit the image source, add a link and add alt text. Clicking on the image icon will take you into the image browser. This lets you upload images or manipulate images you’ve already uploaded. Right-click on an image and pick Edit. This will allow you to resize, crop, flip/rotate and apply filters to the image.
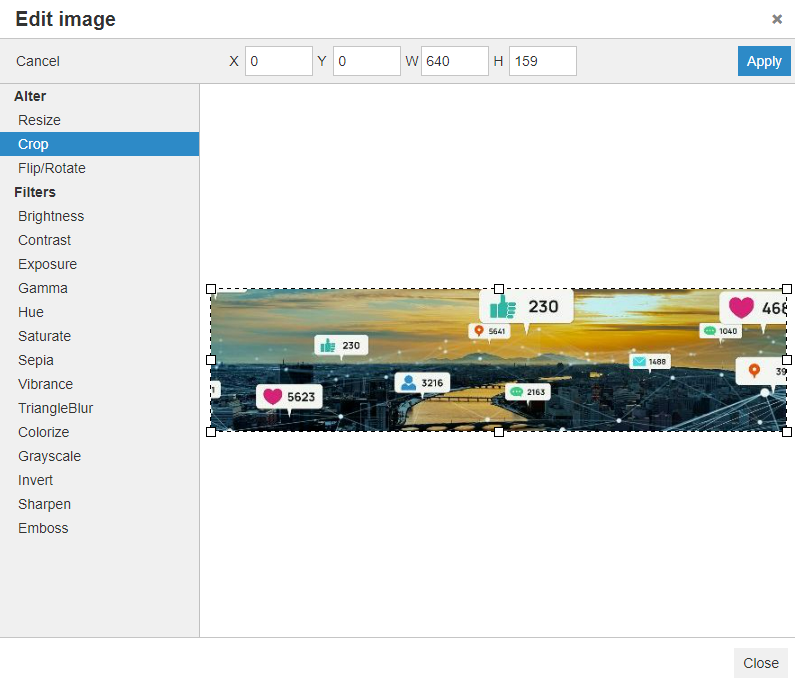
When you’re done altering and filtering, hit Apply and then click Save. This will allow you to either overwrite the image you selected or to save a copy. Click Save and you’re done.
File Manager
The File Manager is under the Content icon on the main navigation. It’s a simple tool for uploading, downloading and deleting files, creating folders and more. These are the file types supported:
- Images (.gif .jpg .png)
- PDFs (.pdf)
- Microsoft Word documents (.doc .docx)
- Microsoft Excel files (.xls .xlsx)
- Zip files
Open file sharing
Files uploaded on the “File Manager” tab are published on our web servers. These are the images you’d embed in your emails and PDFs, Word docs and Excel sheets you want to share with your clients. They are openly accessible to anyone that knows the URL so we strongly advise against uploading sensitive data here. Make the assumption that anyone can see what you’ve uploaded.
Another little word of caution. If you remove an image that’s been used previously in an email, the email will show a broken image when viewed. We’ve seen emails being viewed years after they’ve been sent – usually on rainy weekends. If in doubt, avoid the temptation to have a tidy-up and leave any old images.
Secure file sharing
If you want to share sensitive files with your colleagues or someone on the StoneShot team, you can do it under the “Secure Files” tab within the File Manager. Click Upload, drag and drop (or browse) a file, and click the Upload button.
The file you’ve uploaded will only be encrypted in stored within the StoneShot Platform. It will also only be accessible to you until you share it. Click Edit/Share, enter a StoneShot user’s name and hit Save.
Files uploaded here have a Time Until Expiration of 20 days – at which point they’ll be removed. You can channel your inner Ethan Hunt but you get more than five seconds until self-destruct.
Here’s a video on Secure Files.
